Practice Session
Overview
Purpose of the Article
The Practice Session feature helps notaries get hands-on experience with Notary Hub’s signing workflow using their real X.509 certificate. This guided session walks you through key steps in the signing process, providing helpful prompts along the way.
Who Should Use This Guide
- New notaries onboarding to Notary Hub.
- Notaries who want to rehearse using their actual signing credentials.
- Anyone seeking to better understand the notarization process within Notary Hub.
Key Takeaways
- How to launch and complete a Practice Session.
- What to expect from the guided instructions.
- What makes a Practice Session different from a Test Session.
Prerequisites
Before starting a Practice Session, ensure you have:
- A Notary Hub notary account.
- Your X.509 digital signing certificate set up and active.
- A device with camera and microphone access.
- A stable internet connection.
Step-by-Step Instructions
Starting a Practice Session
The Practice Session is part of the onboarding process but you can also go back and do a practice session at any time.
| Instructions | Visuals |
|---|---|
| Log in to Notary Hub and go to the "Onboarding" page. | 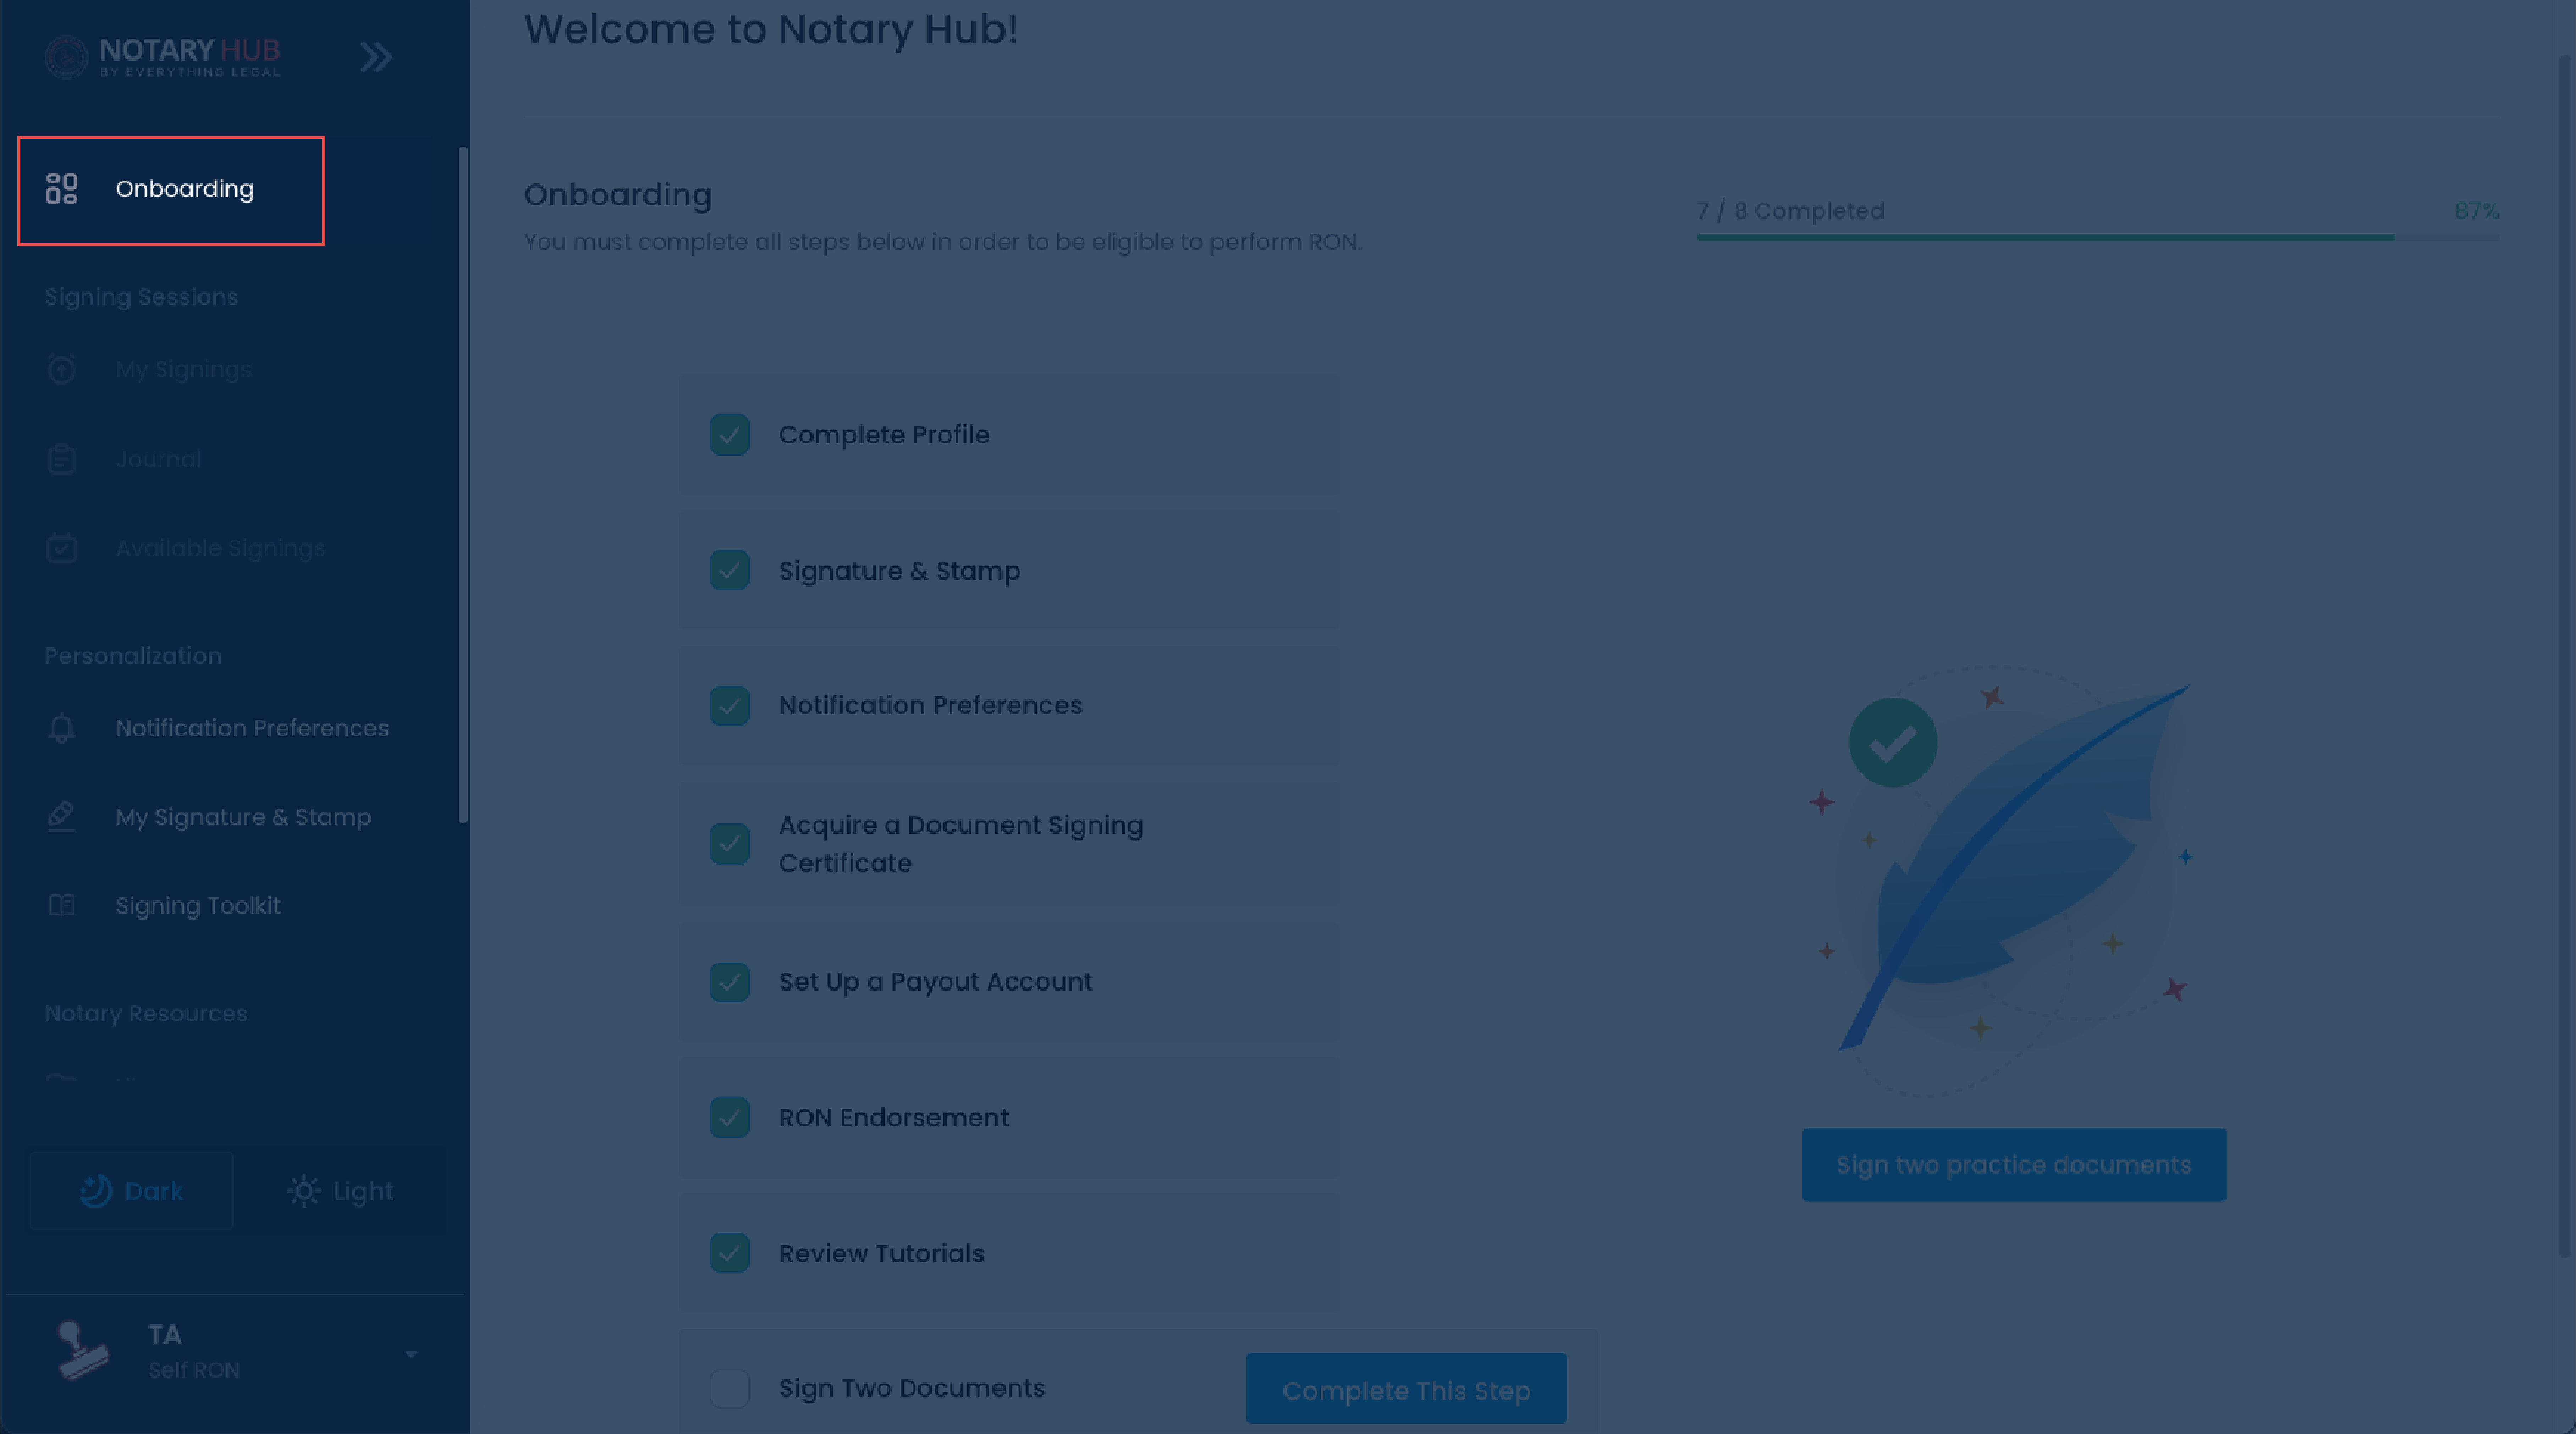 |
| The last step of the onboarding process is to sign two practice documents. Click the blue "Complete This Step" button next to the Sign Two Documents step; or click the blue "Sign two practice documents" button. | 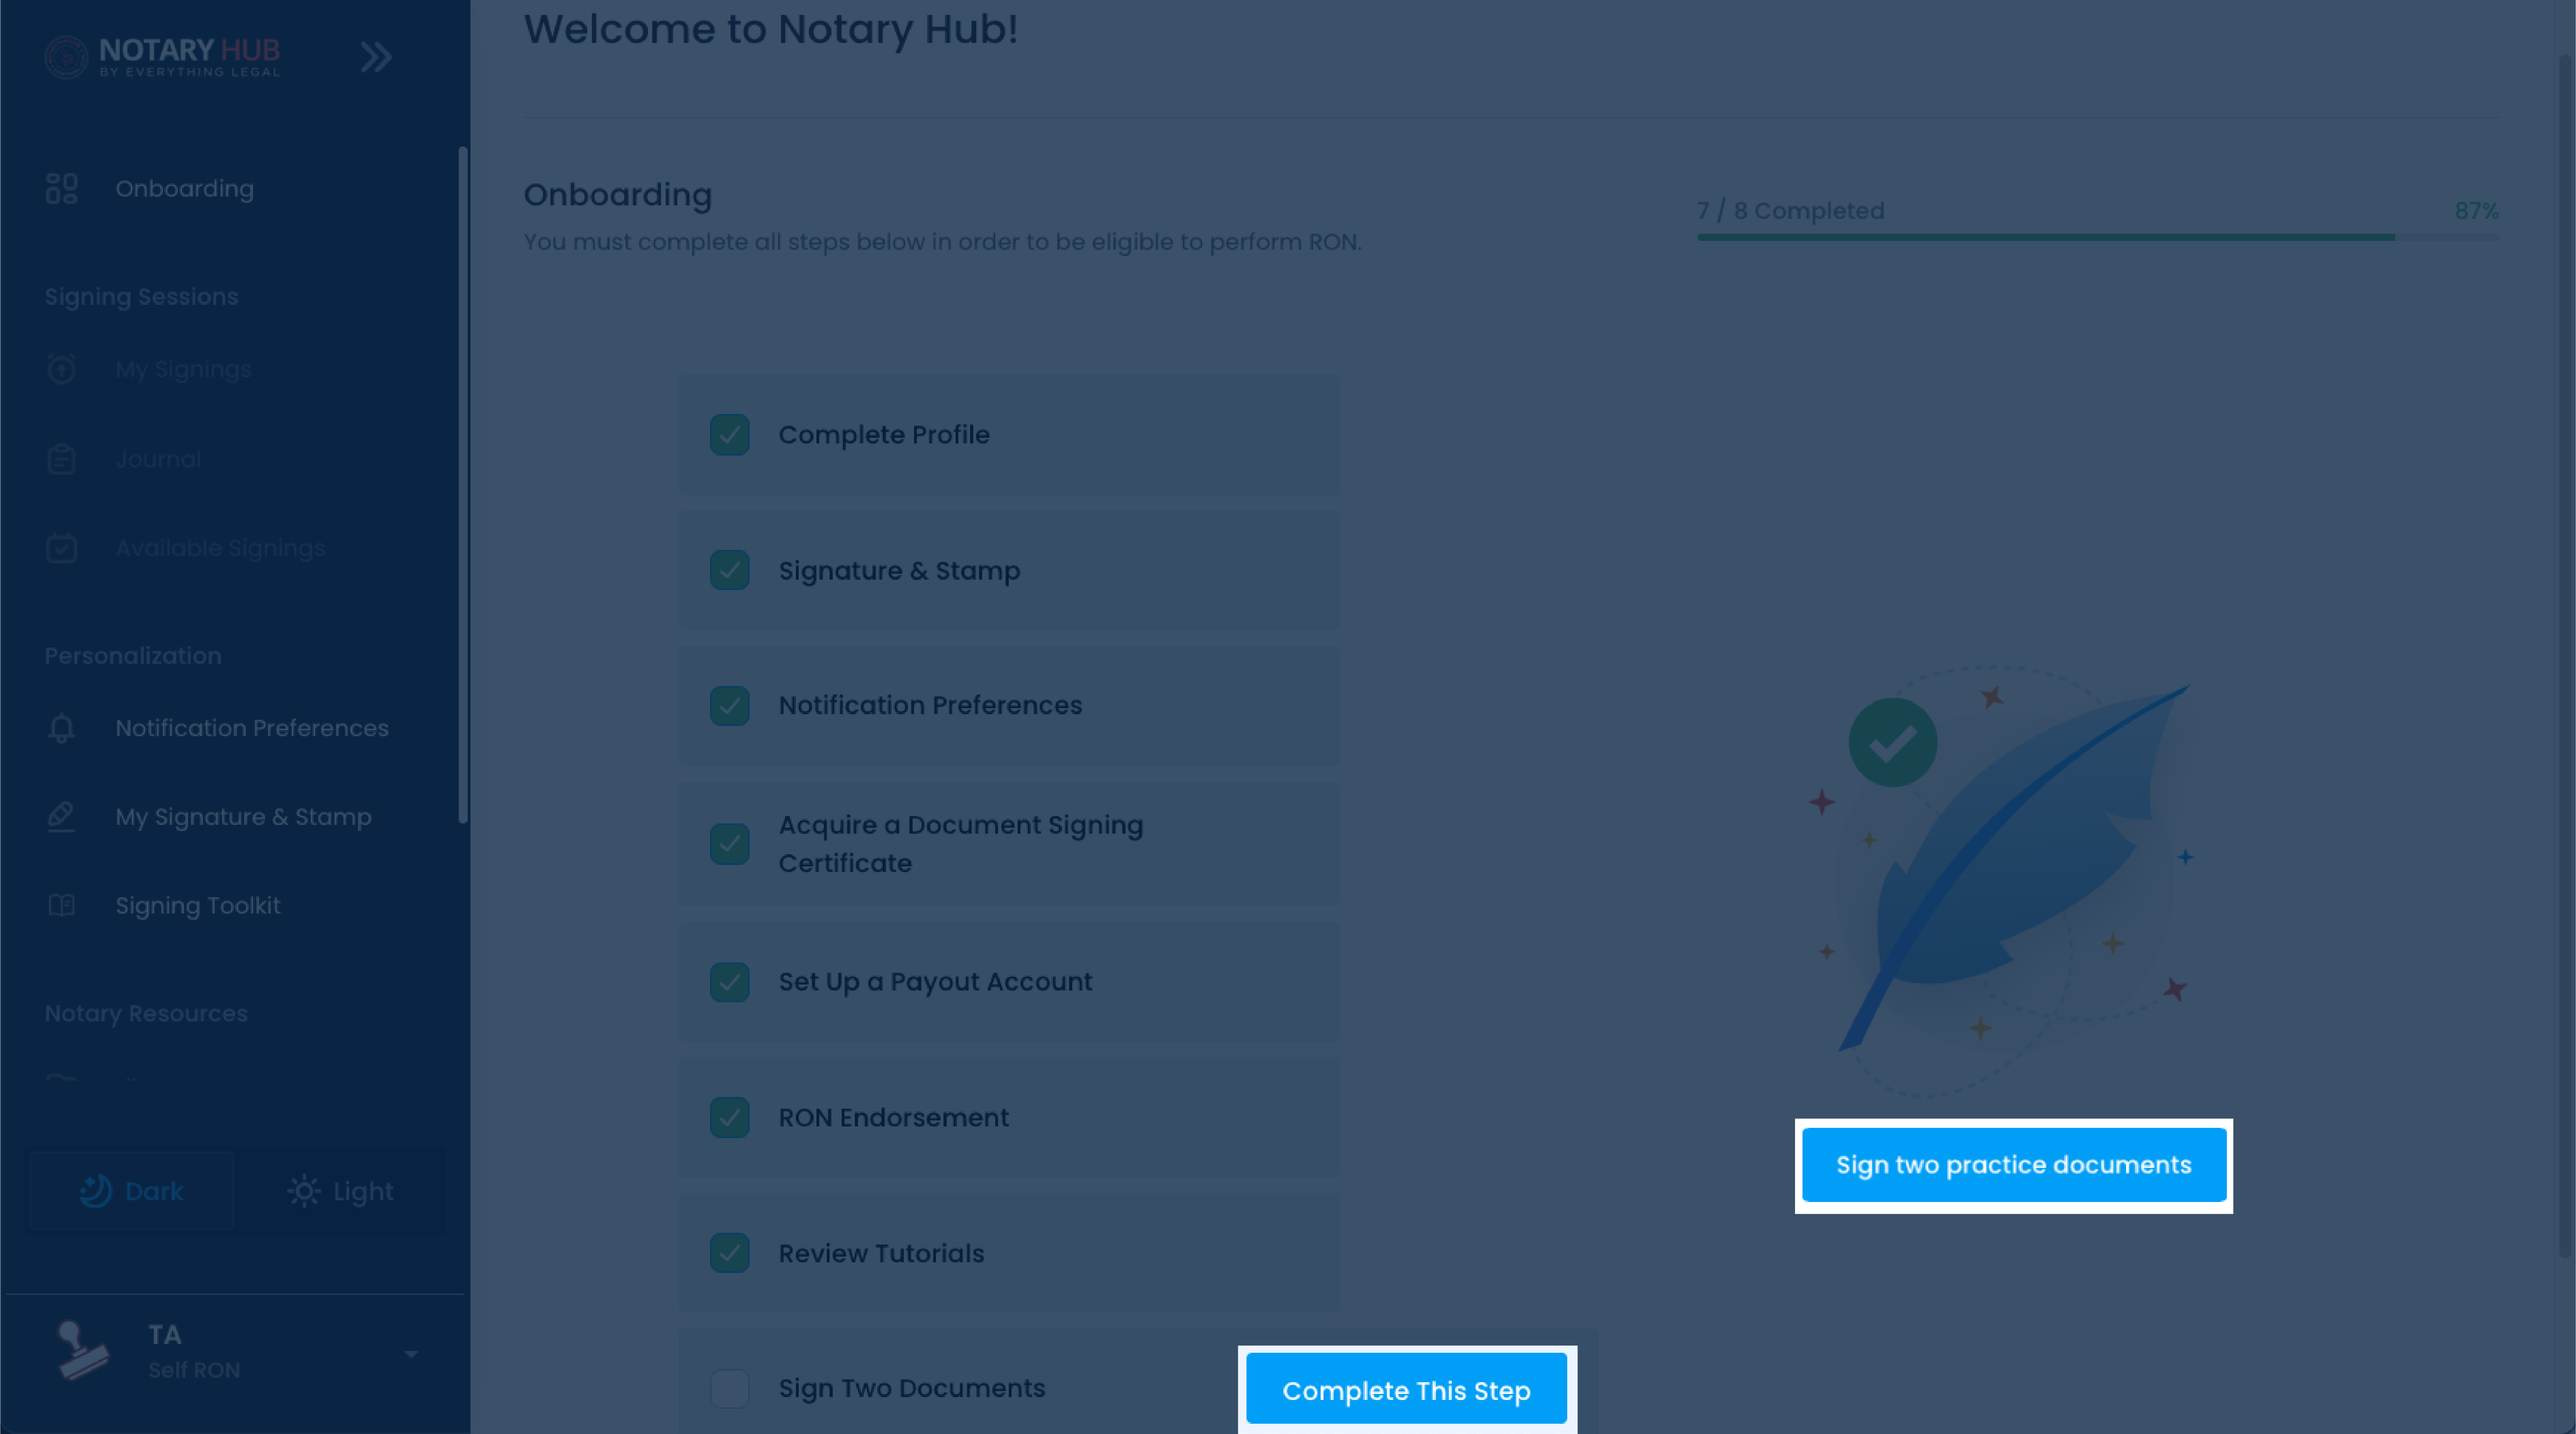 |
| A guided pop-up will appear with step-by-step instructions. Click the blue "Sign two practice documents" button to start. | 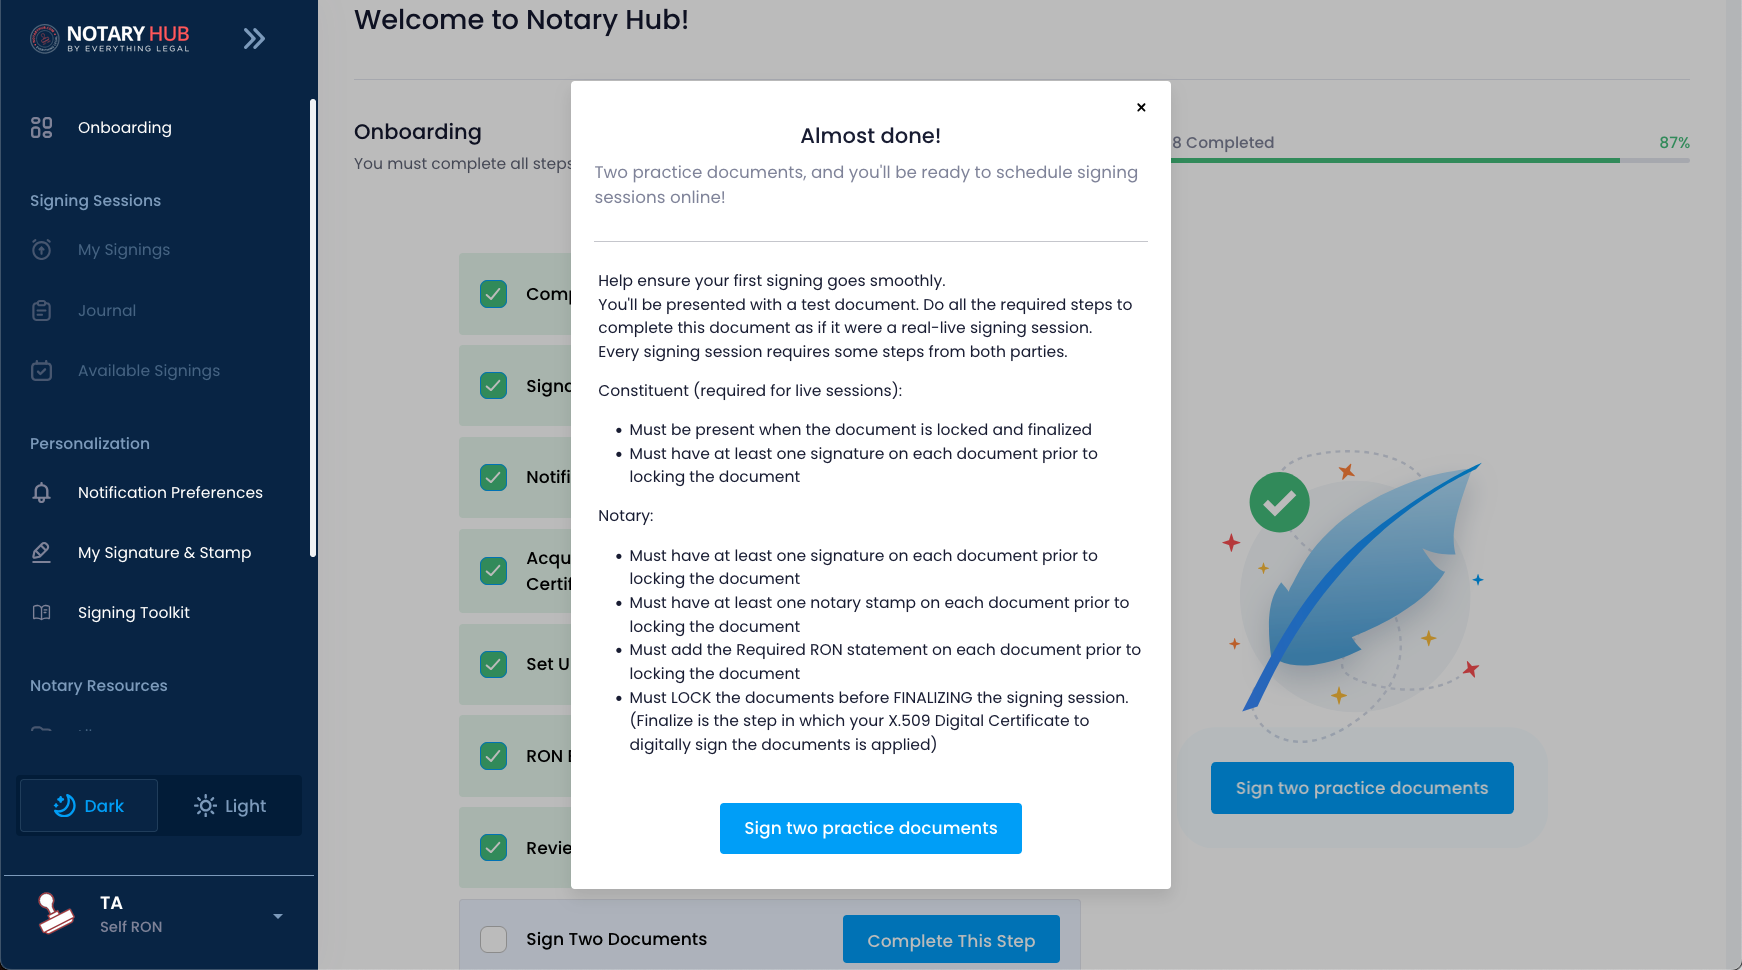 |
| You can also access the Practice Session from the "My Signature & Stamp" page at any time. | 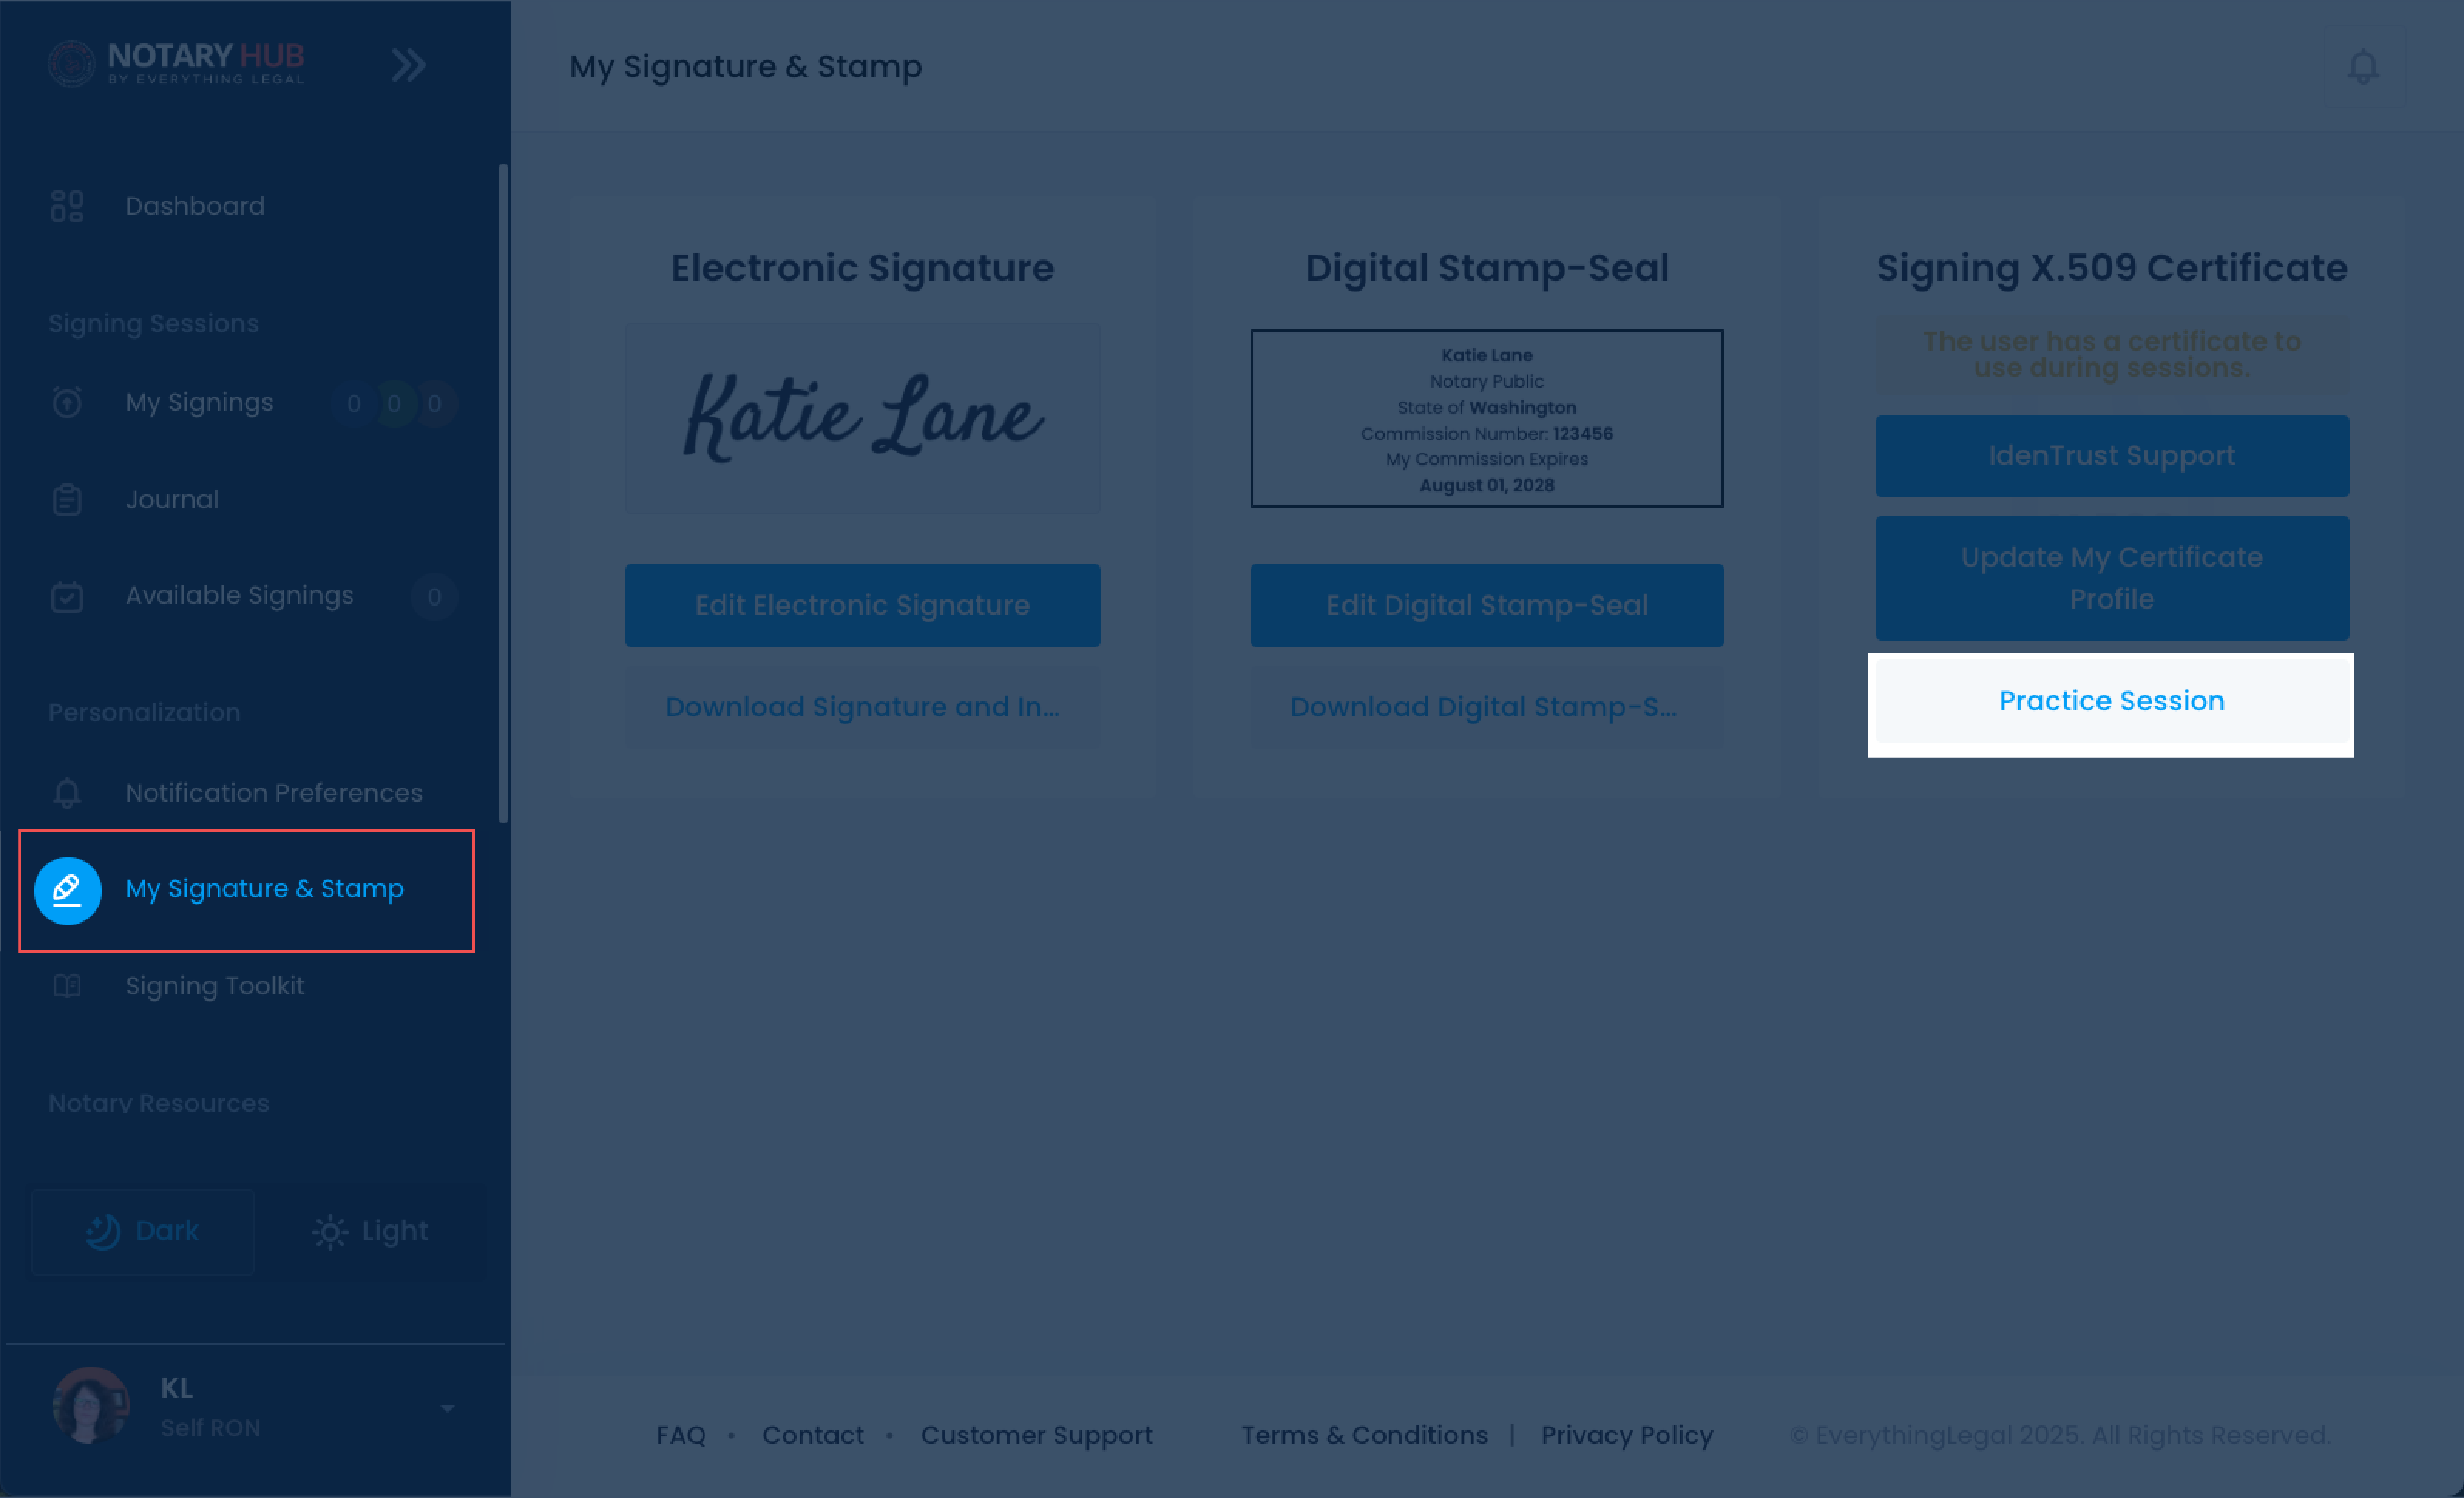 |
Follow Guided Instructions
| Instructions | Visuals |
|---|---|
| You'll start by joining the signing session on the standard "Joining Signing Session" page where you can adjust your video and audio settings. Click the blue "Join Now" button. | 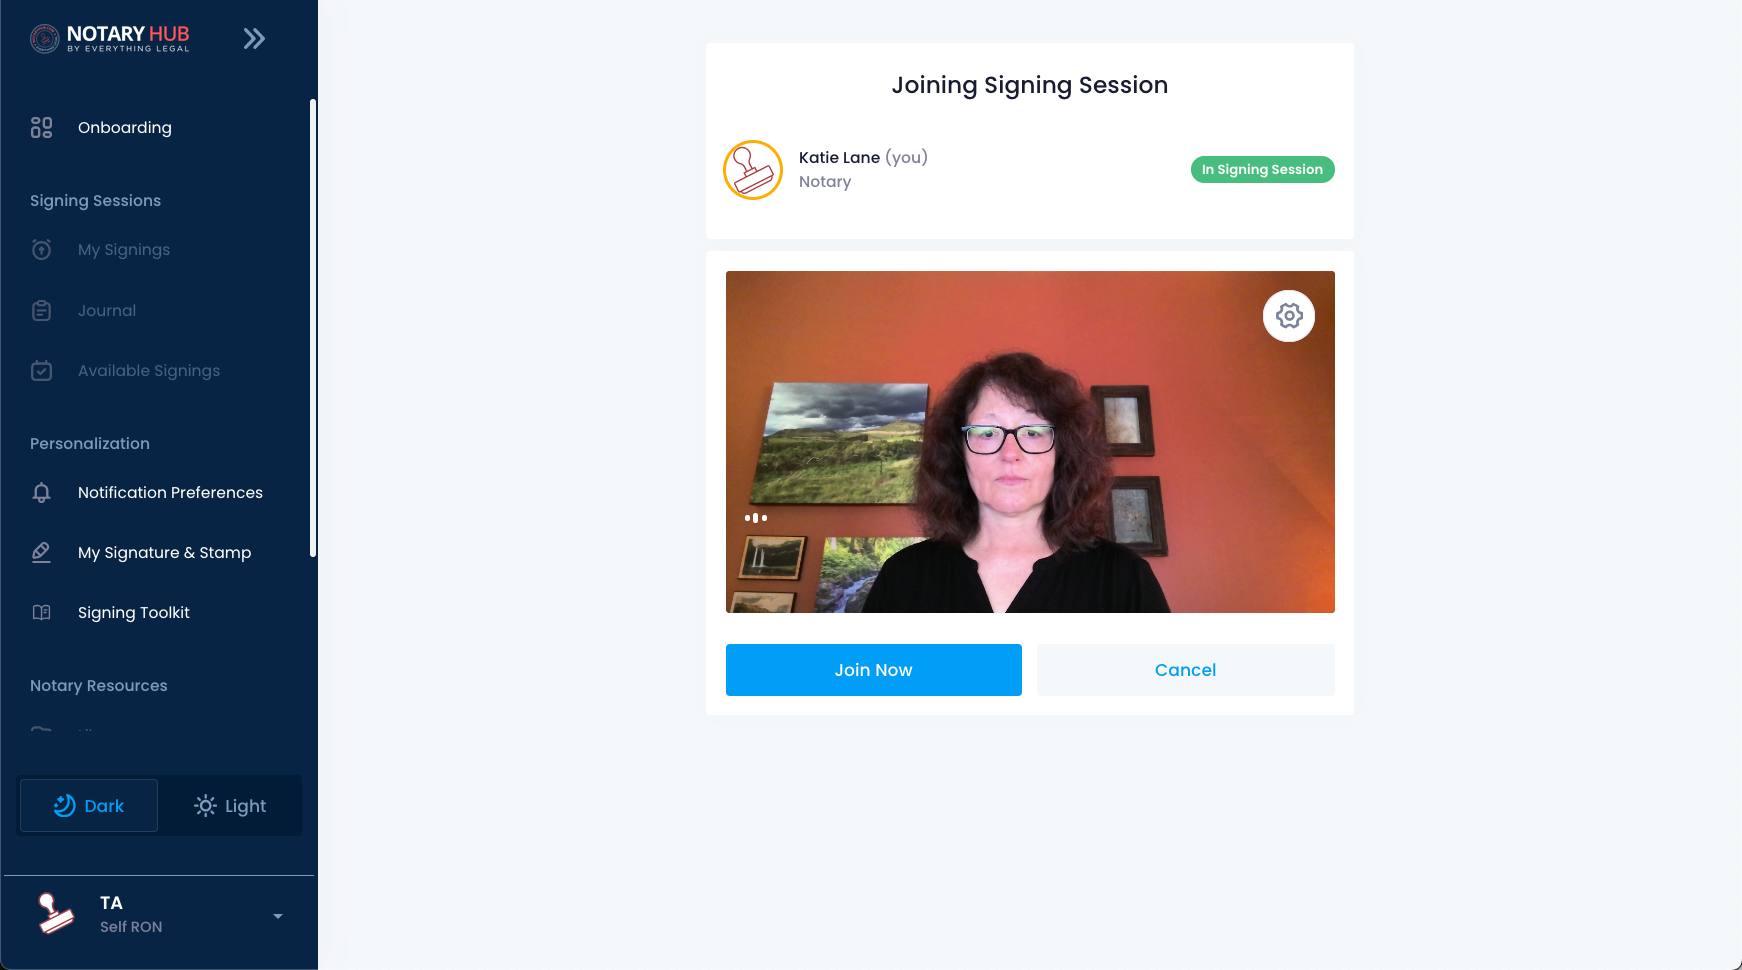 |
| Once you enter the session, a guided pop-up will appear to walk you through each step. Begin by clicking the first document as instructed. |  |
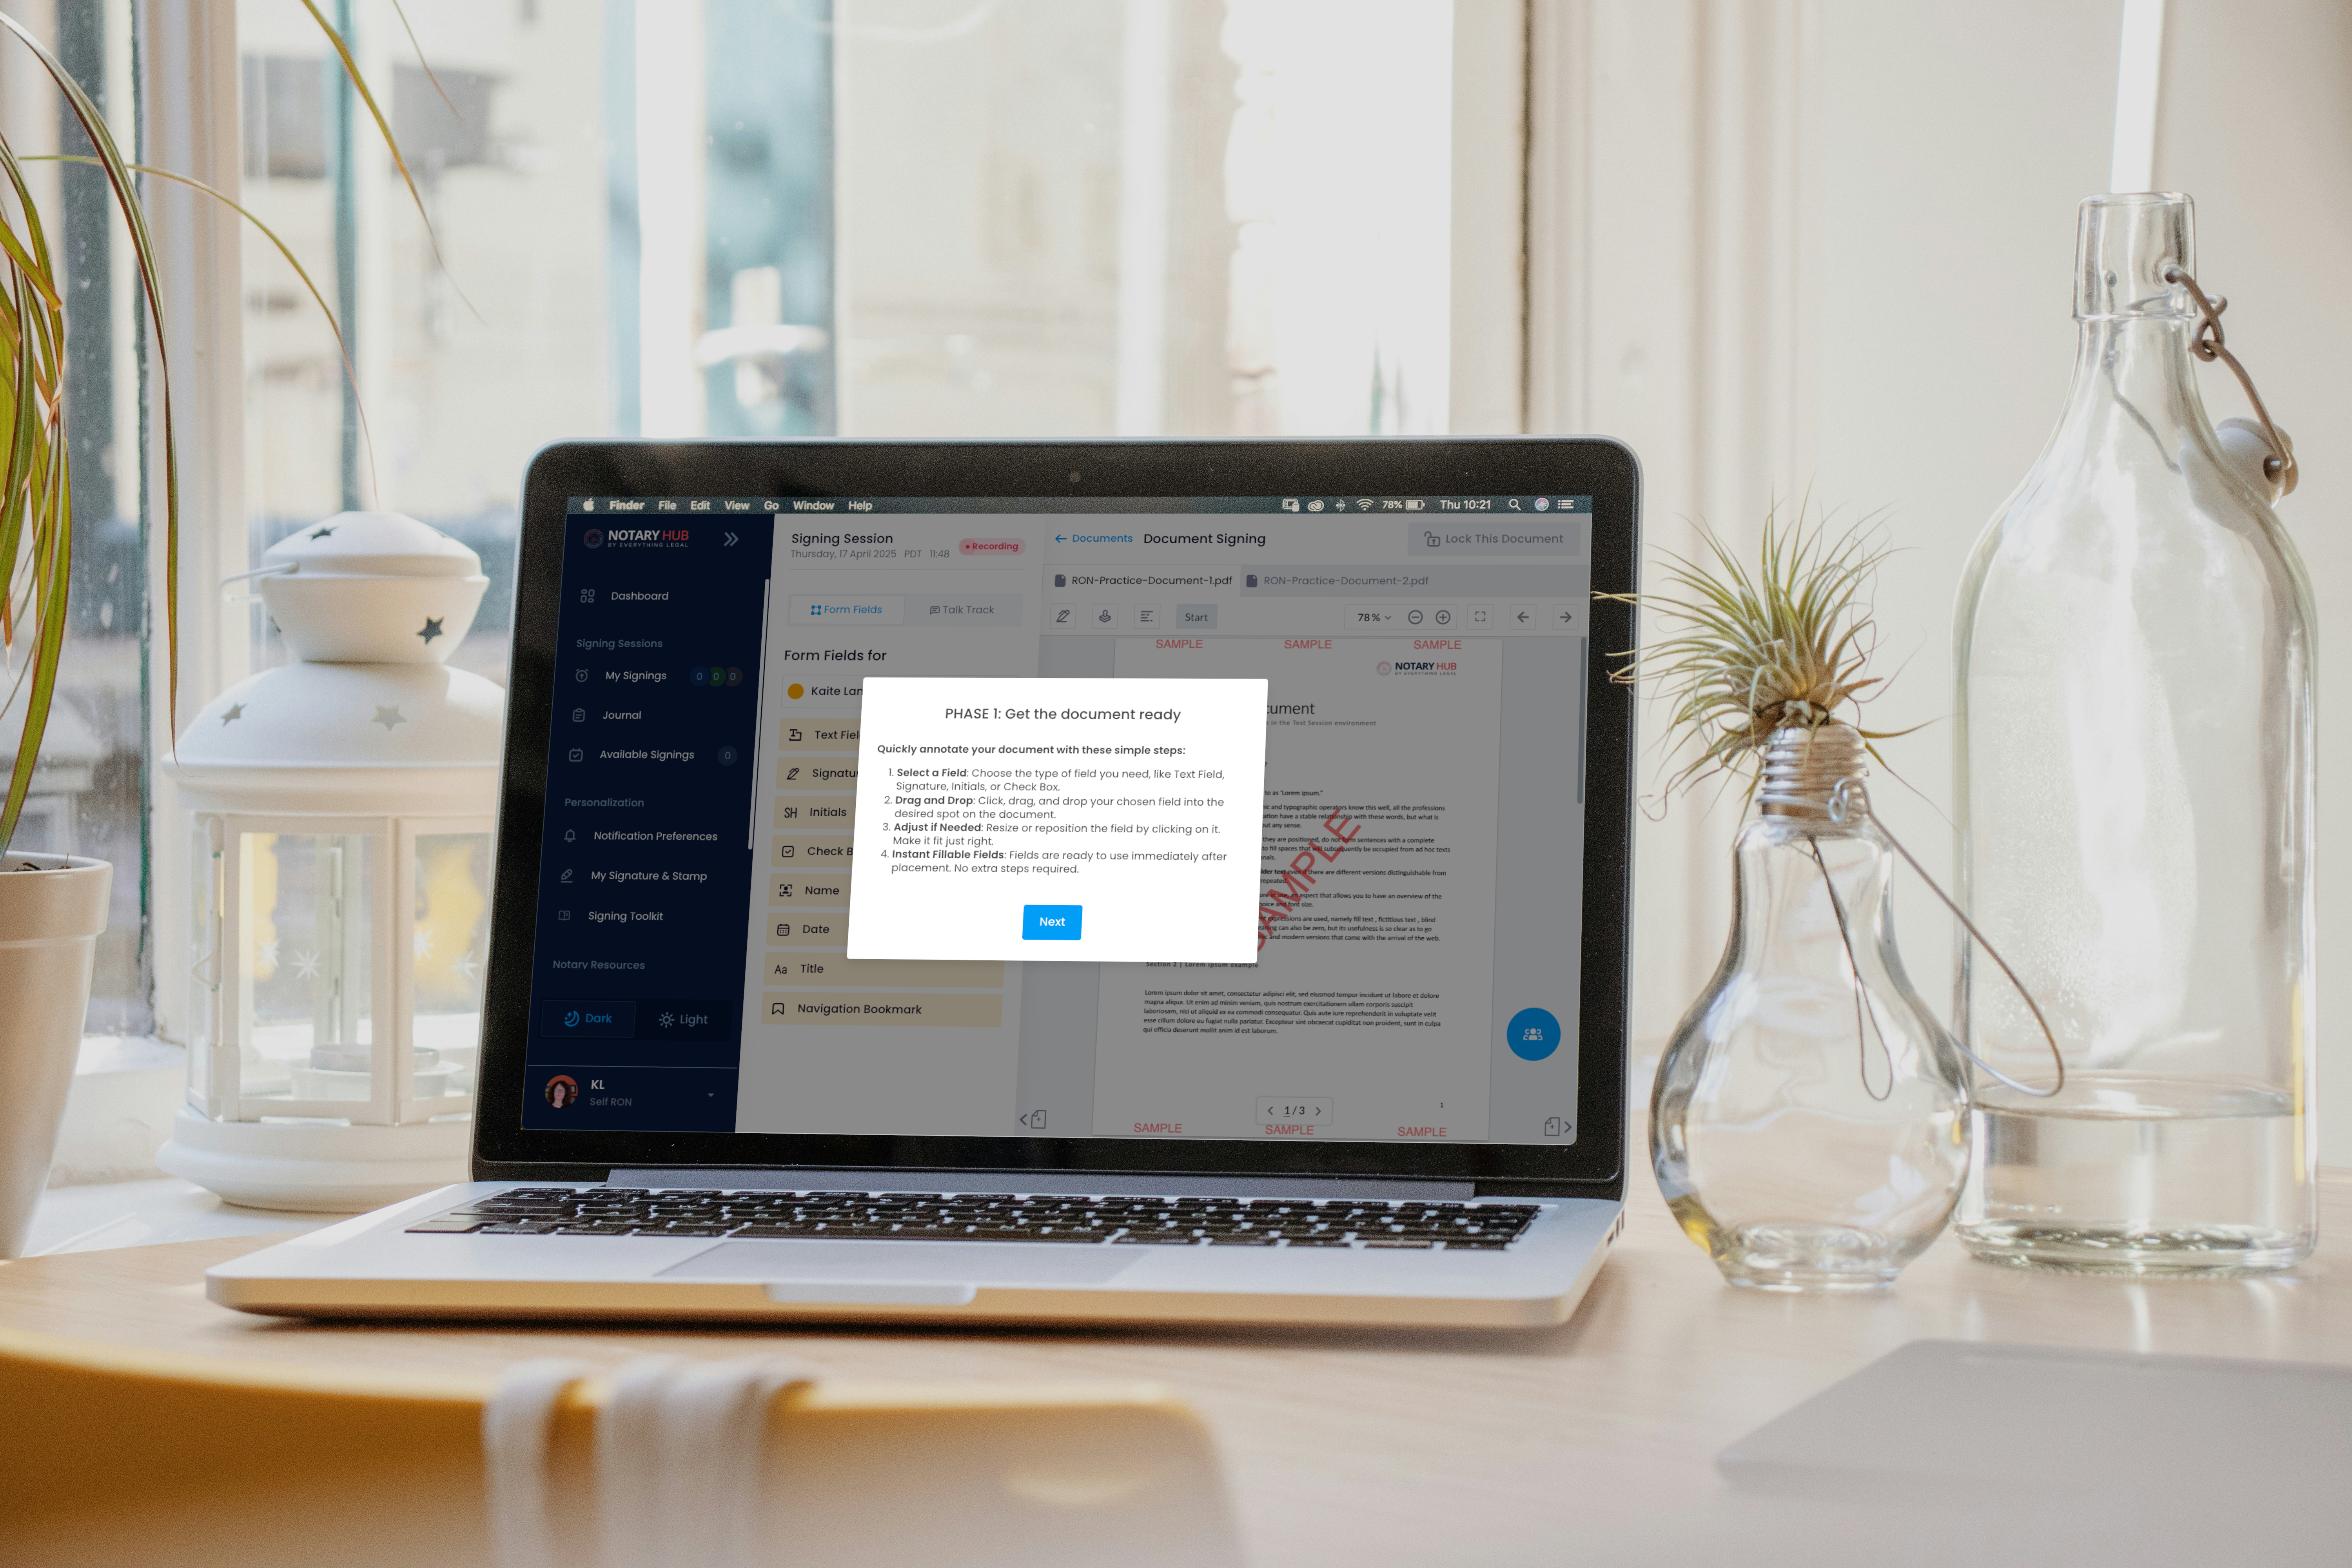
| Phase 1 includes adding annotations for document signing. | 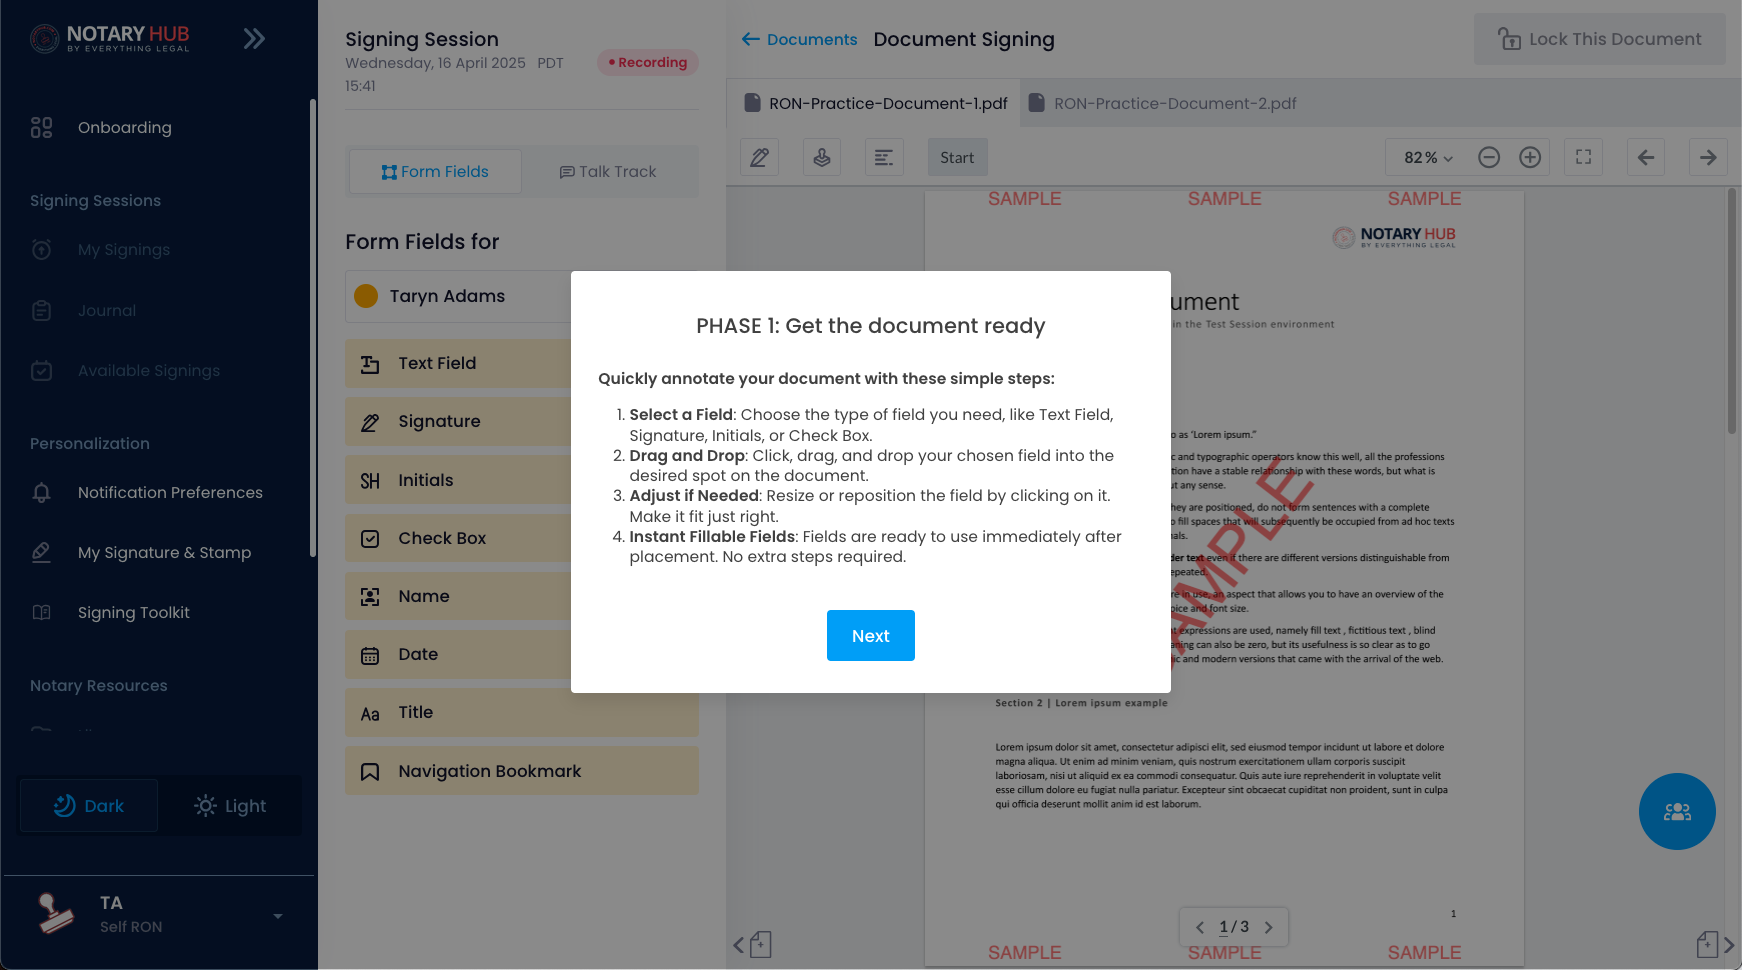 |
| The tool tips show you how to change pages in the document. | 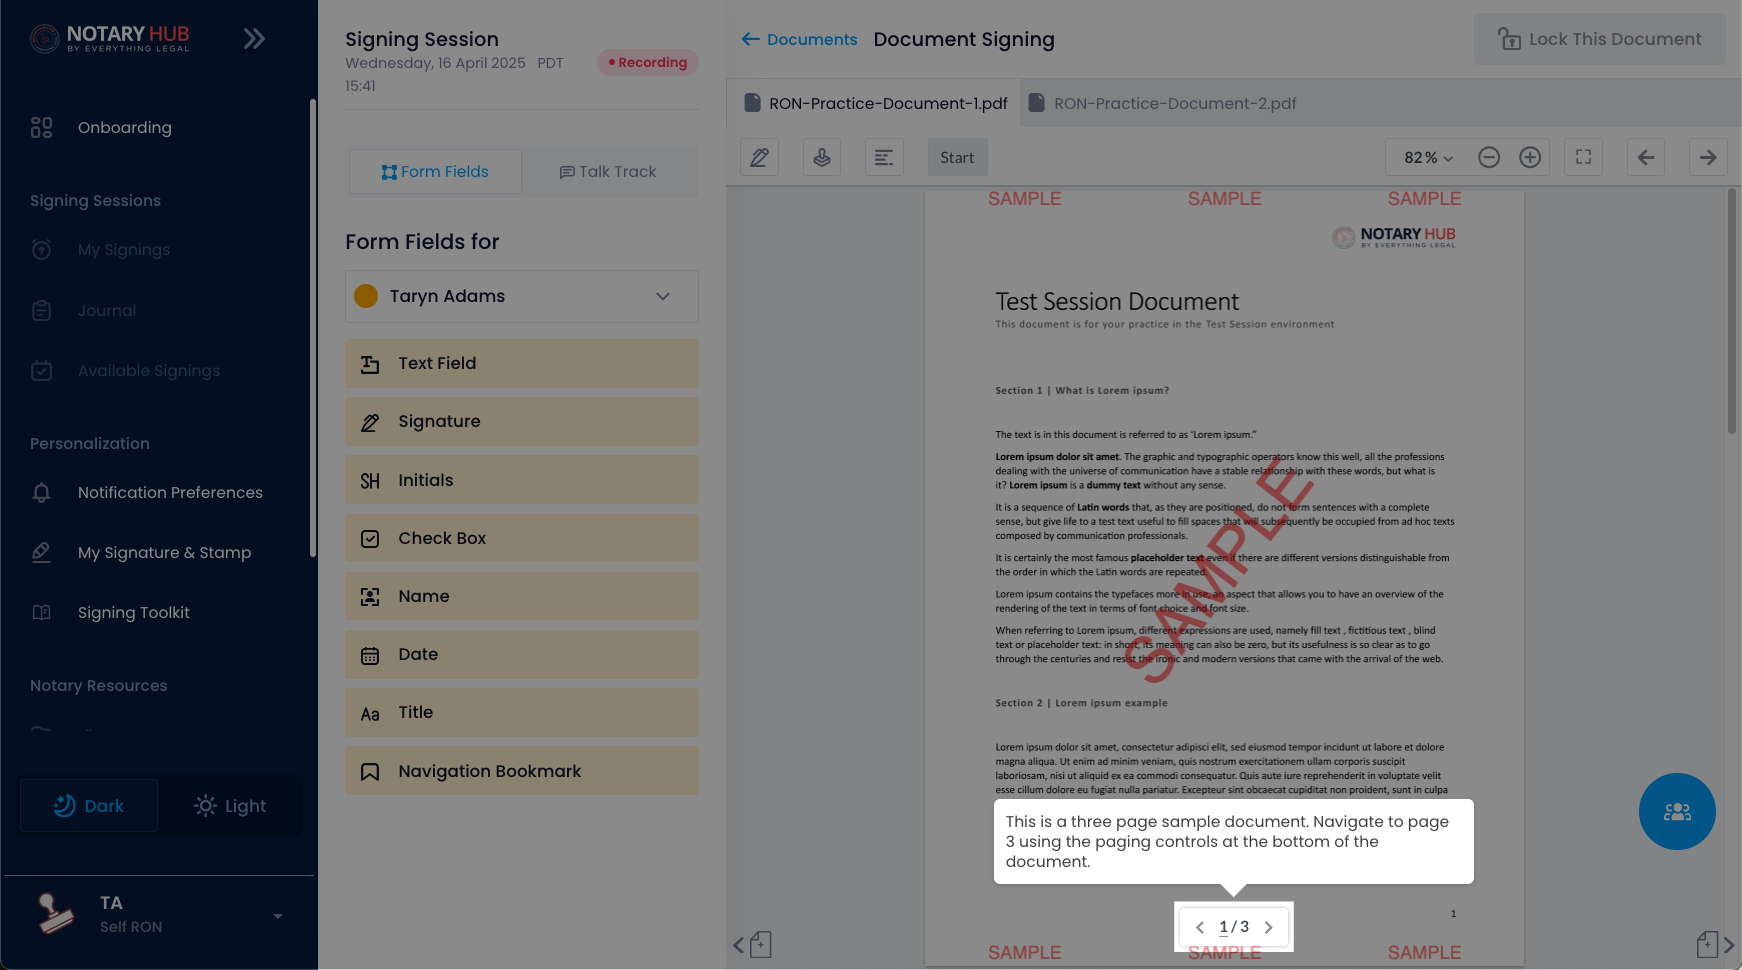 |
| Next you'll be shown how to drag-and-drop text fields onto the document. | 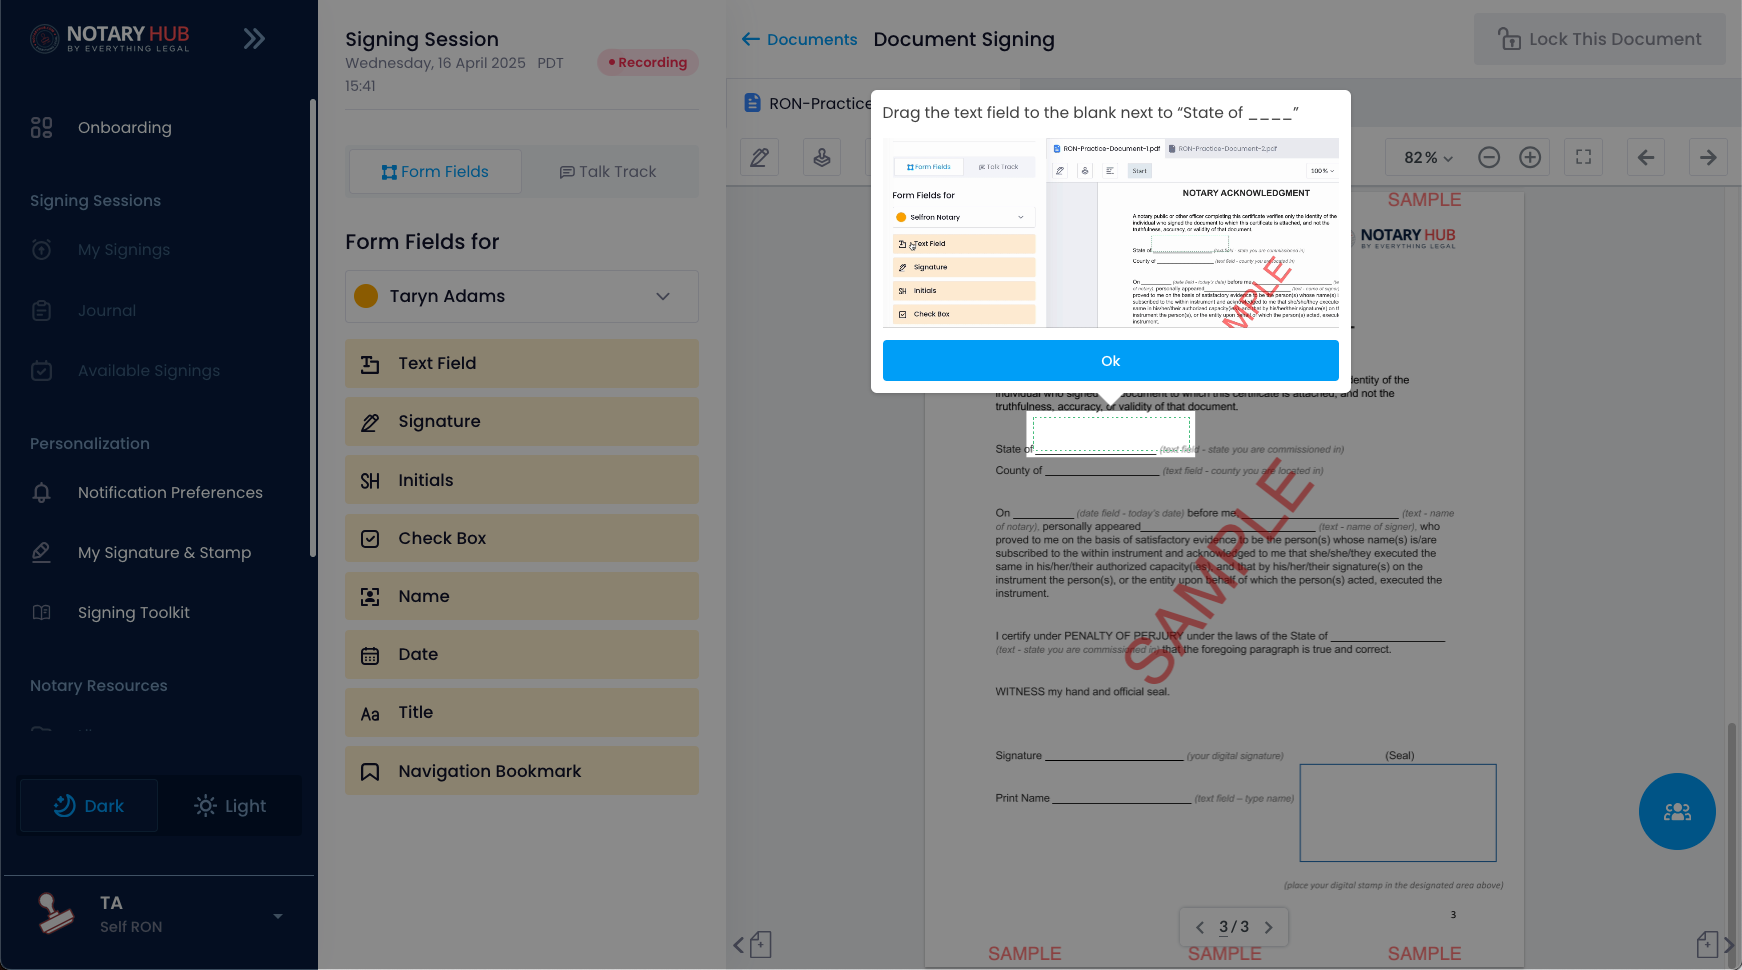 |
| Repeat this step to fill out all blank fields in the sample document. | 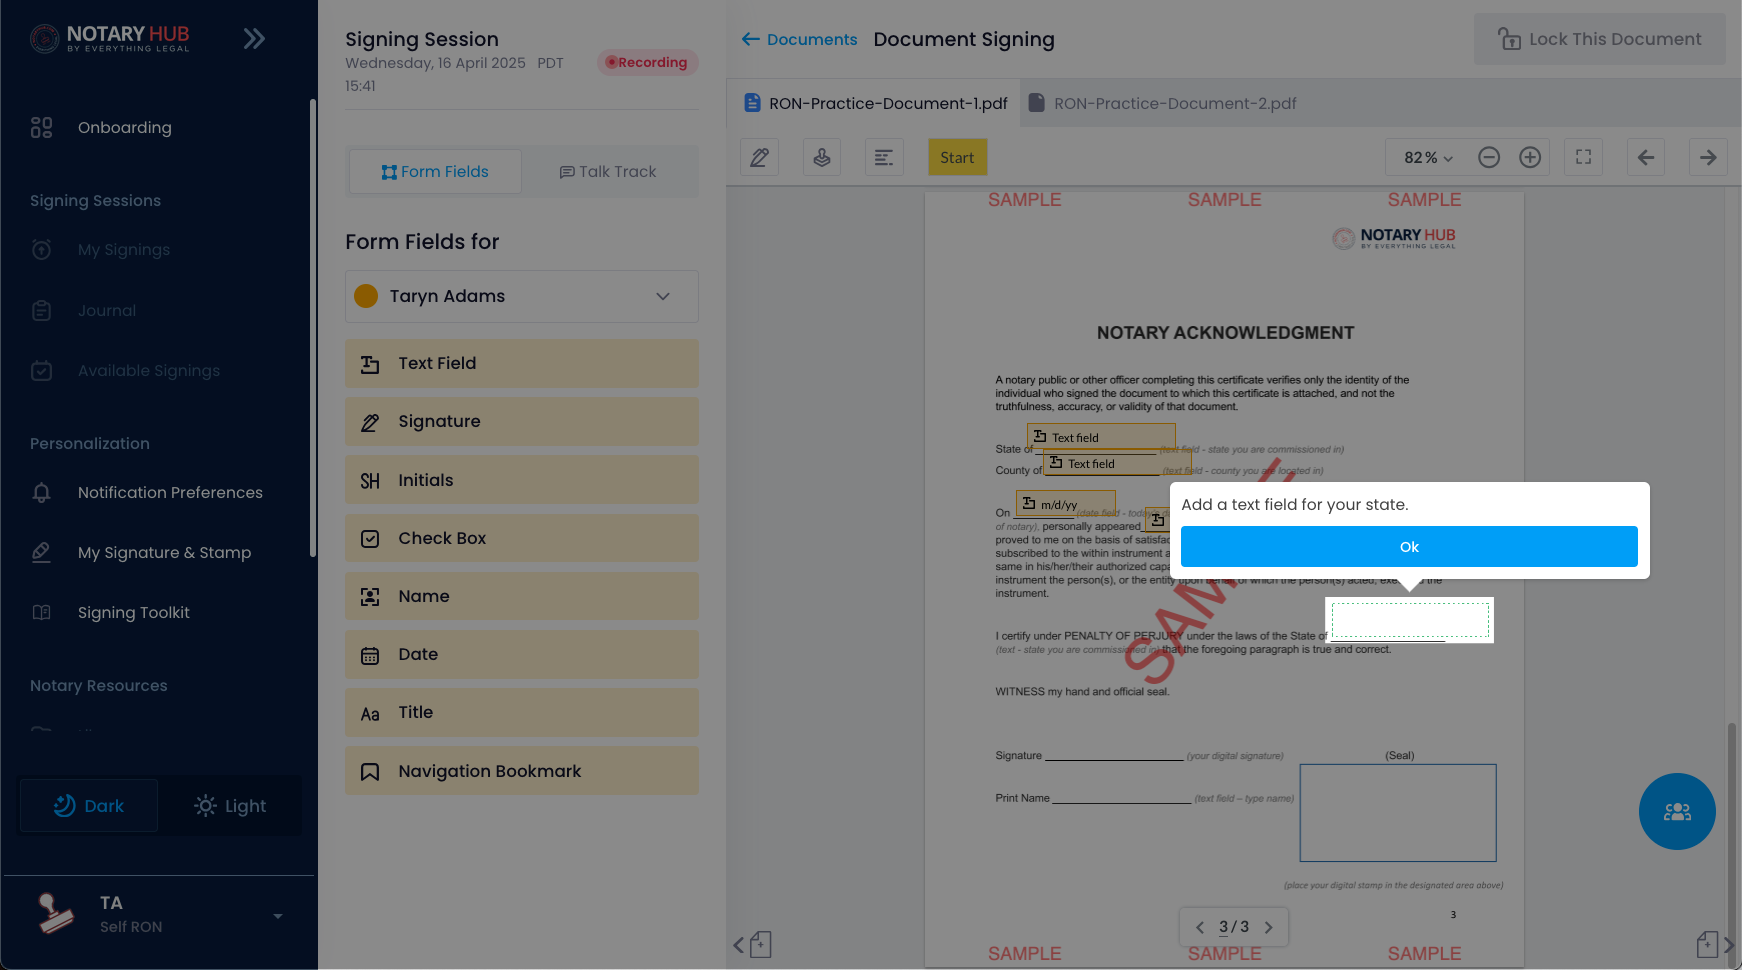 |
| Now you'll be shown how to add your Notary digital signature field to the document, and how it differs from constituent signature fields. | 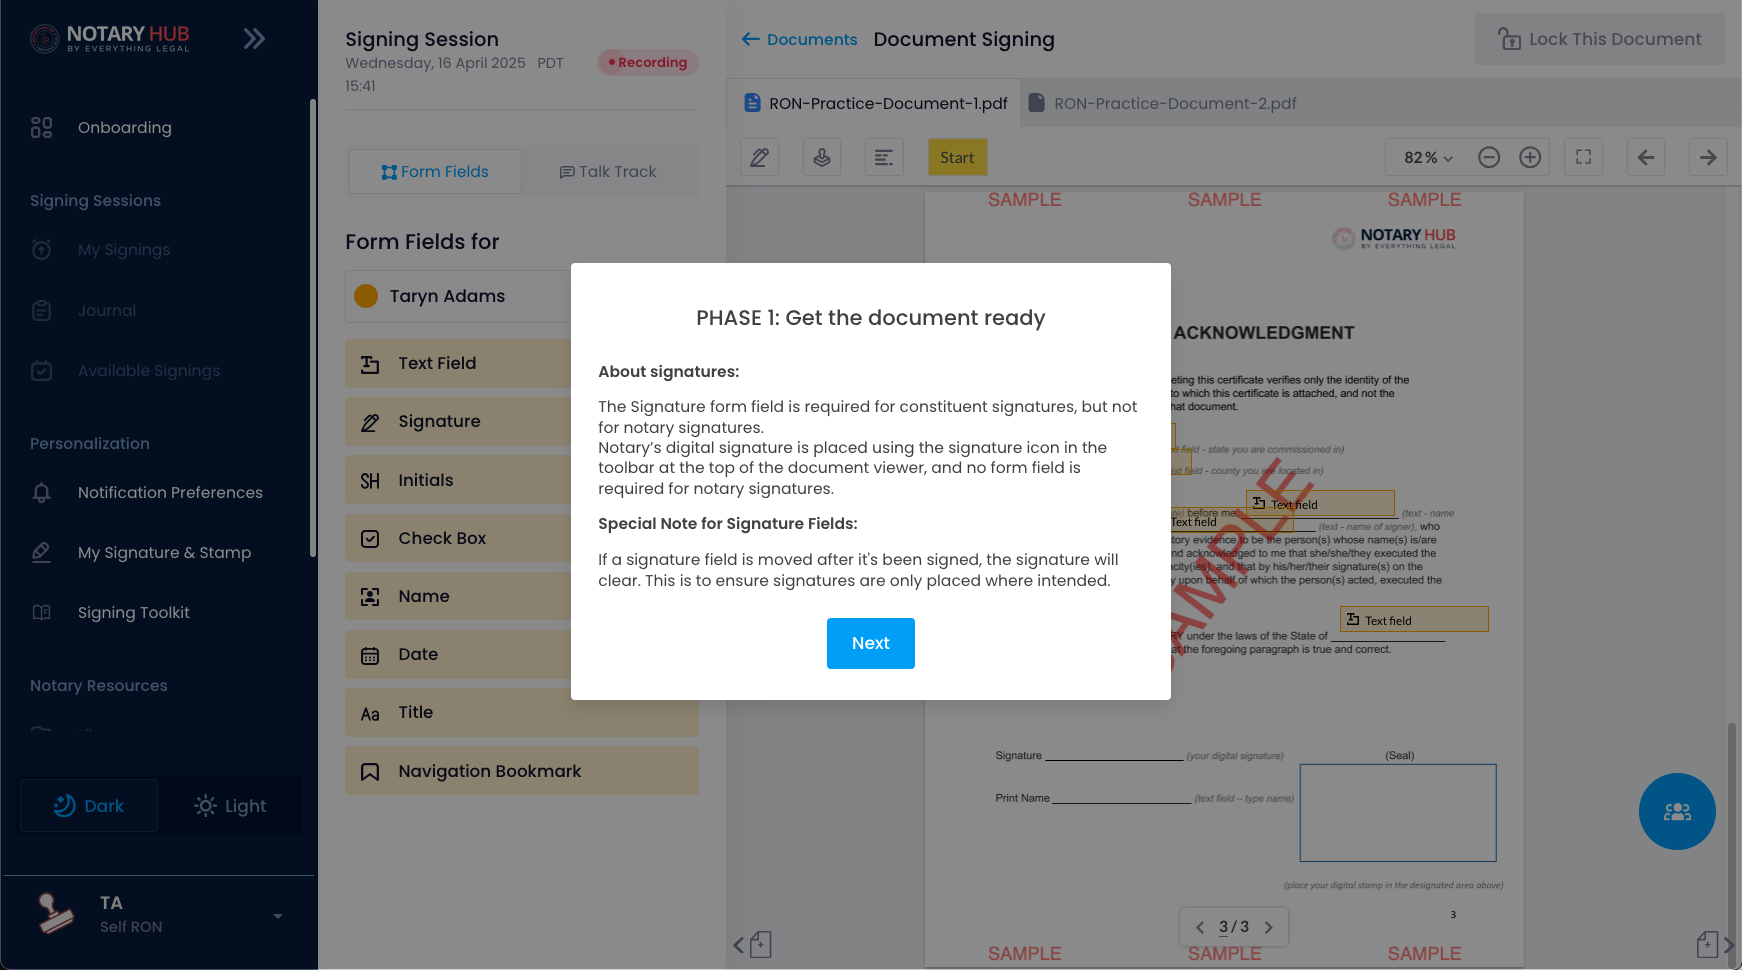 |
| Add the final text field below notary signature. | 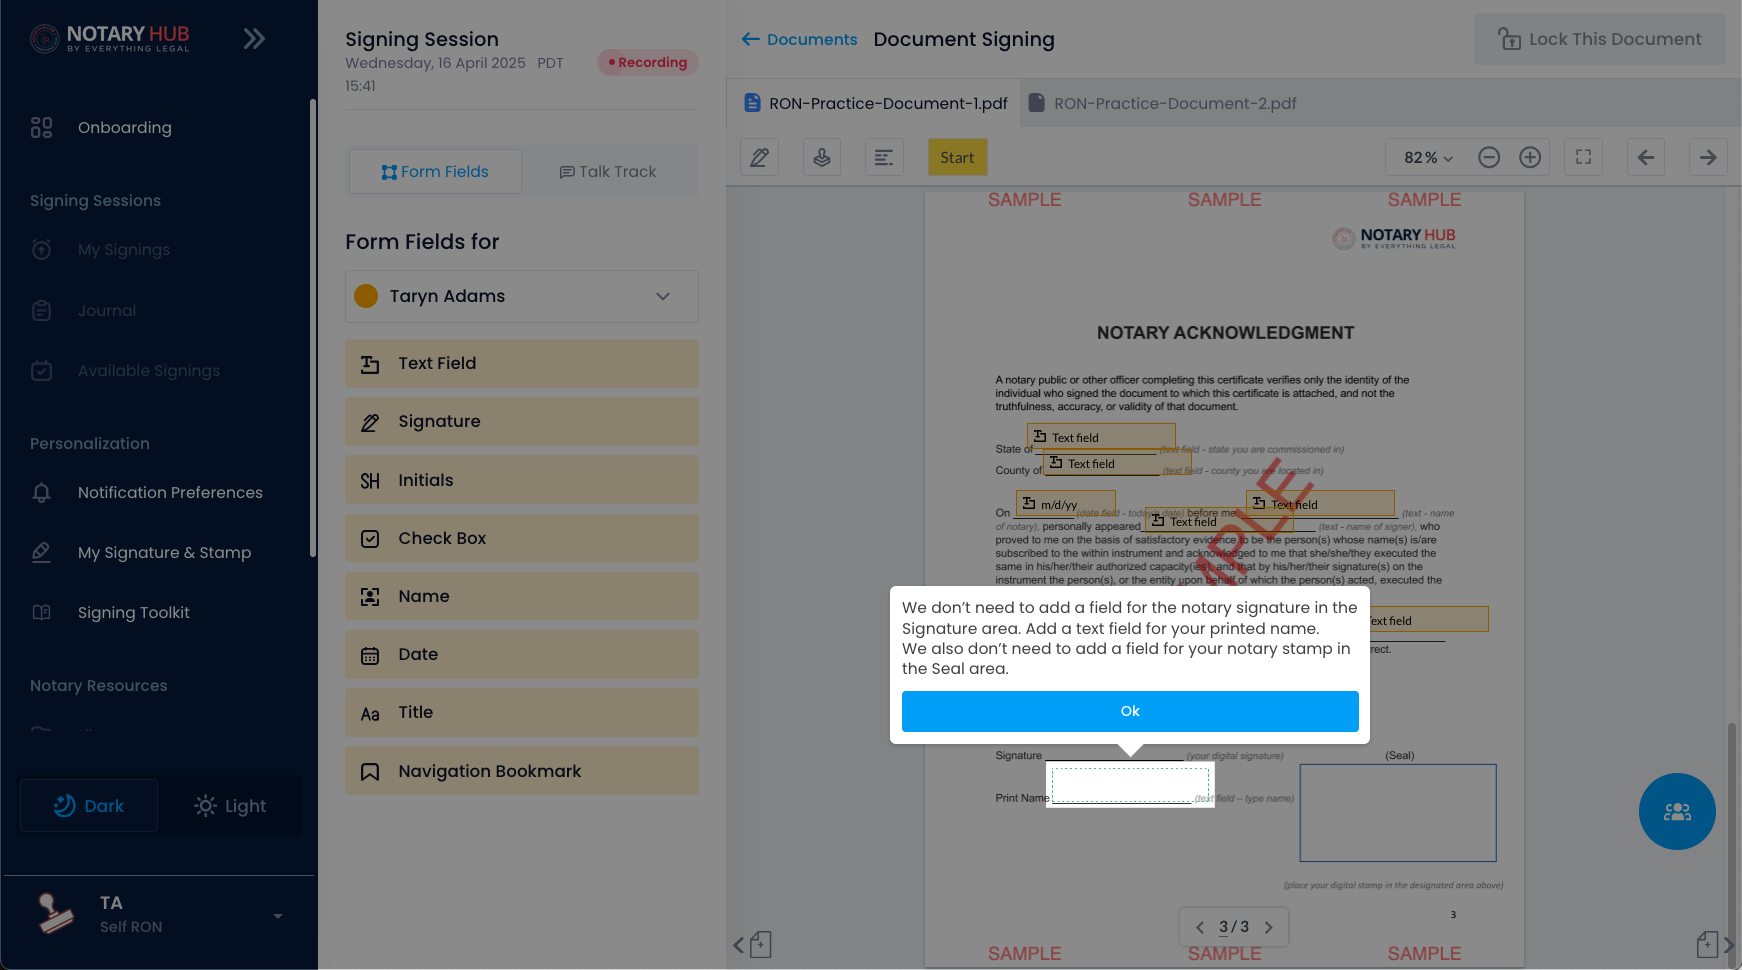 |
| Phase 2 normally involves filling in the form fields you just created, but this step is skipped in the Practice Session. | 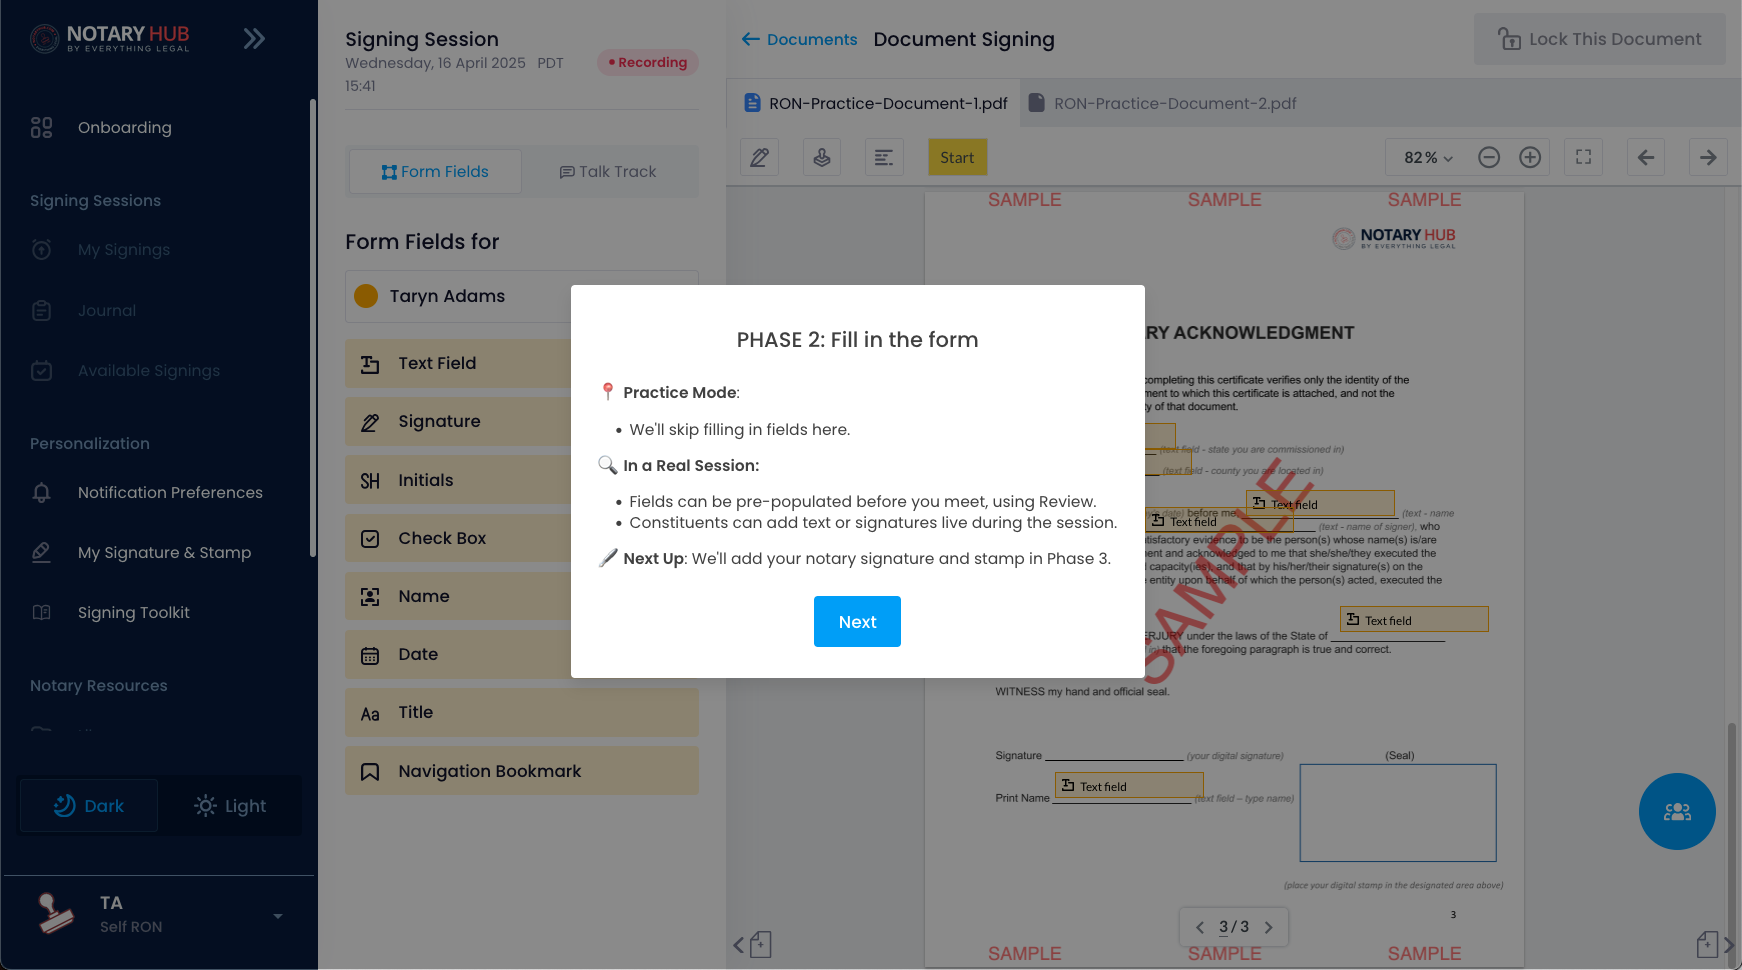 |
| Phase 3 includes adding your notary signature, stamp, and required RON statement so you can lock the document. | 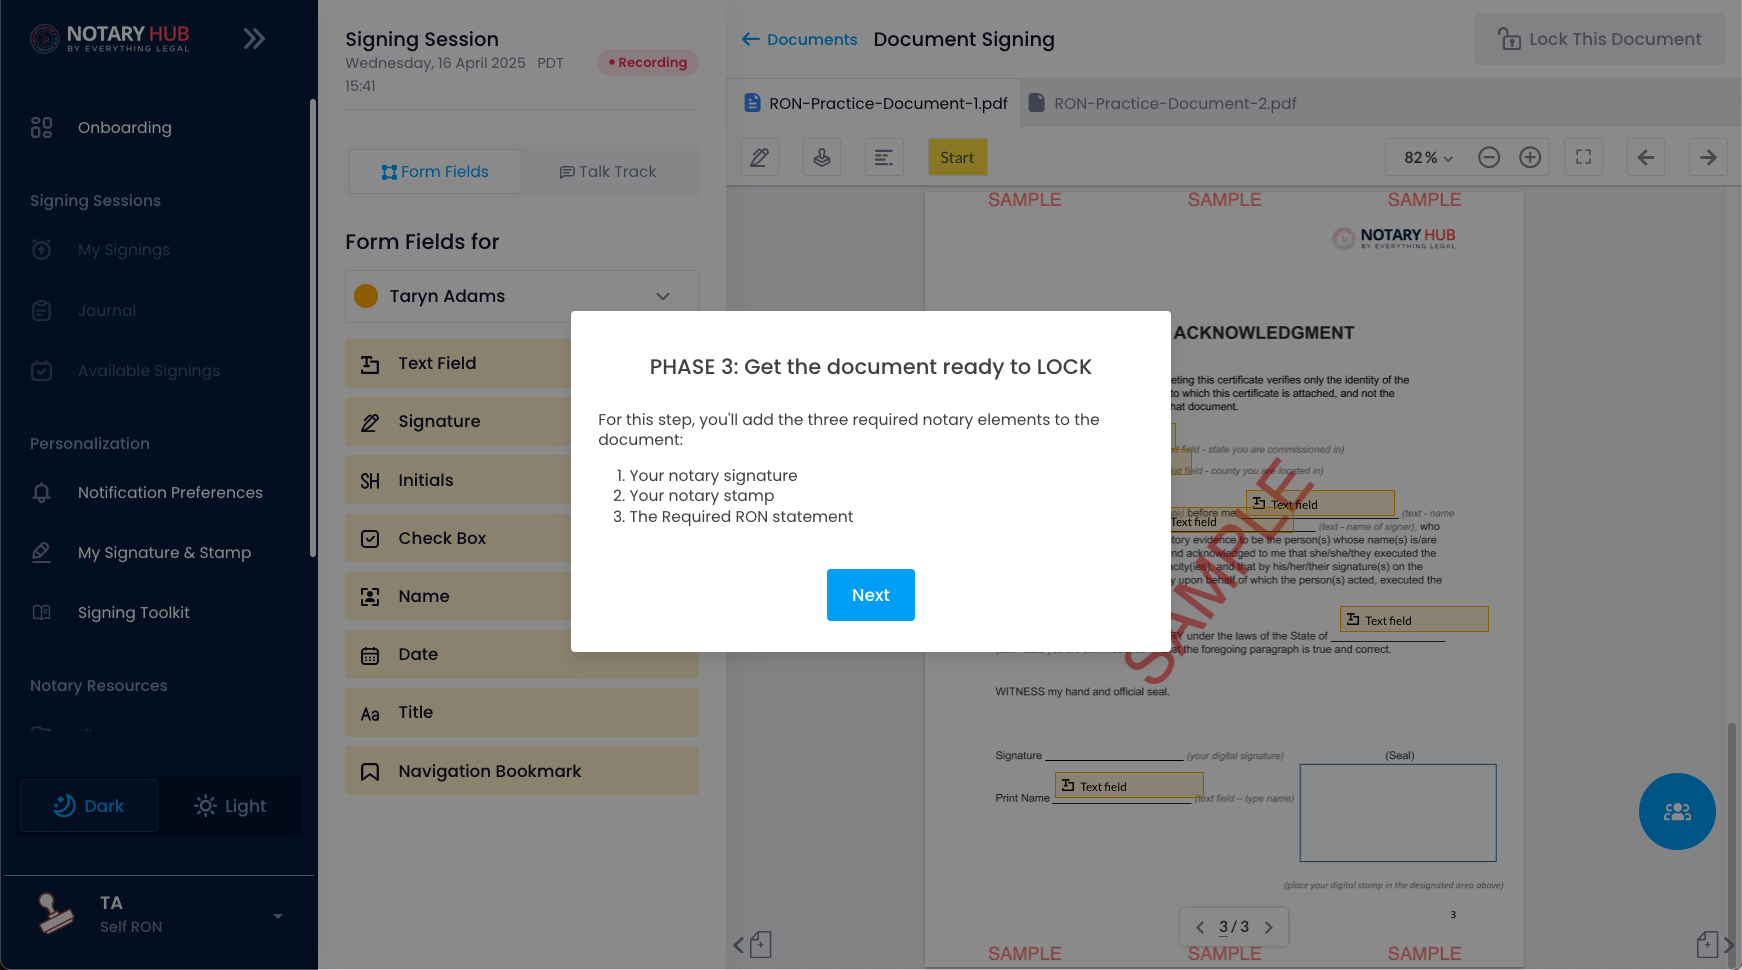 |
| The pen icon will add your notary signature. | 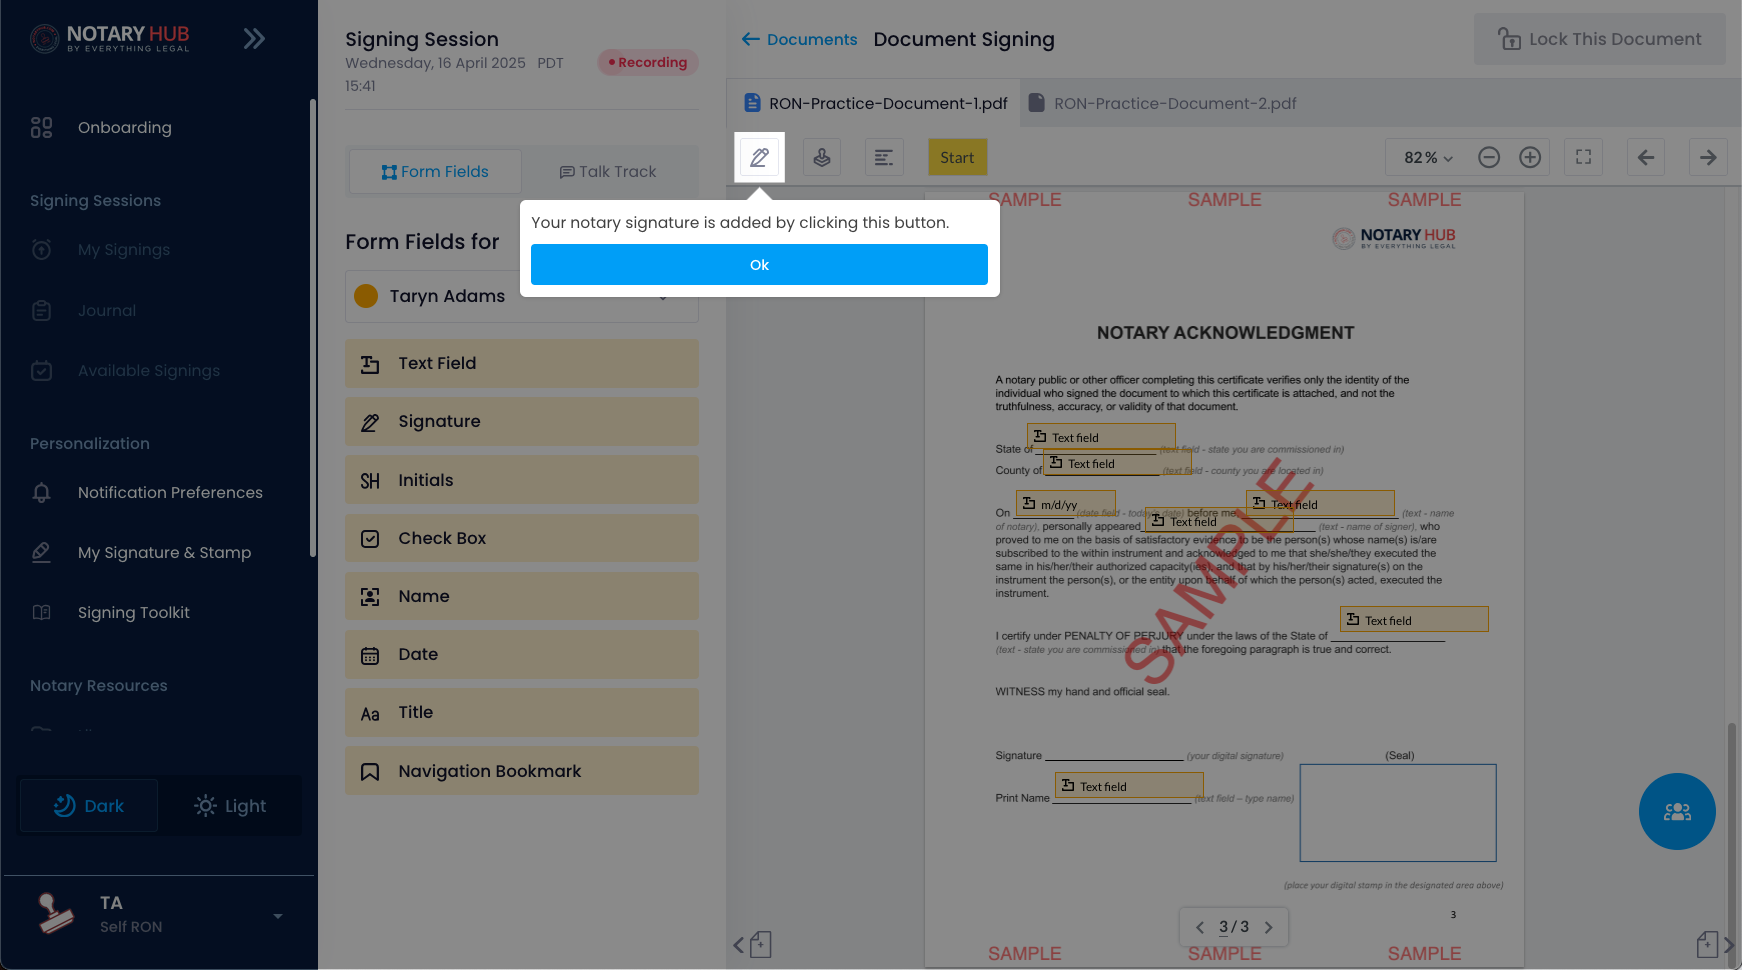 |
| The stamp icon will add your notary stamp. | 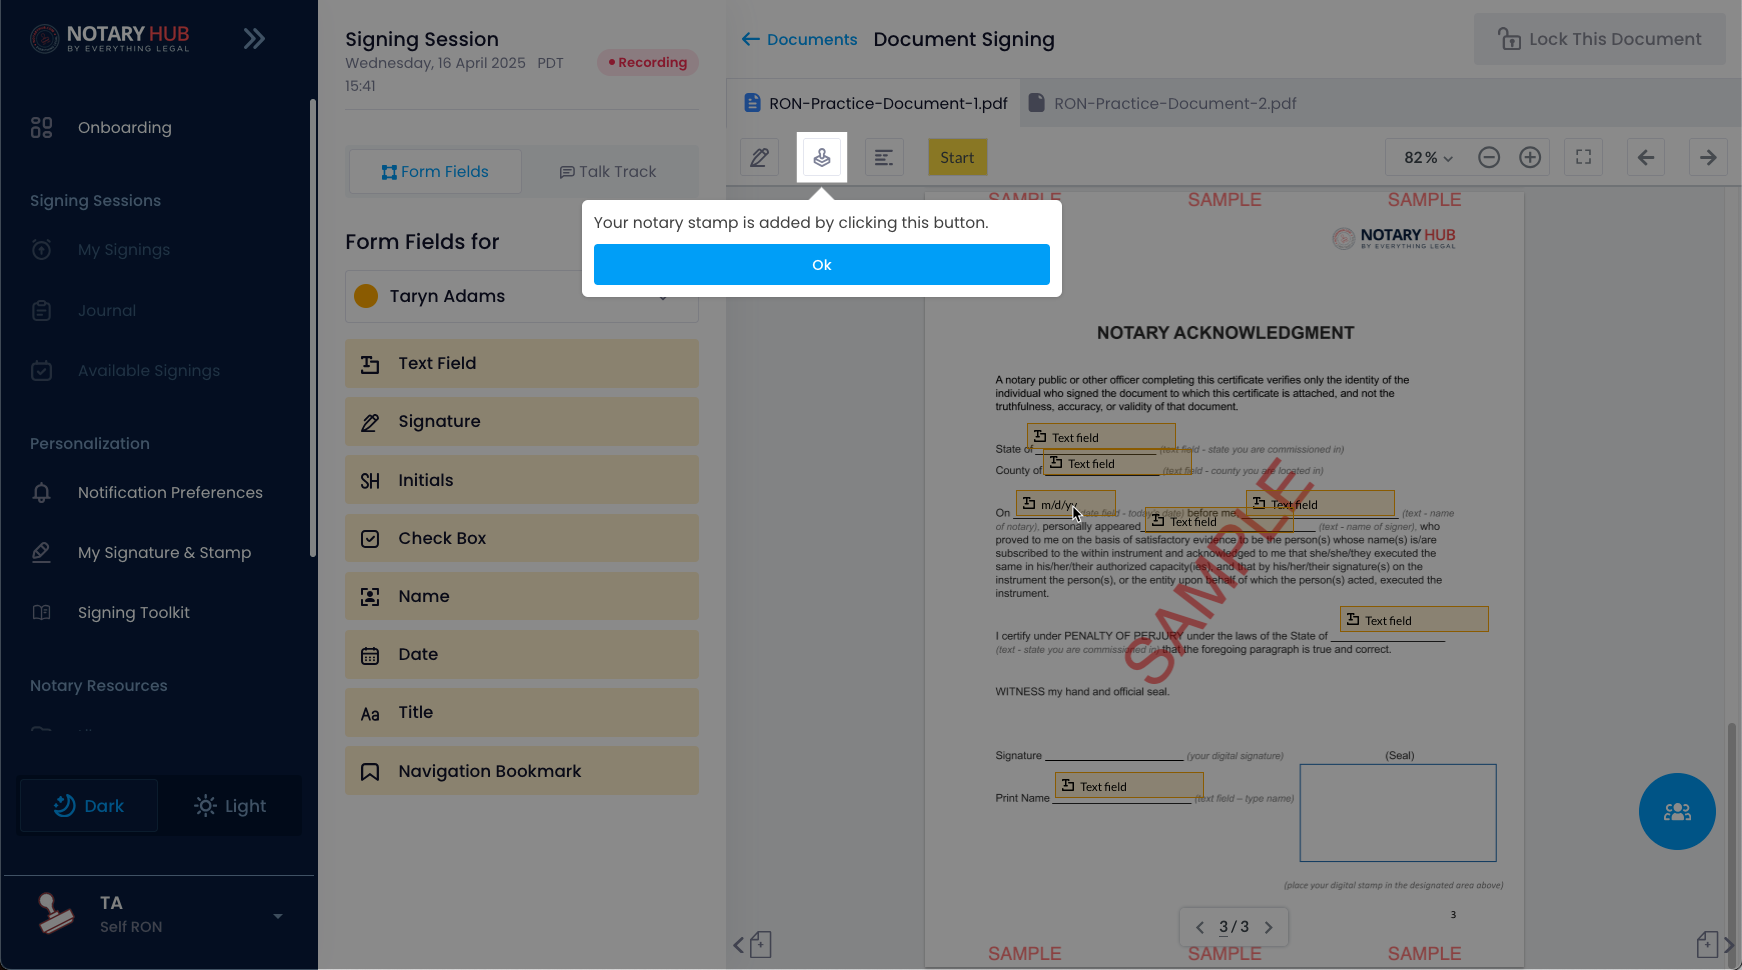 |
| The text lines icon will add the required RON statement. | 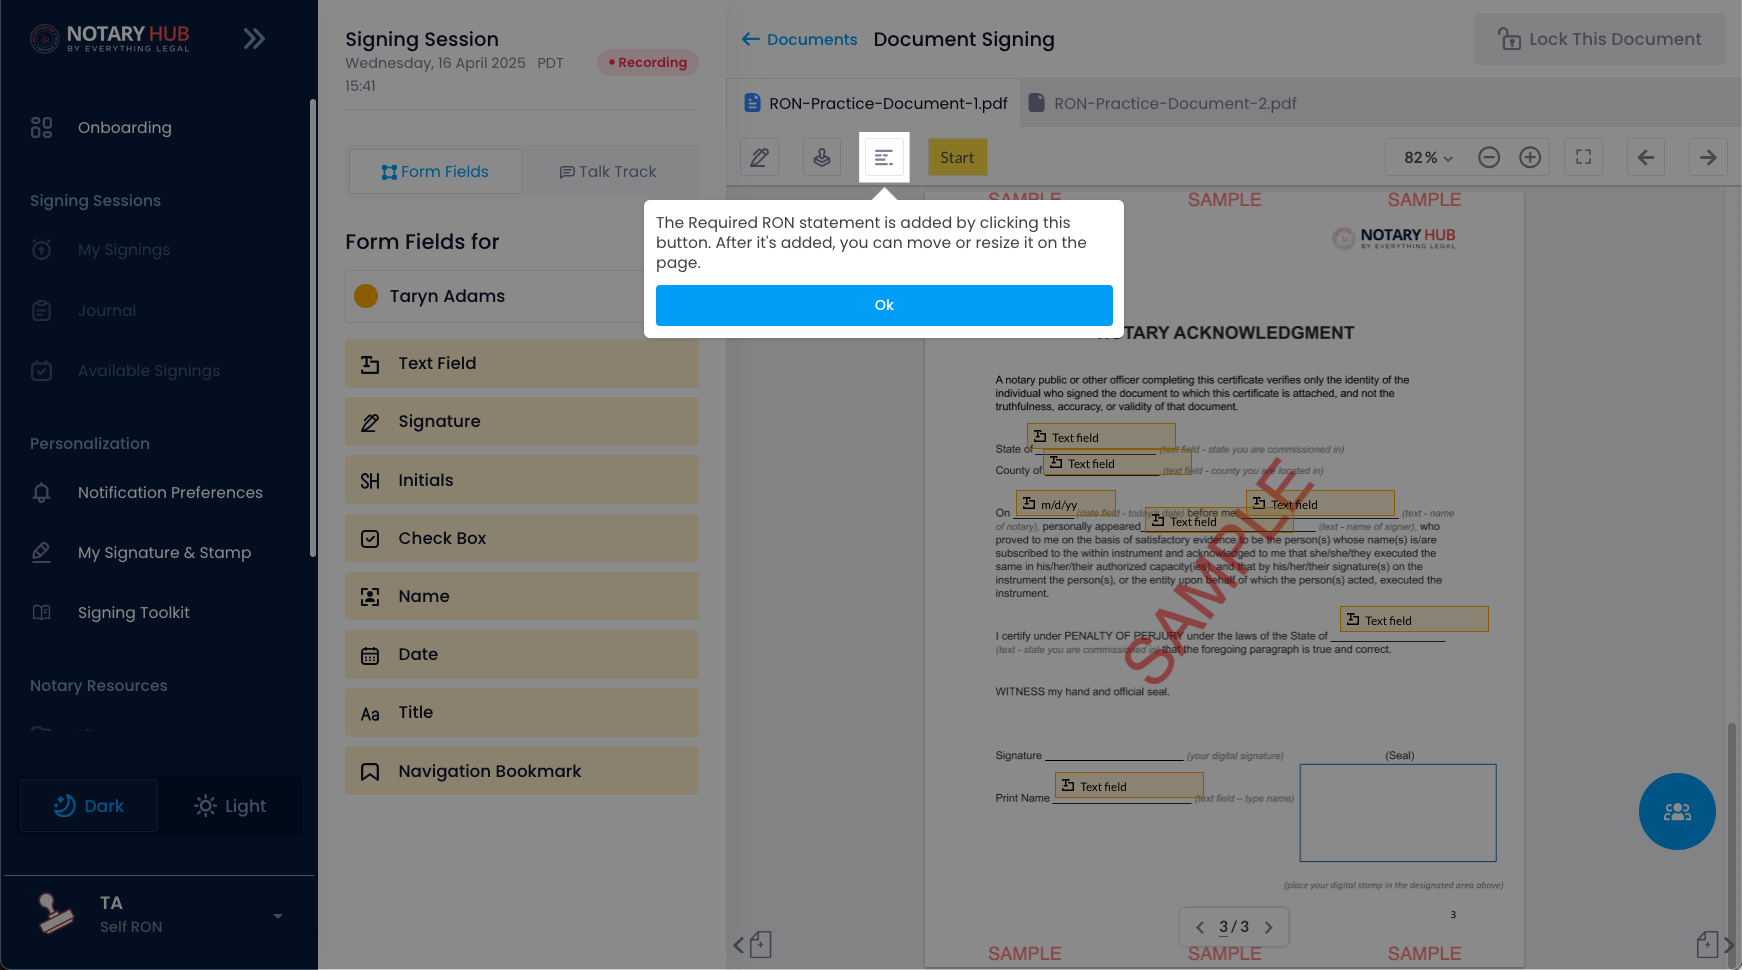 |
| All three of these elements are required to be added to the document before it can be locked. | 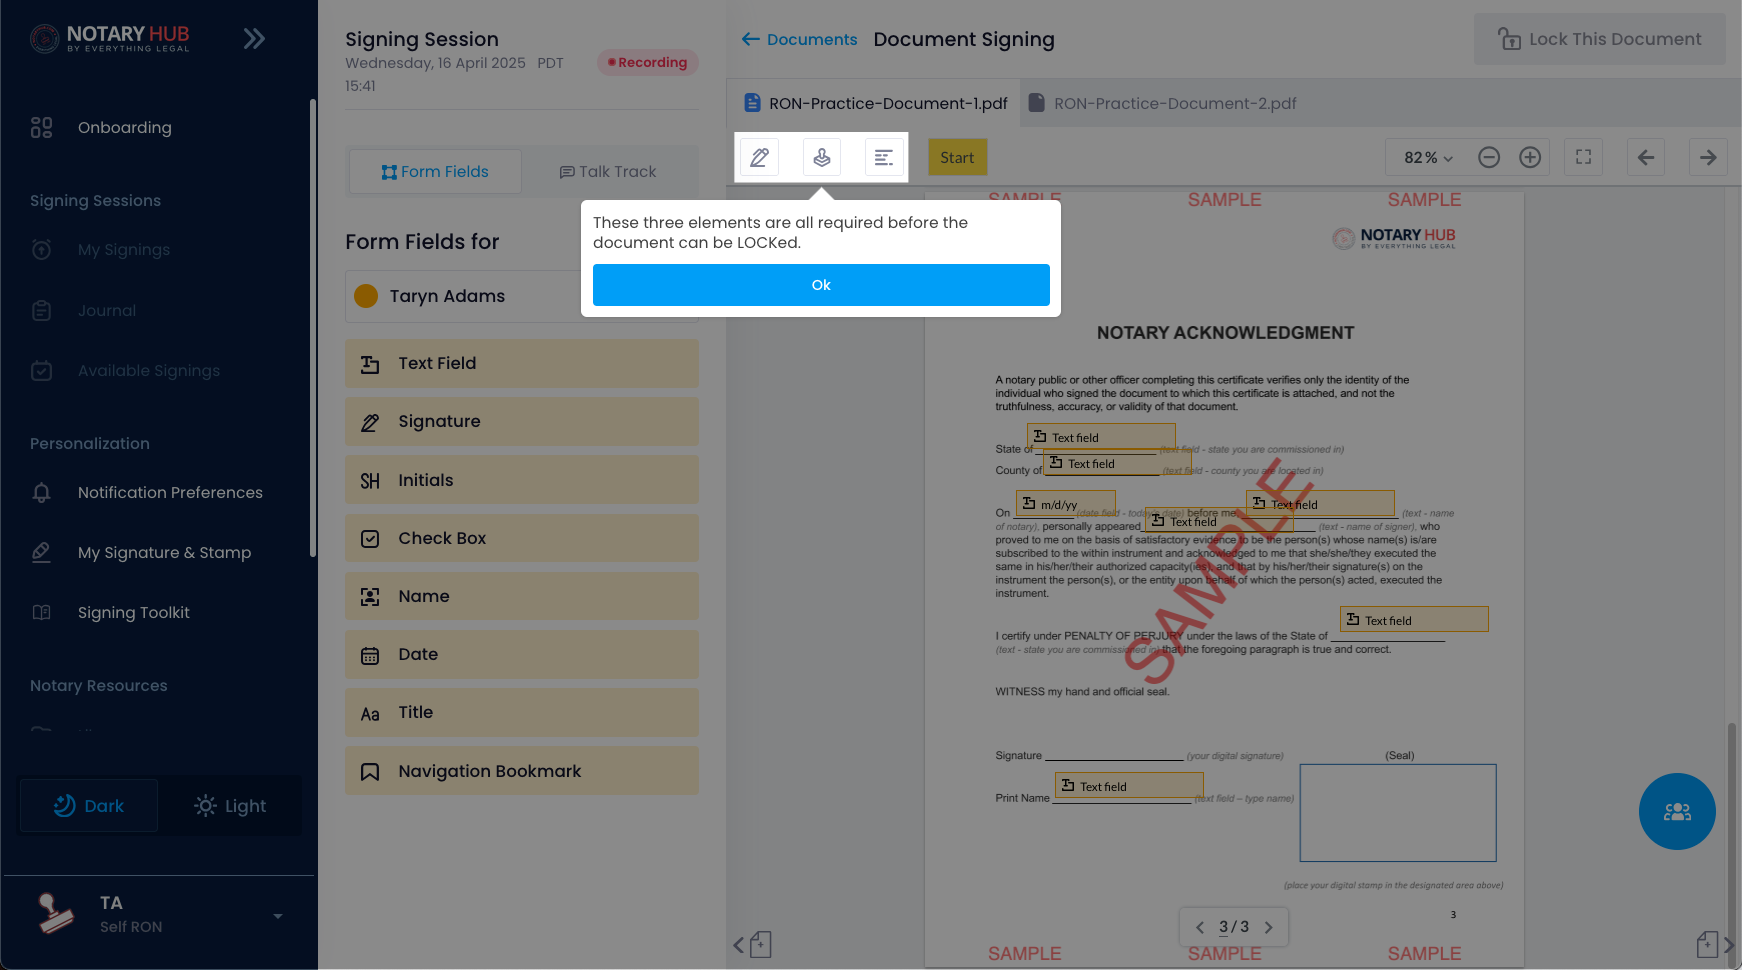 |
| The next tool tip will give you instructions on how to lock and finalize the document. | 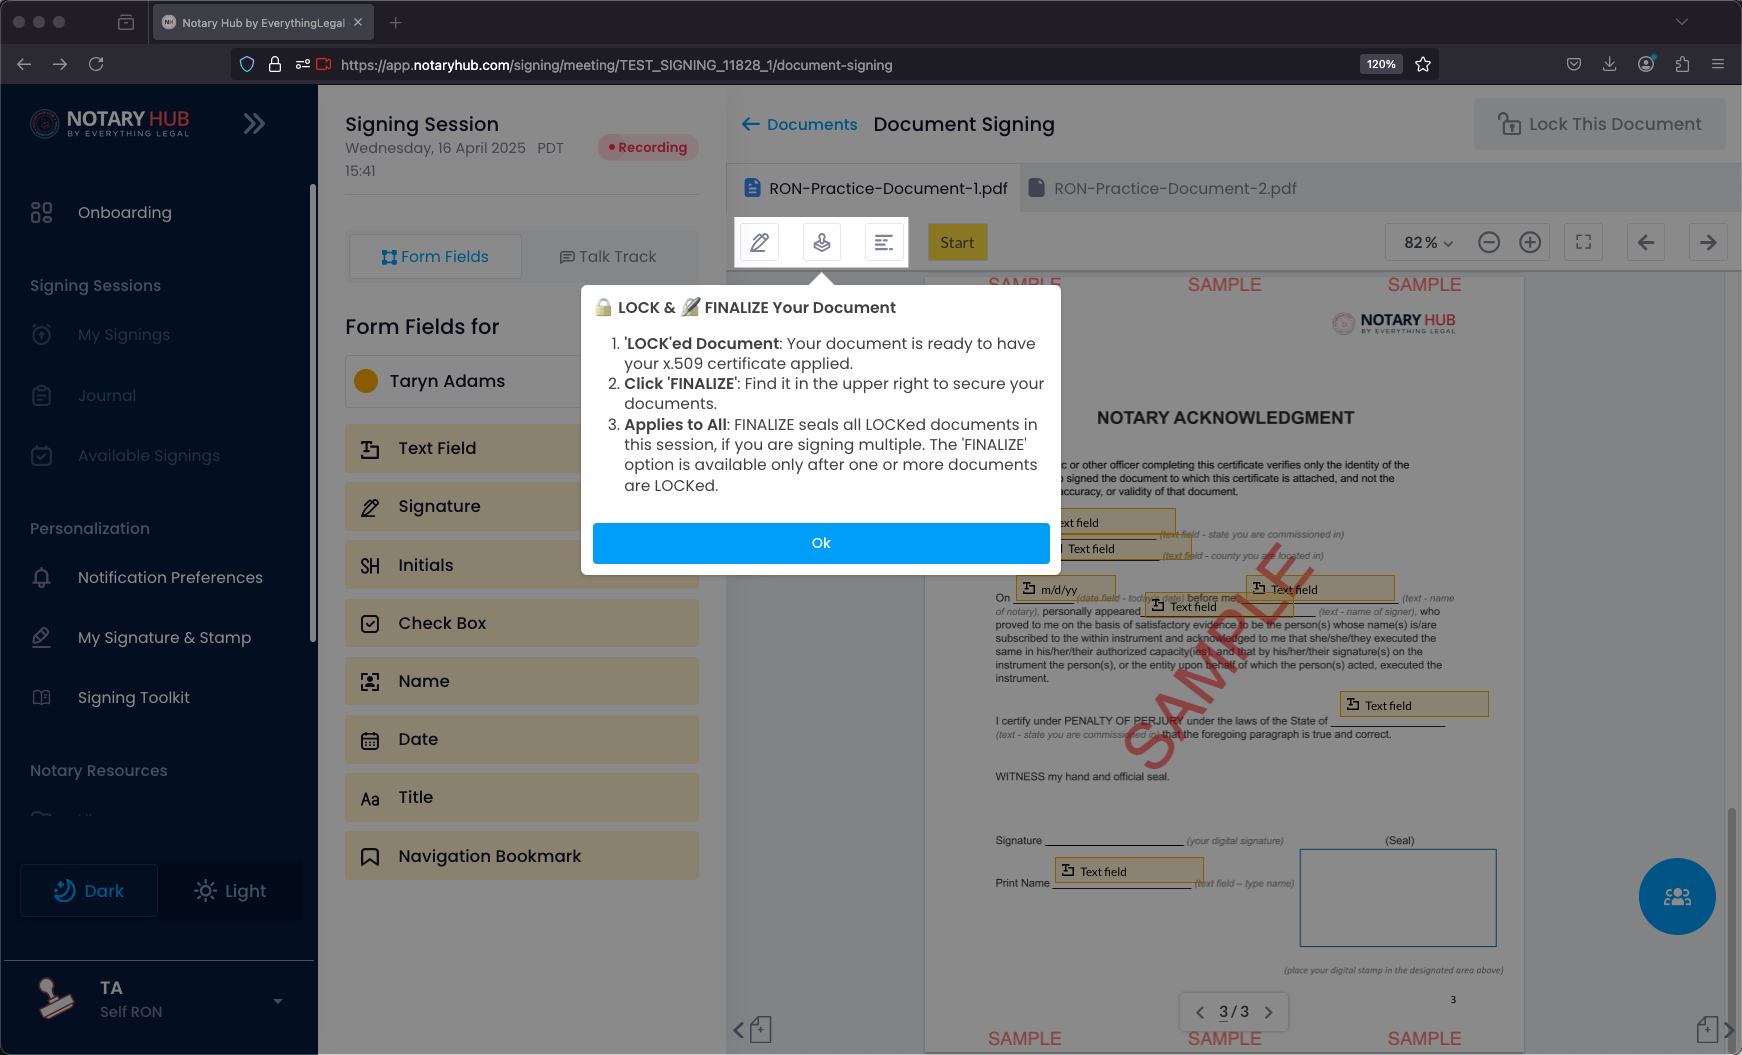 |
| You will be shown how to add and resize your signature. | 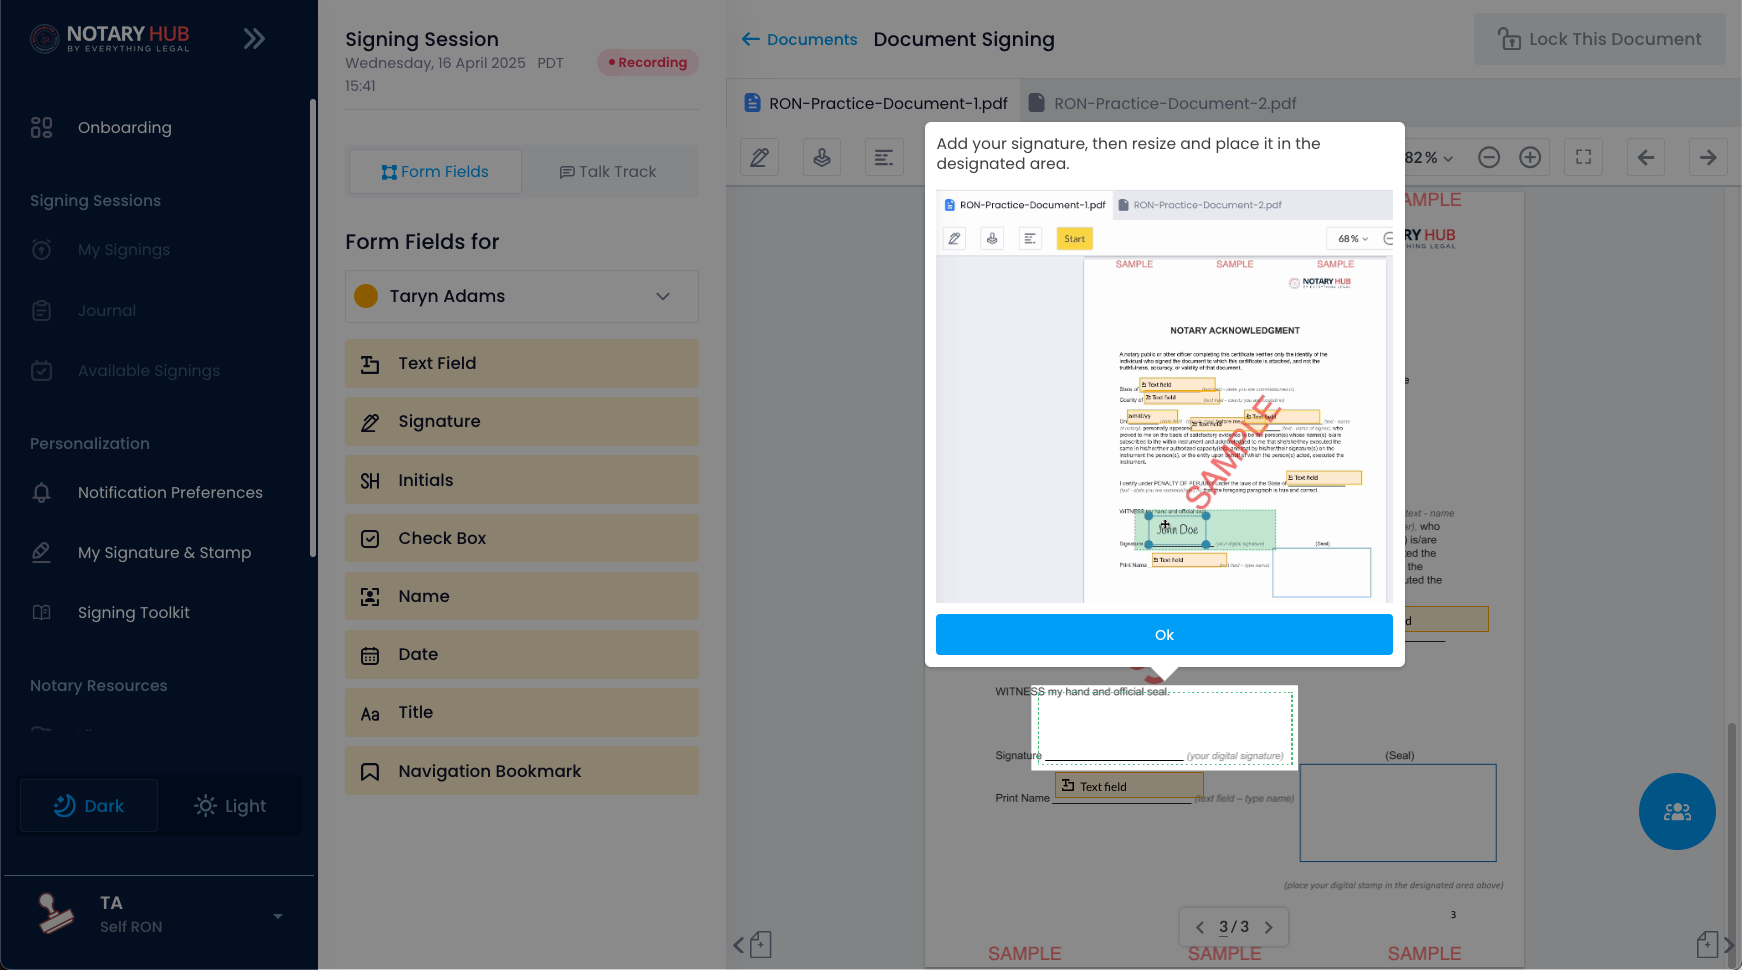 |
| You will be shown how to add and resize your stamp. | 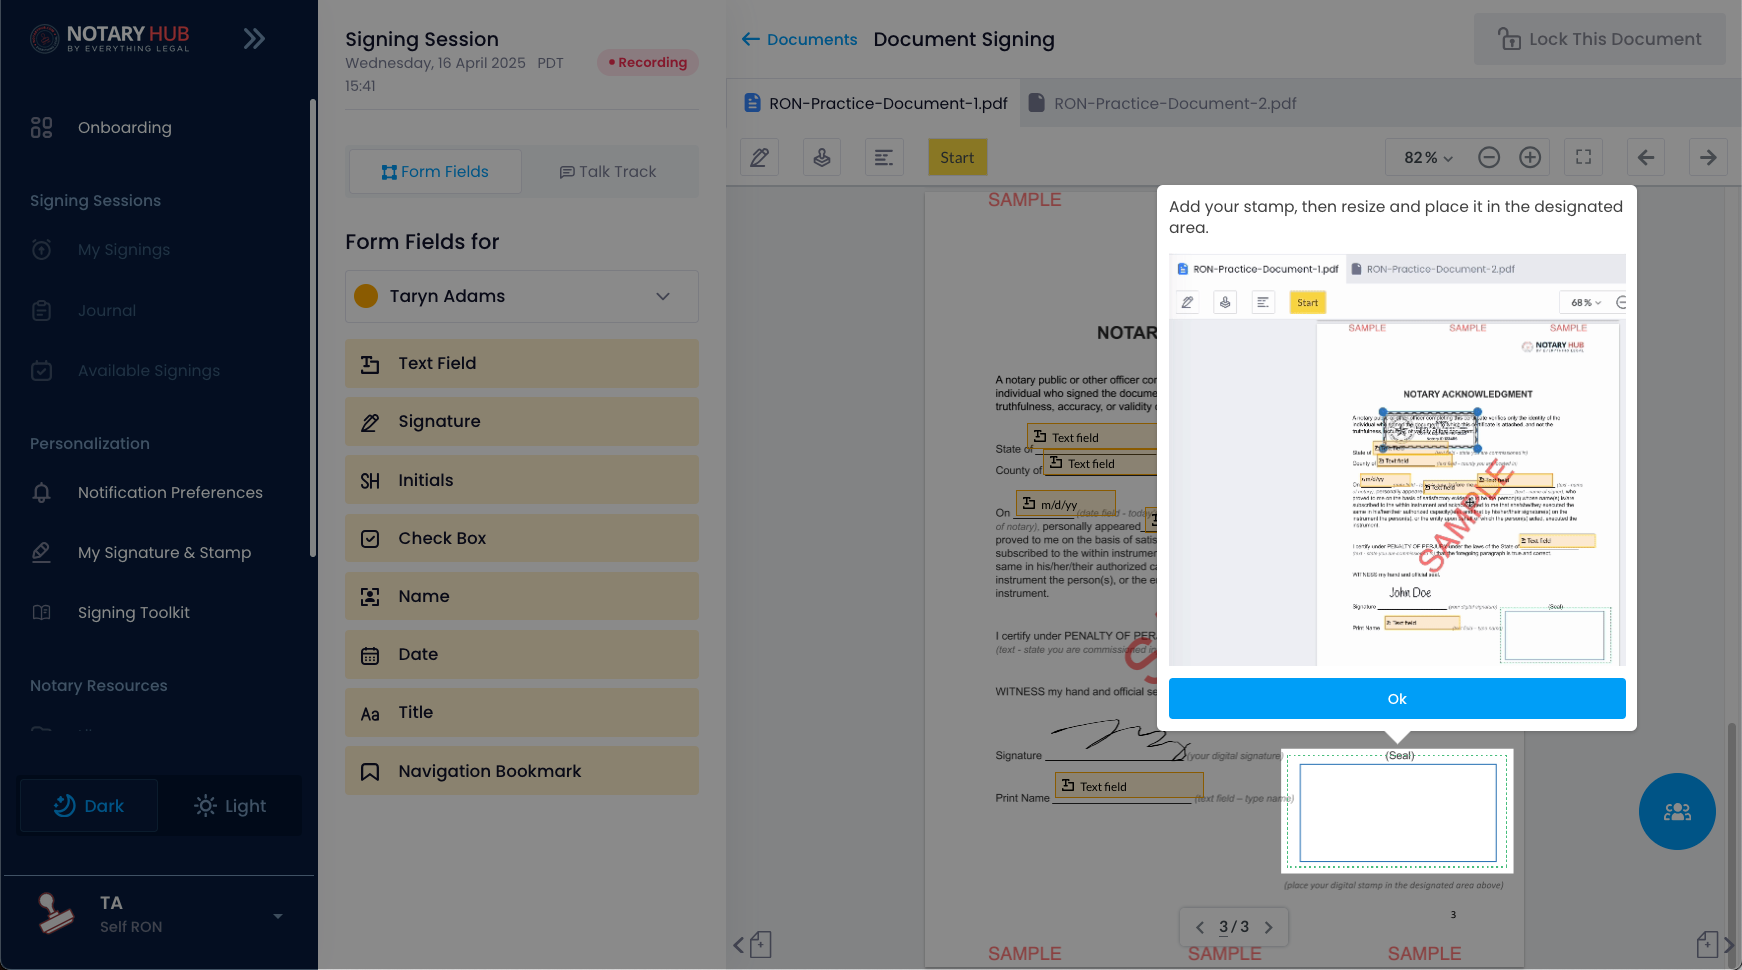 |
| You will be shown how to add and resize the required RON statement. |  |
| Once all required elements are added, the "Lock this Document" button will turn green. Click it to proceed with locking the document. | 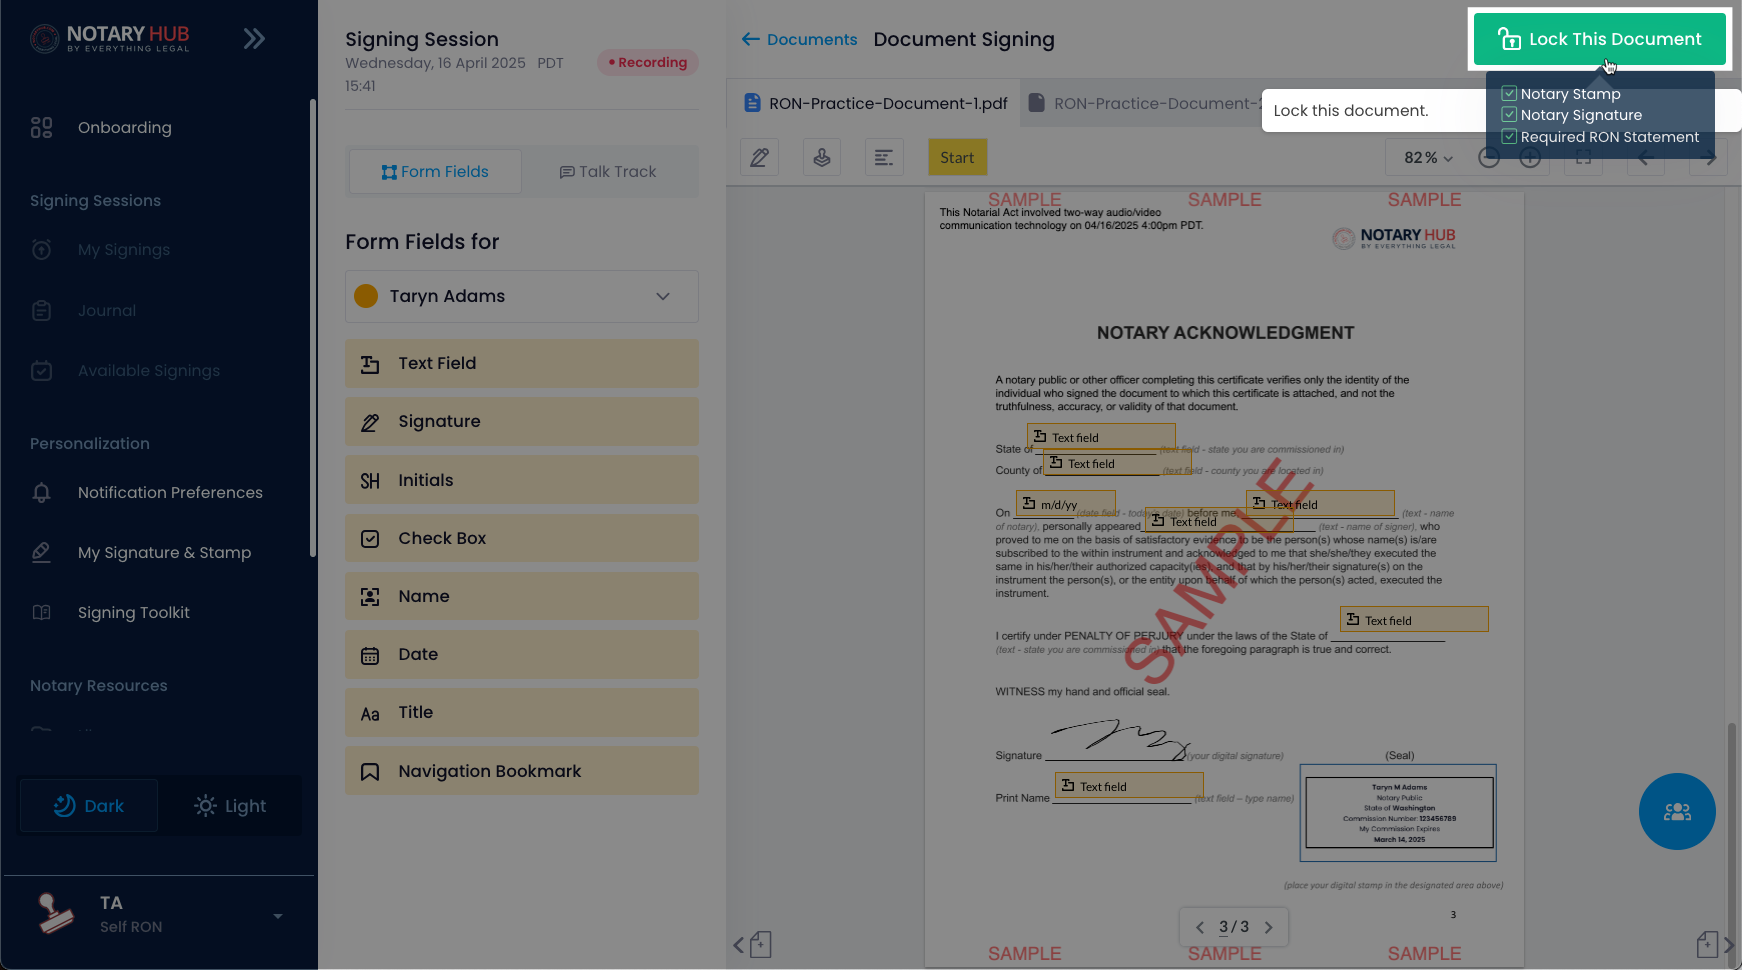 |
| After locking the document, a pop-up will appear with the merged version for review. Check for any errors, then click the blue "Confirm" button to proceed. | 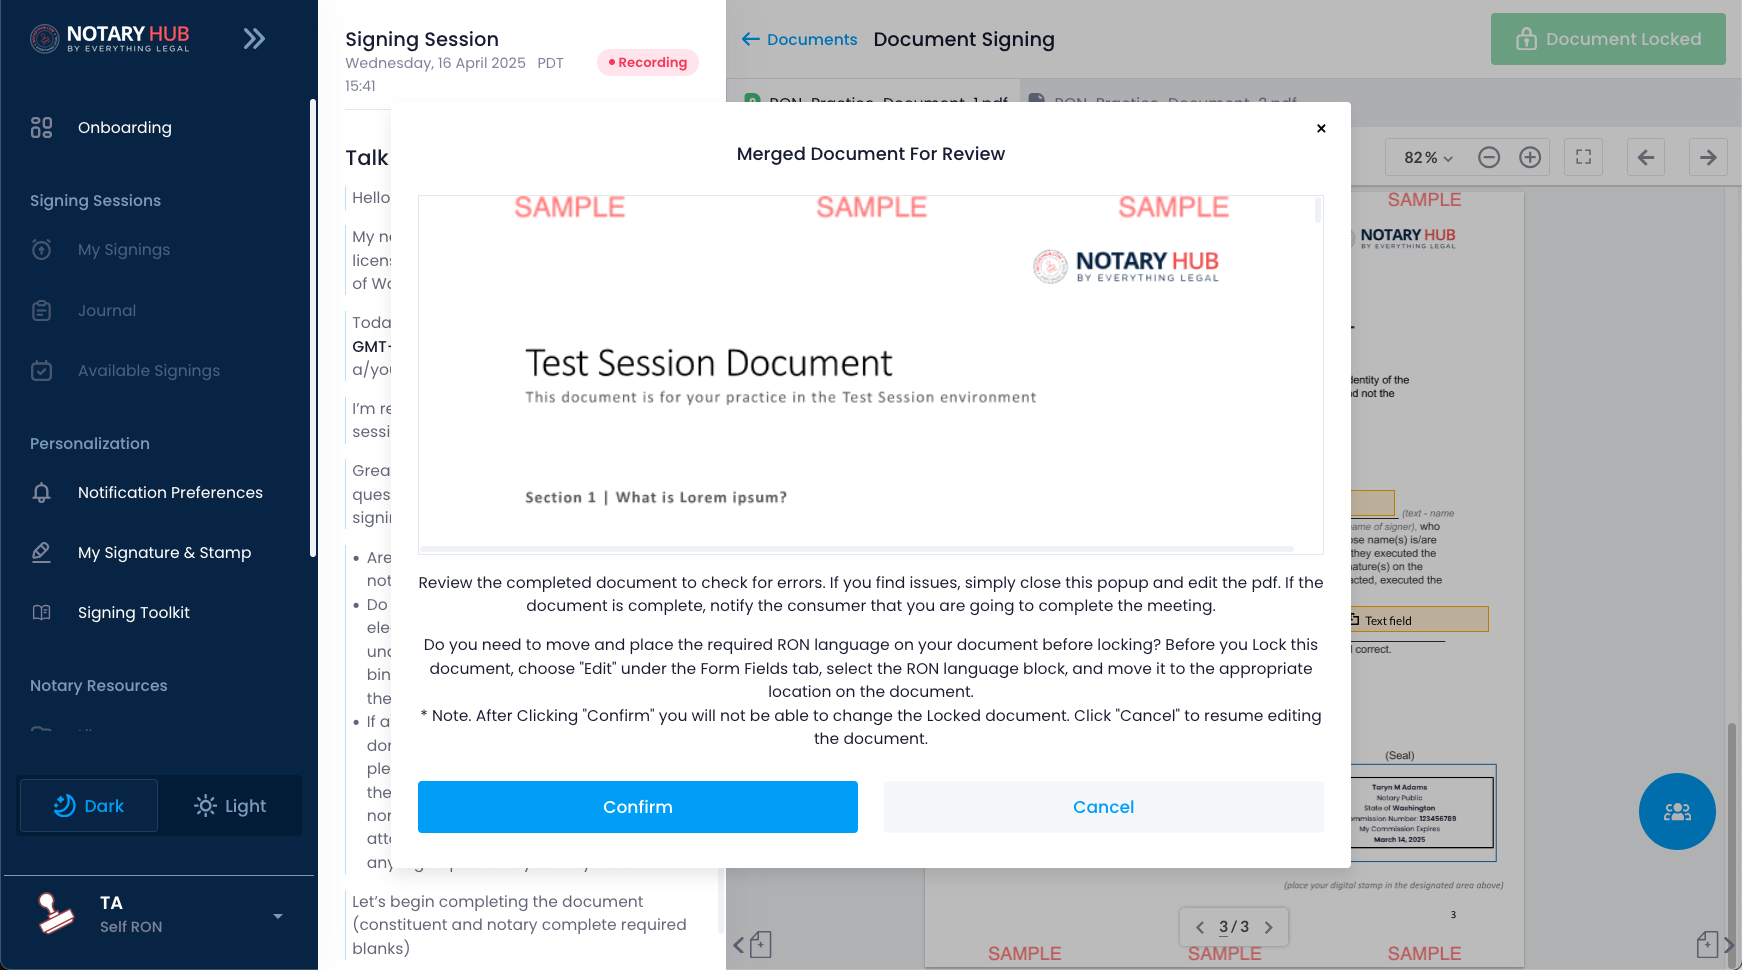 |
| Phase 4 will walk you through preparing and locking the second sample document. | 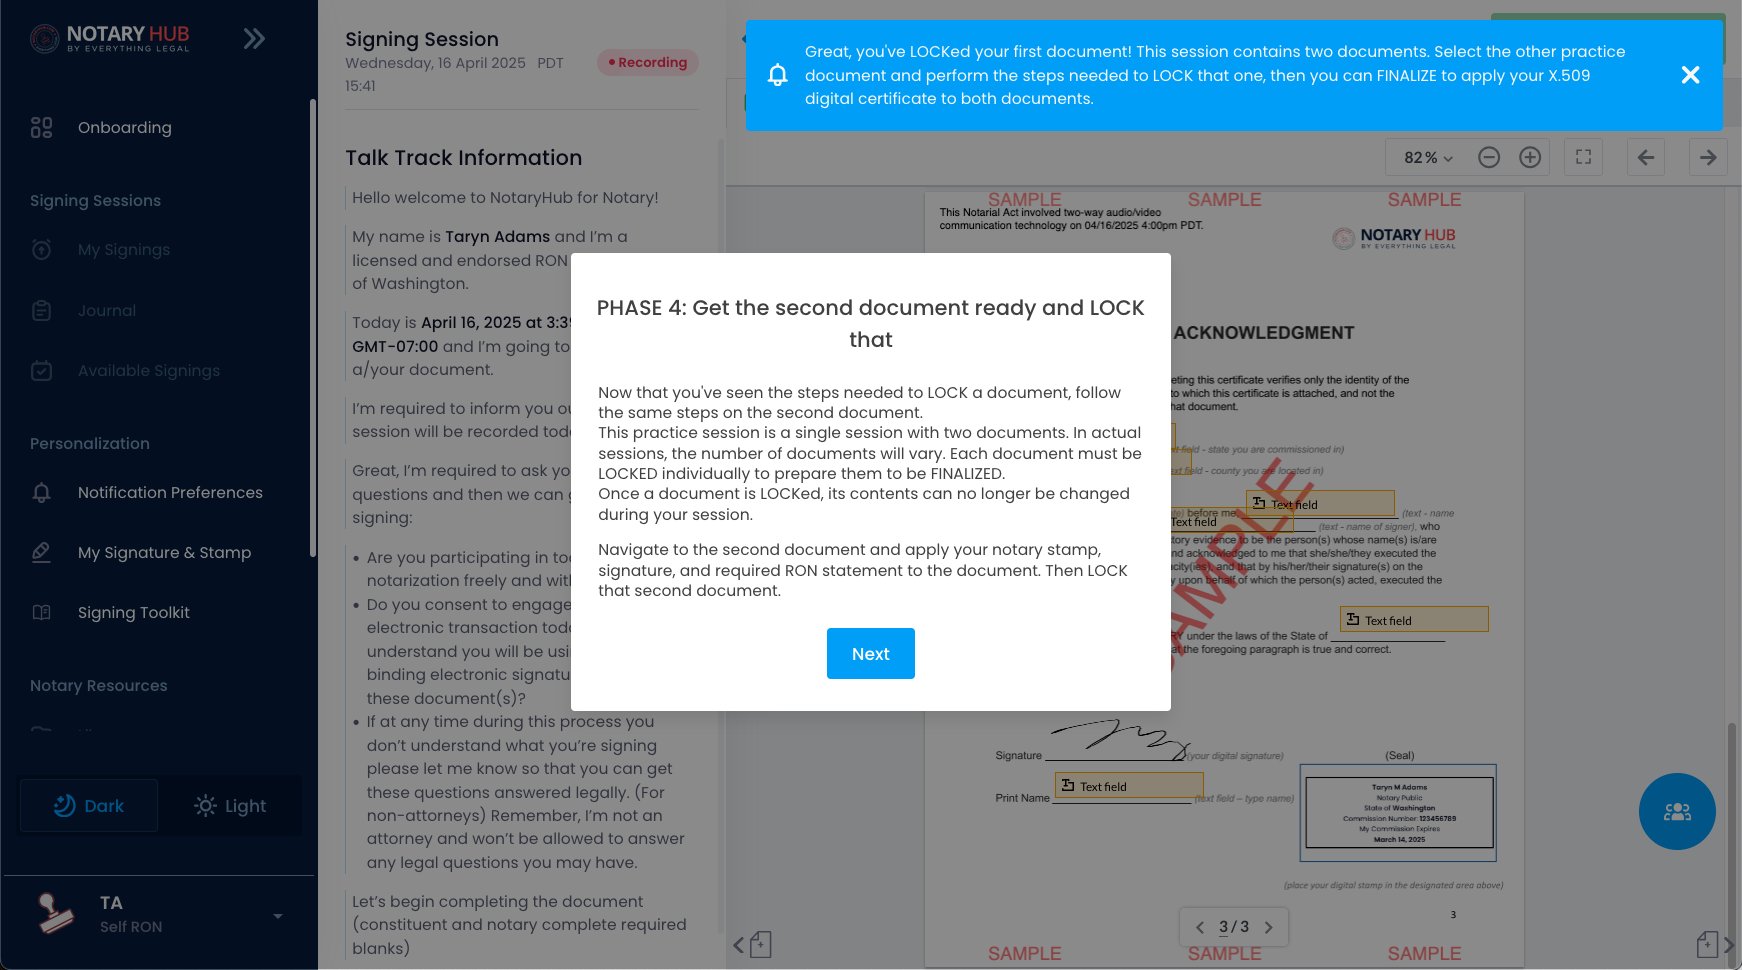 |
| Navigate to the second sample document by clicking the document's tab at the top of the page. | 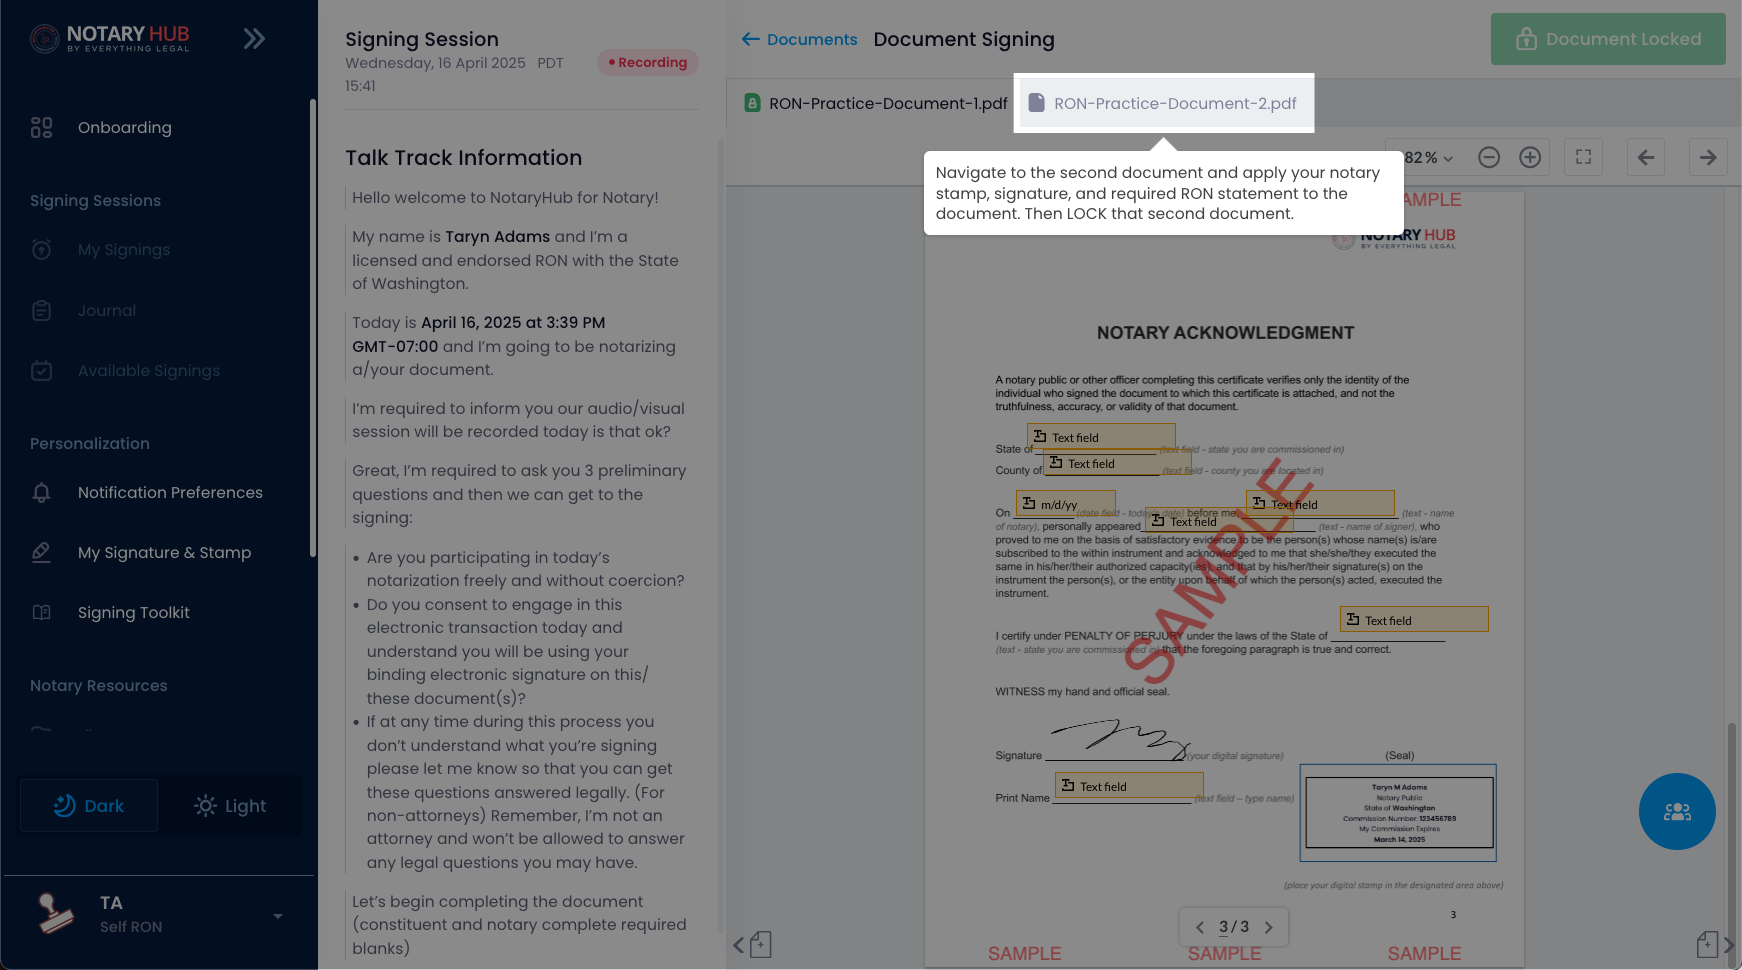 |
| This time you will practice adding and resizing the fields on your own without the interactice tips. | 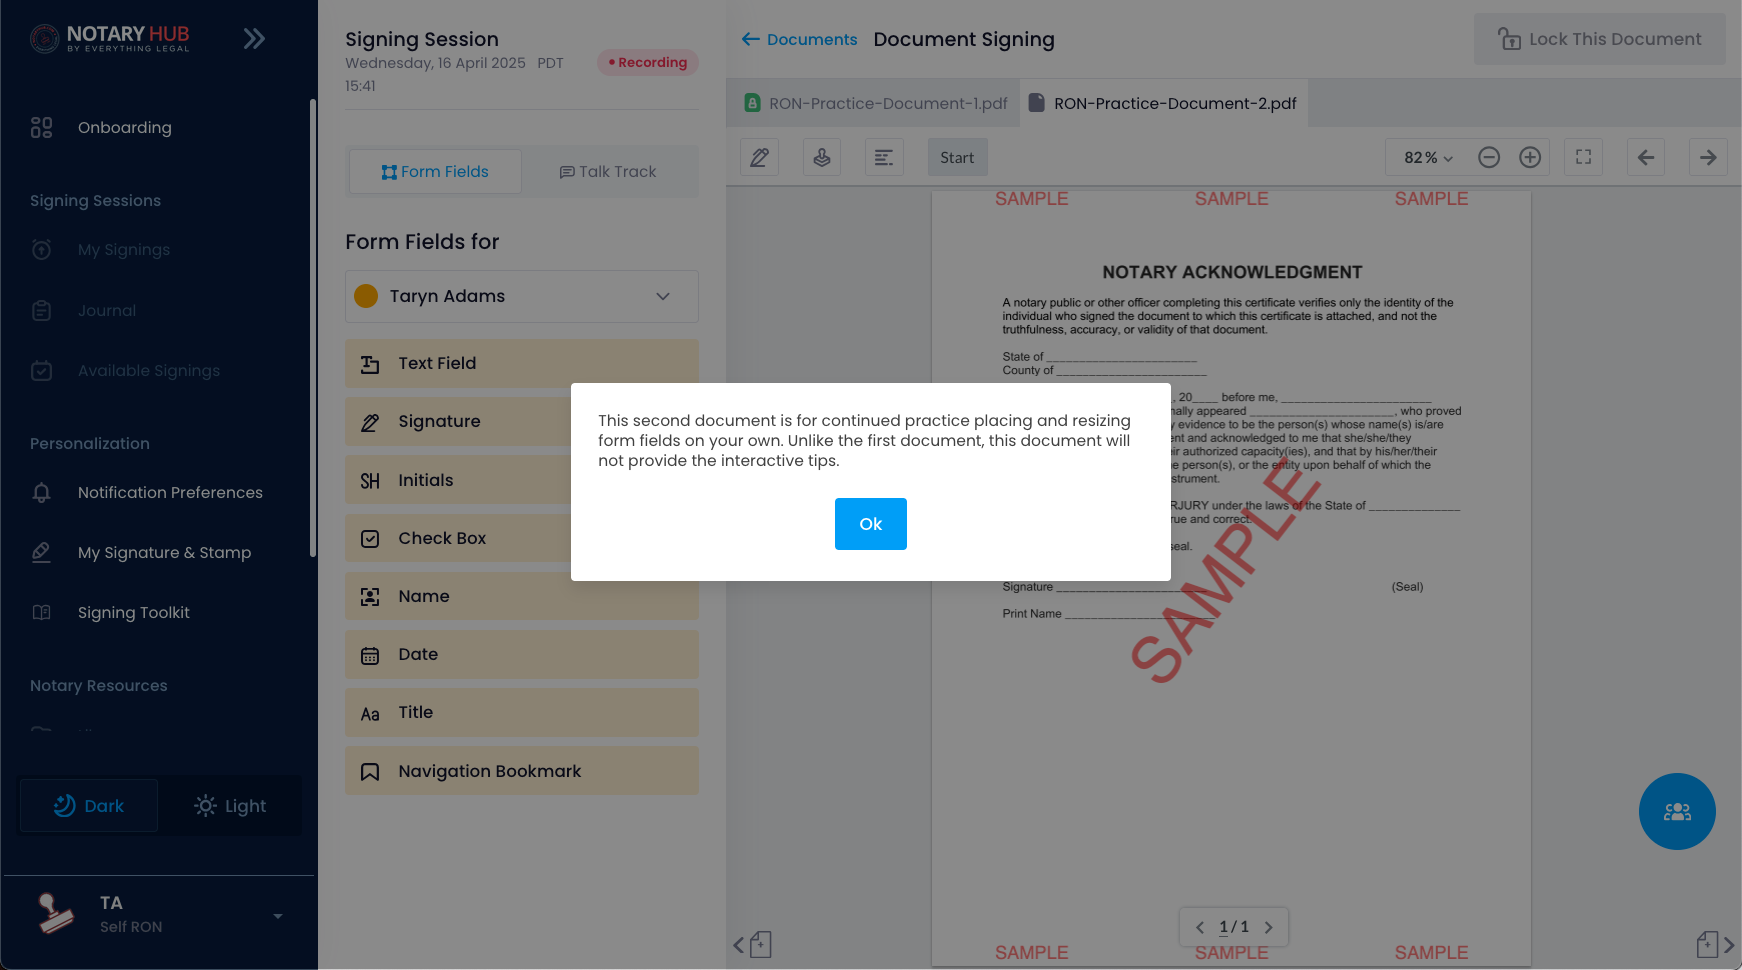 |
| Add fields and the required elements to the document in the same way you did for the first document. | 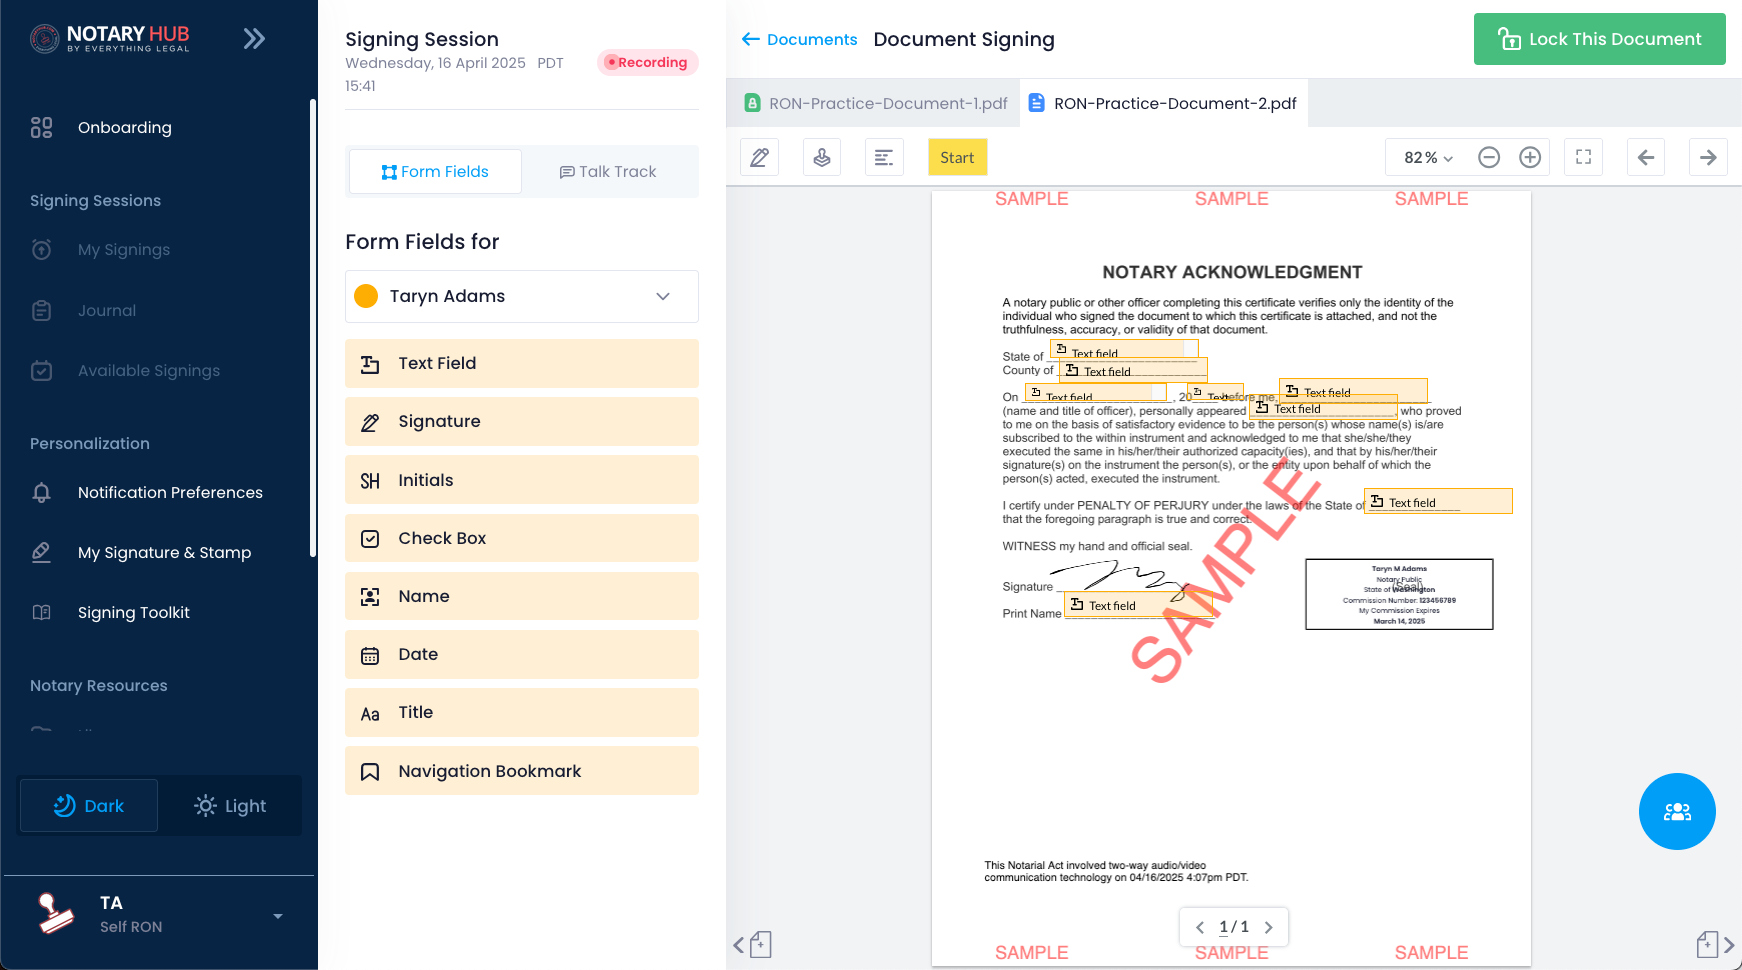 |
| After all fields and required elements are present, you can click the green "Lock this Document" button. | 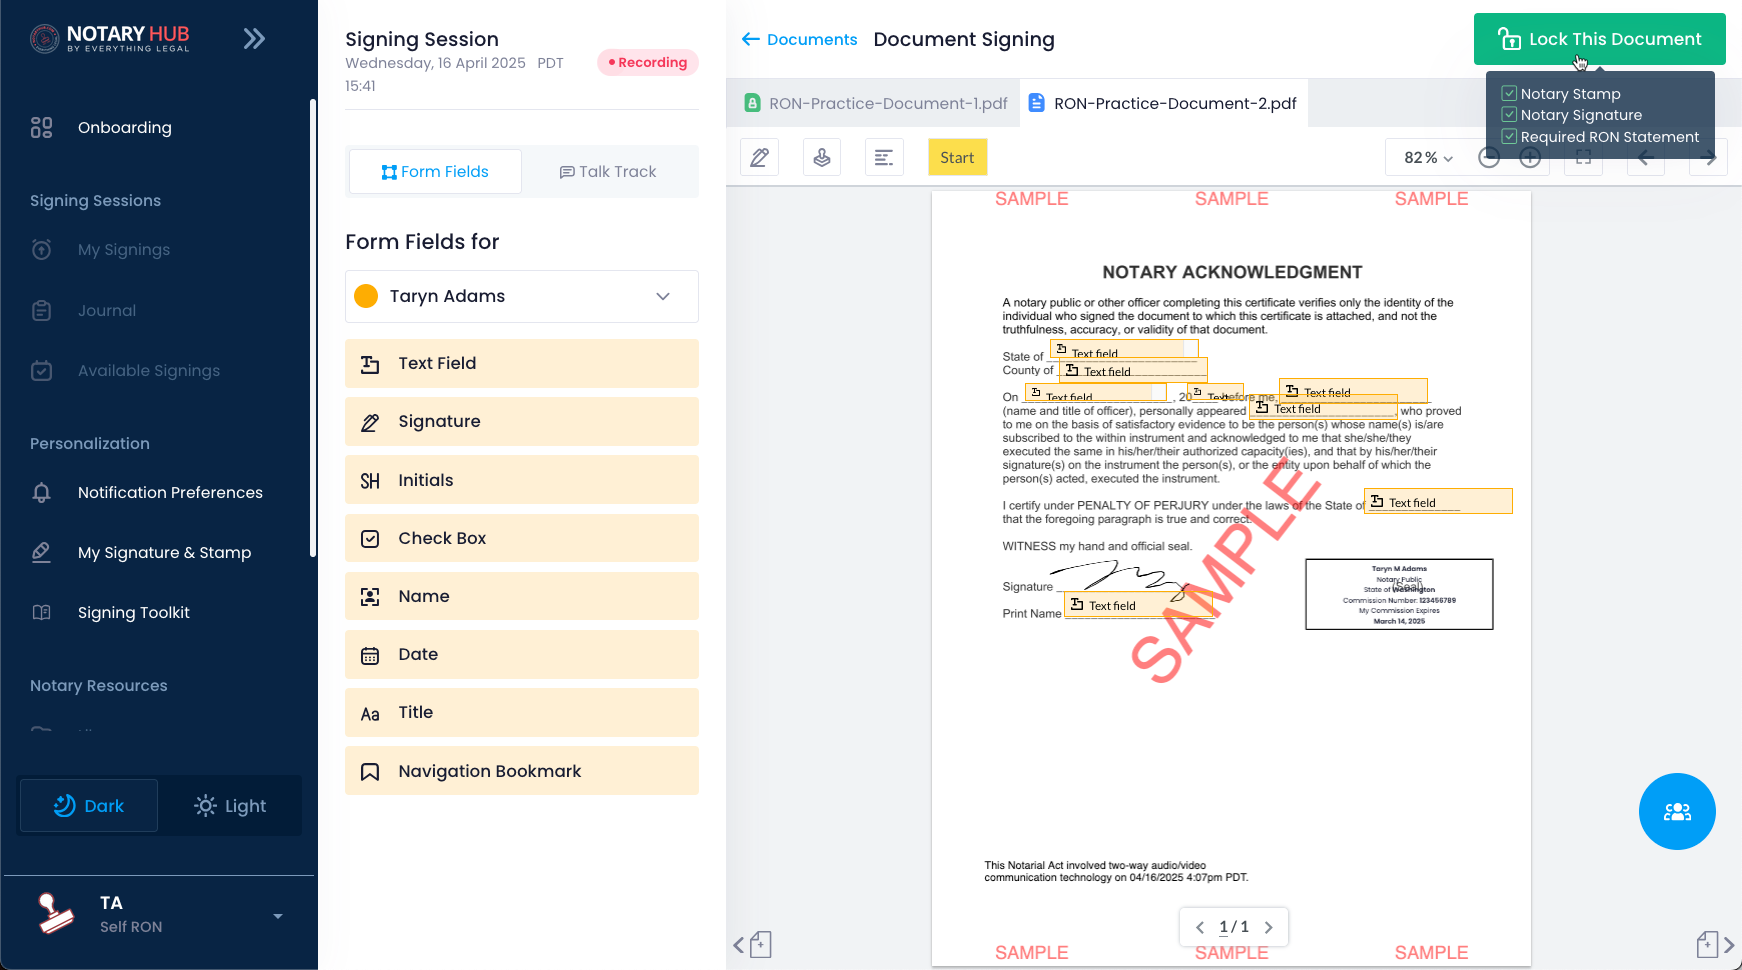 |
| After locking the document, a pop-up will appear with the merged version for review. Check for any errors, then click the blue "Confirm" button to proceed. | 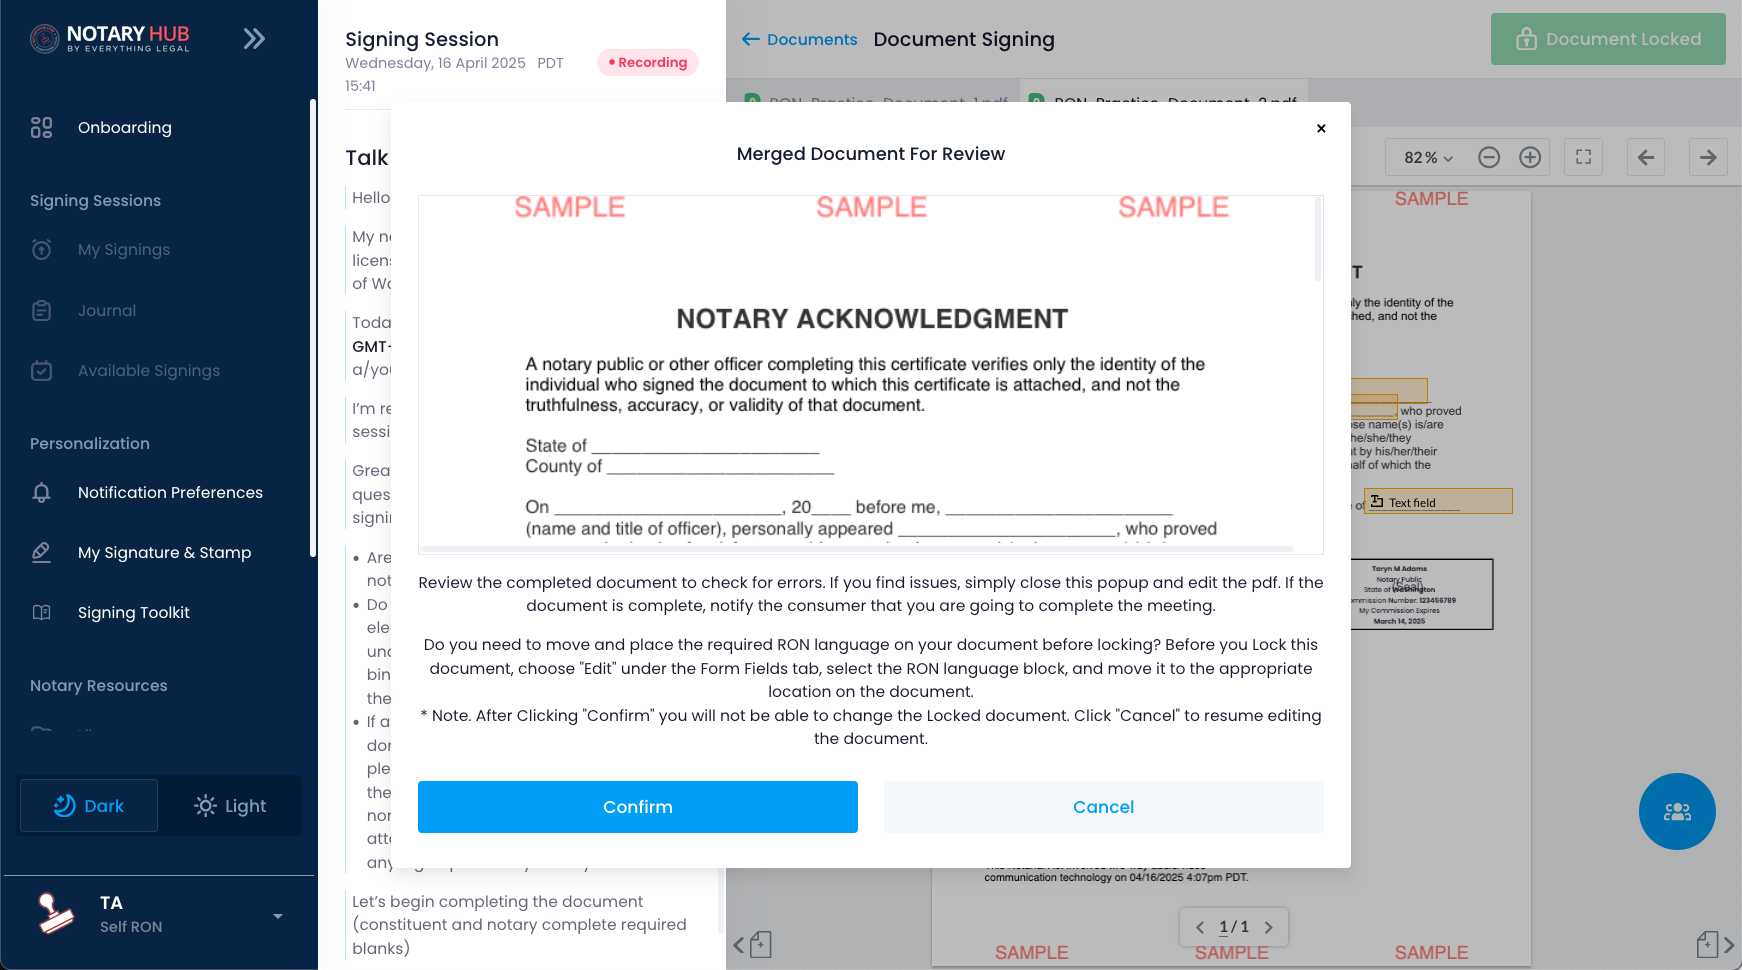 |
| Phase 5 will show you how to add your X.509 digital certificate to all the documents in this signing session. | 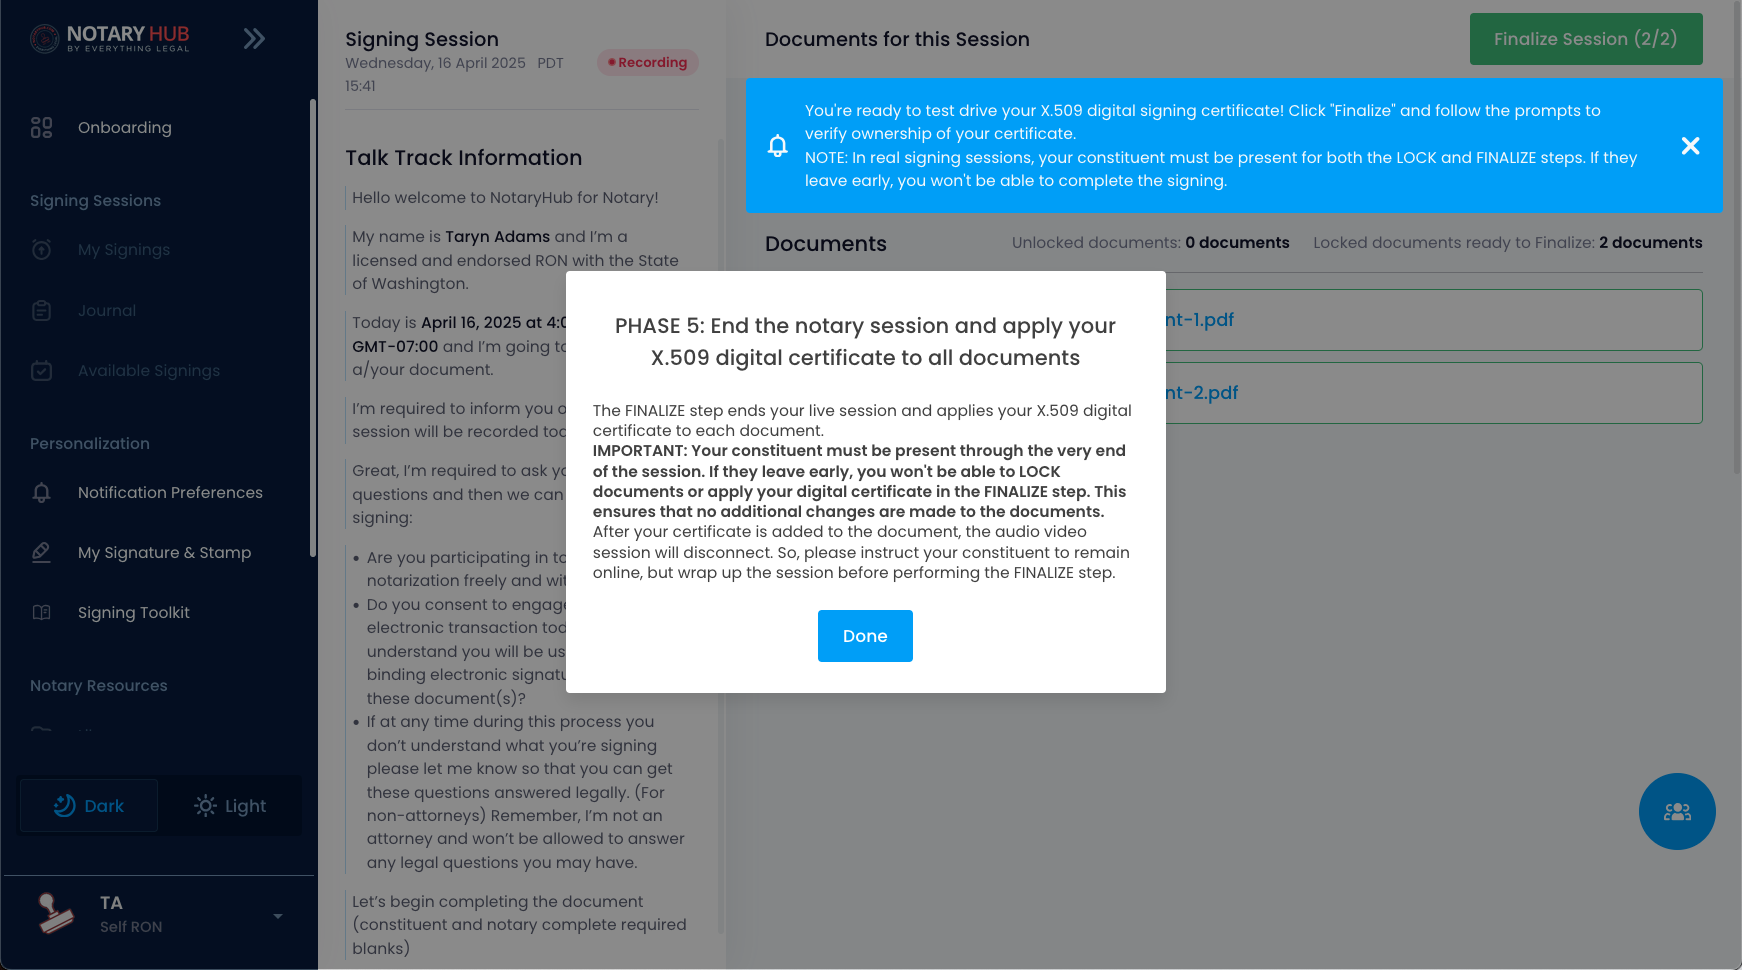 |
| After all documents have been locked, click the green "Finalize Session" button. | 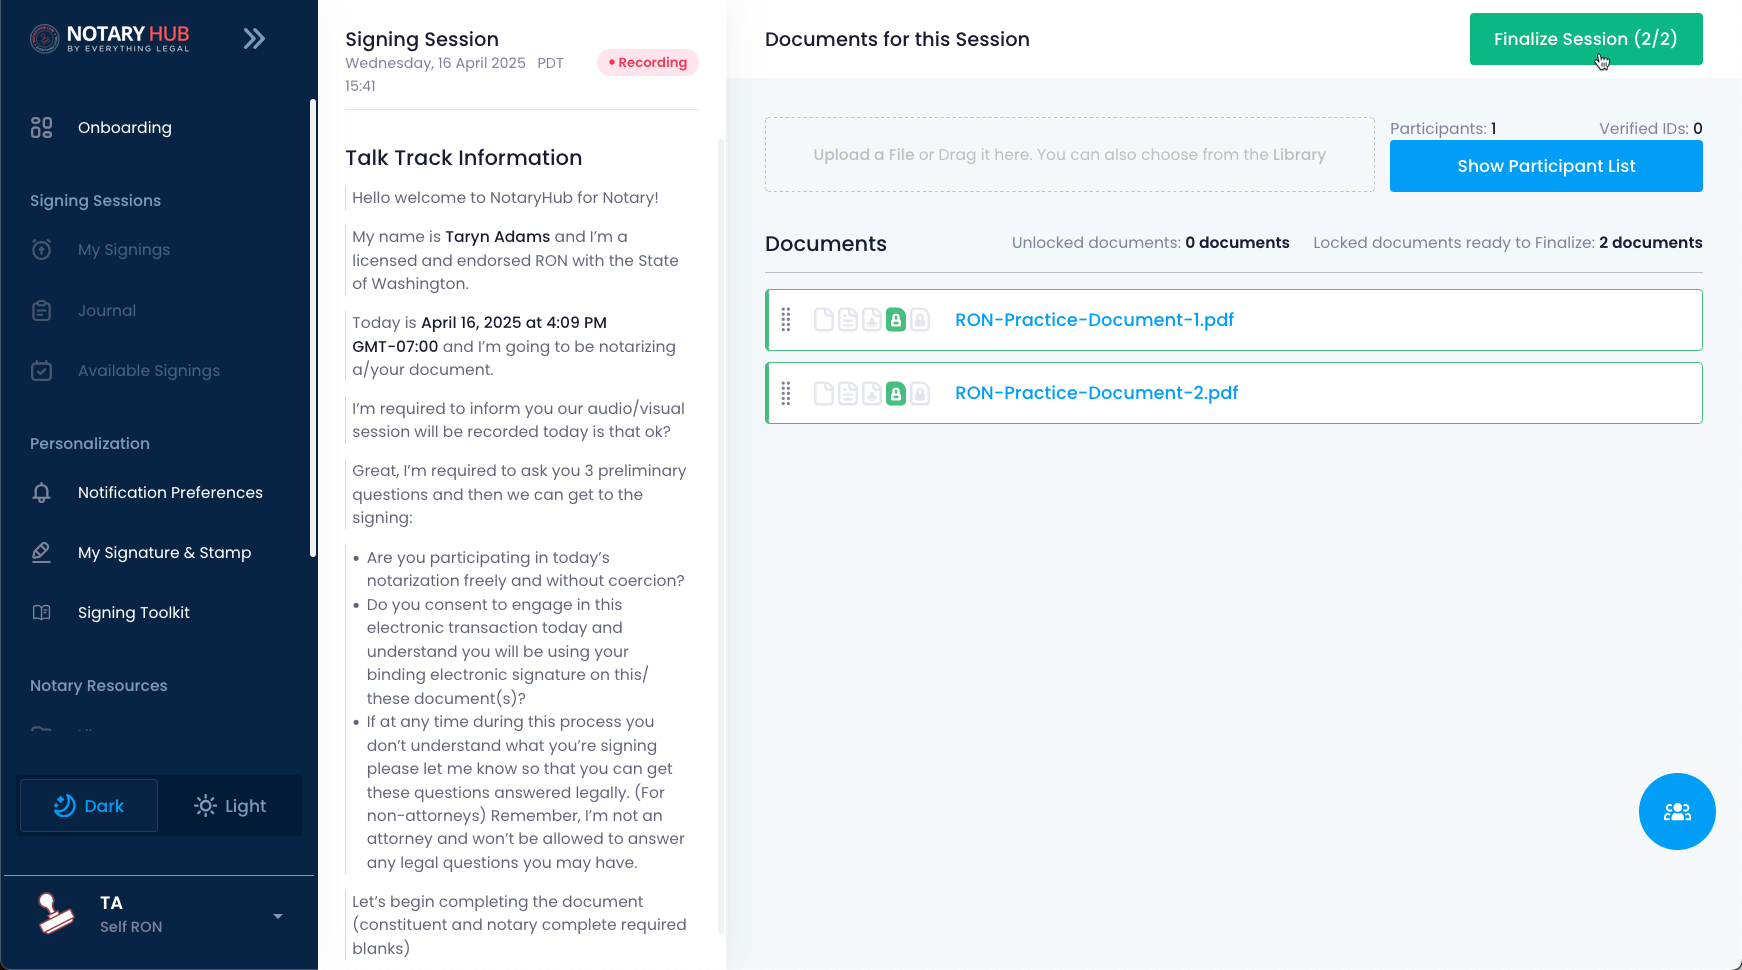 |
| After clicking the "Finalize Session" button, you will be taken to a page to add your X.509 digital certificate. | 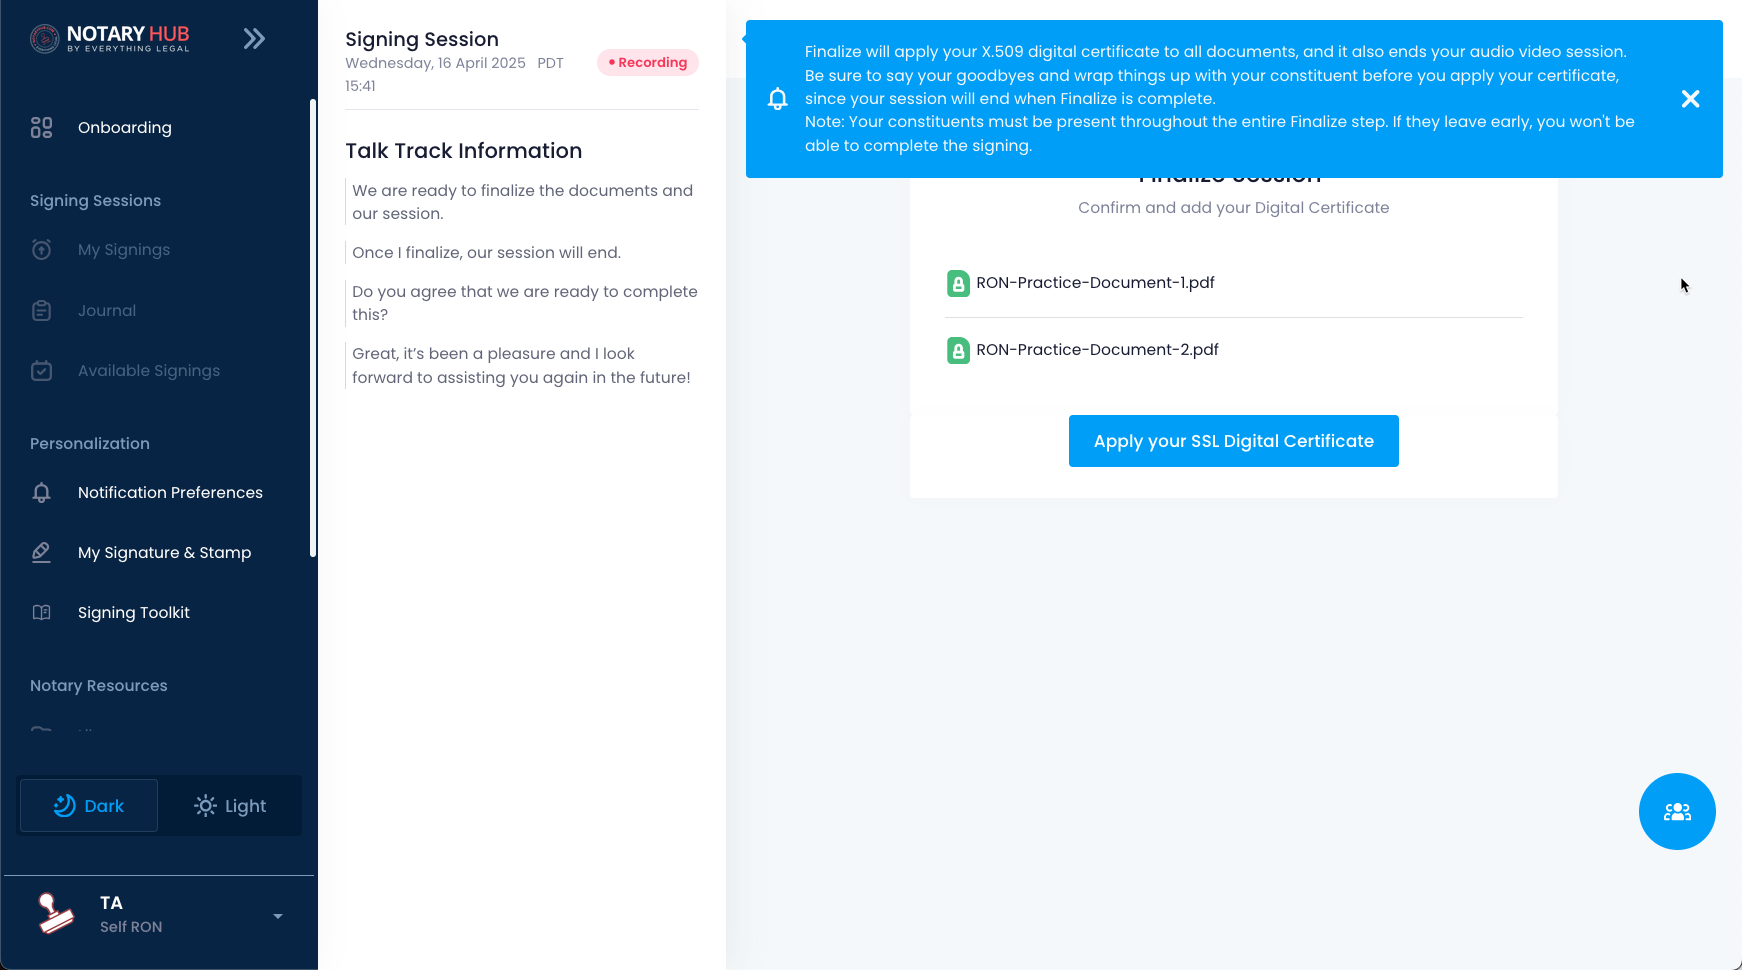 |
| To apply your certificate, you’ll either be prompted to log in (if you have an SSL certificate) or upload an alternative certificate (such as Identrust). | 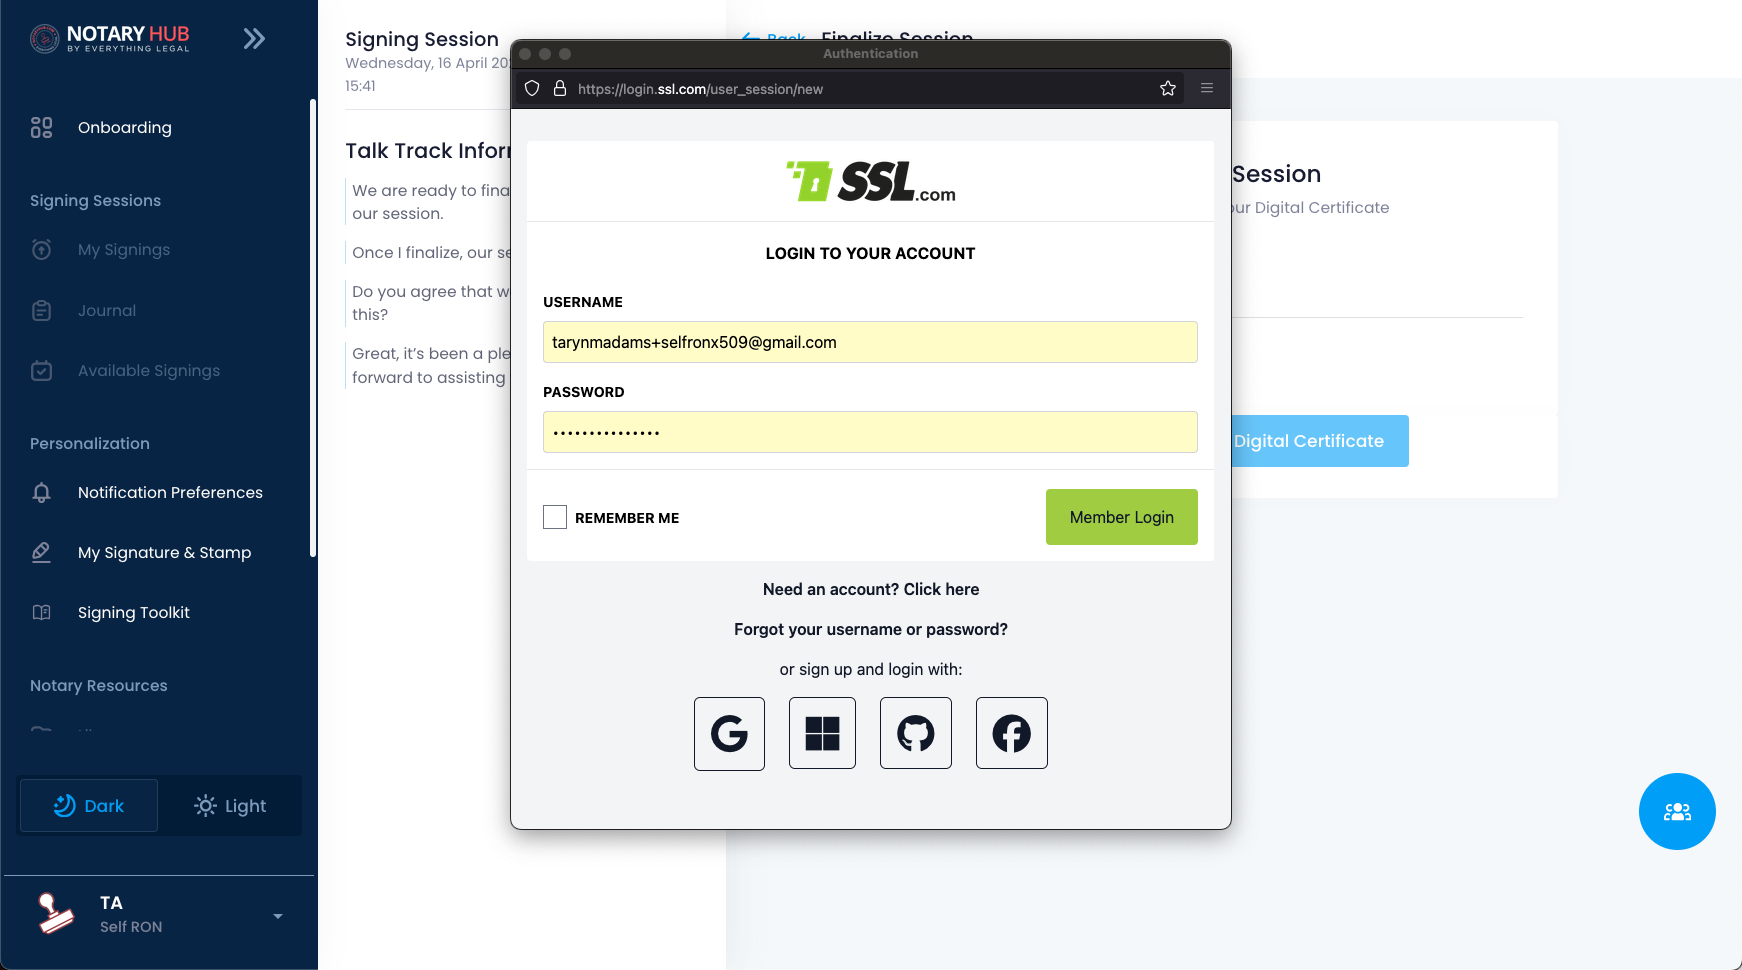 |
| Your certificate information will appear on the next screen, click the blue "Digitally sign document" button. | 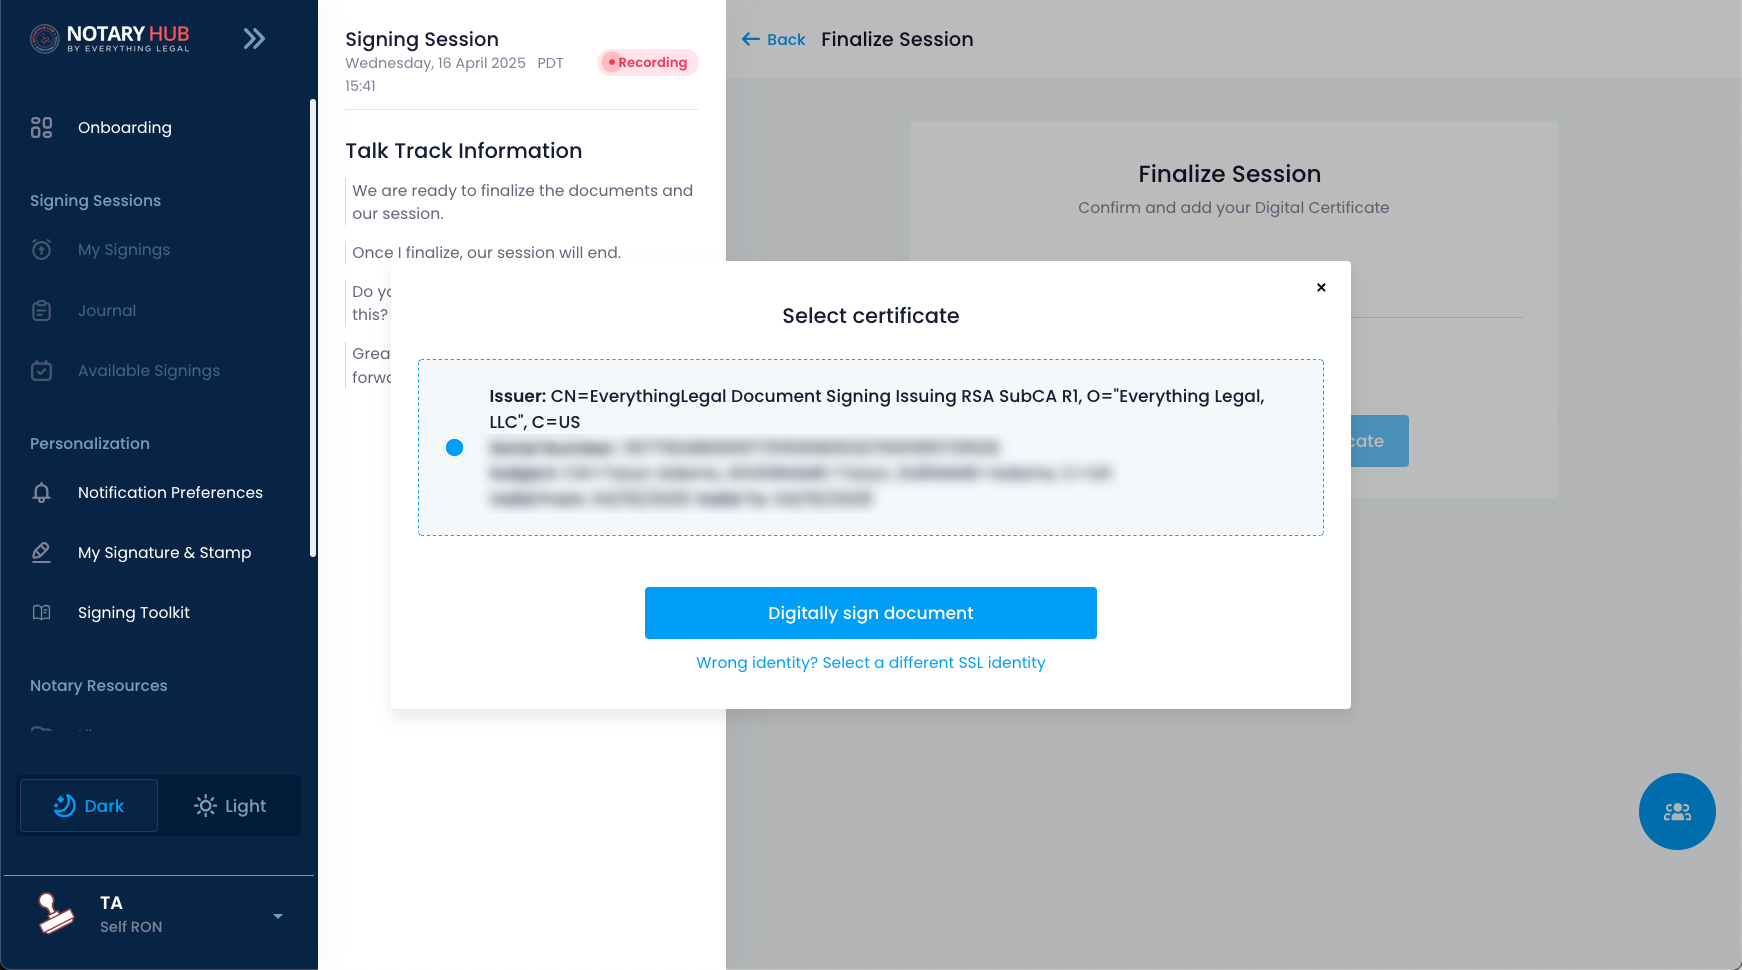 |
| If you're using an SSL.com certificate, you'll need to complete a security step by entering a 6-digit code from your authenticator app. |  |
| You will end on the signing completed page where you can download the documents and verification pages. |  |
Frequently Asked Questions
Q: Do I need to complete a Practice Session before my first real signing?
- A: Yes. Practice Sessions are part of onboarding and ensure you are comfortable using your X.509 certificate.
Q: Can I complete multiple Practice Sessions?
- A: Yes. You can run as many sessions as needed to repeat the process or troubleshoot. To access the Practice Session at any time, go to the "My Signature & Stamp" page and click the Practice Session button.
Q: What if my certificate isn’t working?
- A: Make sure it’s installed and valid. If problems persist, visit the X.509 setup guide or contact support.
Q: Can I invite a client or colleague to a Practice Session?
- A: No, Practice Sessions are for solo guided training only. Use a Test Session if you want to include others.
Q: Will documents from my Practice Session be saved or notarized?
- A: No. These sessions are for training only and are not stored or included in your Notary Journal.
Q: How is this different from a Test Session?
- A: Practice Sessions include guided steps and use your actual certificate. Test Sessions are open-ended, do not use your certificate, allow you to invite others, and let you upload and work with your own documents.
Q: Can I upload a custom document during a Practice Session?
- A: No. Practice Sessions use a built-in sample document. If you'd like to practice with your own documents, you can use a Test Session instead.
Q: Will I be prompted to enter my certificate PIN and authenticator code?
- A: Yes, if you're using an SSL digital certificate, you'll be prompted to enter your PIN and a 6-digit code from your authenticator app—just like during a real notarization. This step may not apply if you're using an alternative X.509 certificate, such as one from Identrust.
Q: Can I use a Practice Session to test my webcam and microphone settings?
- A: Yes. The pre-join screen allows you to test and adjust audio/video settings before entering the session.
Q: Is there a time limit for Practice Sessions?
- A: No. You can take as much time as needed to complete the steps.
Q: Do Practice Sessions support accessibility tools like screen readers?
- A: Yes. Most modern screen readers and browser accessibility tools are supported during Practice Sessions.
Q: Can I pause or exit a Practice Session and resume later?
- A: No. Practice Sessions must be completed in one sitting. If you exit, you’ll need to start over.
Q: What if my certificate setup is incomplete—can I still start a Practice Session?
- A: You can begin, but you won’t be able to finalize documents without a valid X.509 certificate.
Q: Do I receive a notification or badge after completing a Practice Session?
- A: No official badge is issued, but your onboarding step will be marked complete in Notary Hub.
Q: Can I redo a Practice Session if I made a mistake?
- A: Yes. You can restart a Practice Session at any time. Just return to the "My Signature & Stamp" page and click the Practice Session button.
Q: Does the Practice Session affect my notary journal or signing history?
- A: No. Practice Sessions are separate from your official activity and do not appear in your Notary Journal or client-facing logs.
Q: Will the system check if my X.509 certificate is valid before starting?
- A: Not before starting, but your certificate must be active and properly installed in order to finalize the session.
Q: Do I need to be on a specific browser to complete a Practice Session?
- A: Practice Sessions work best in the latest versions of Chrome, Edge, or Firefox. Safari is not currently recommended for certificate-based signing.
Q: Can I complete a Practice Session on a mobile device?
- A: No. Because digital certificates are device-dependent and browser-based, Practice Sessions must be completed on a desktop or laptop.
Q: What happens if I close the tab during a Practice Session?
- A: Your progress won’t be saved. You’ll need to restart the session from the beginning.
Q: Will I get support if I run into issues during a Practice Session?
- A: Yes. You can reach out to Notary Hub support at any time if you encounter issues with your certificate, browser, or the session flow.
Summary & Next Steps
Key Points Recap
- Practice Sessions are solo guided sessions using your real certificate.
- They are part of your onboarding process and help you prepare for real signings.
- Unlike Test Sessions, Practice Sessions do not allow other participants and use your X.509 certificate.