Managing Form Fields in a Document: Adding, Moving, and Deleting
Overview
Purpose of the Article
This guide explains how notaries can add and adjust fields within a document on Notary Hub during the review phase or the signing session. Fields include signatures, initials, dates, and custom text fields to ensure a seamless signing process.
Who Should Use This Guide
- Notaries preparing documents for Remote Online Notarization (RON) sessions.
Key Takeaways
- Learn how to add, move, resize, and delete fields in a document.
- Understand how to assign fields to specific participants.
- Pre-placing fields during the review phase streamlines the signing process, but fields can still be modified in real time during the session if needed.
Prerequisites
Before managing fields in a document, ensure the following:
- You have an active Notary Hub account and are logged in.
- The document has been uploaded to Notary Hub and is accessible within the signing session.
- Participants have been added to the signing session so fields can be properly assigned.
- You have reviewed the document layout to identify necessary fields before the session begins.
Step-by-Step Instructions
Adding and Editing Fields During Document Review
Adding fields during the document review phase is the most efficient approach. Pre-placing fields before the session ensures that the signing process runs smoothly without interruptions. However, you can still modify fields as needed during the session if changes are required.
| Instructions | Visuals |
|---|---|
| Log in to Notary Hub and navigate to the My Signings page. | 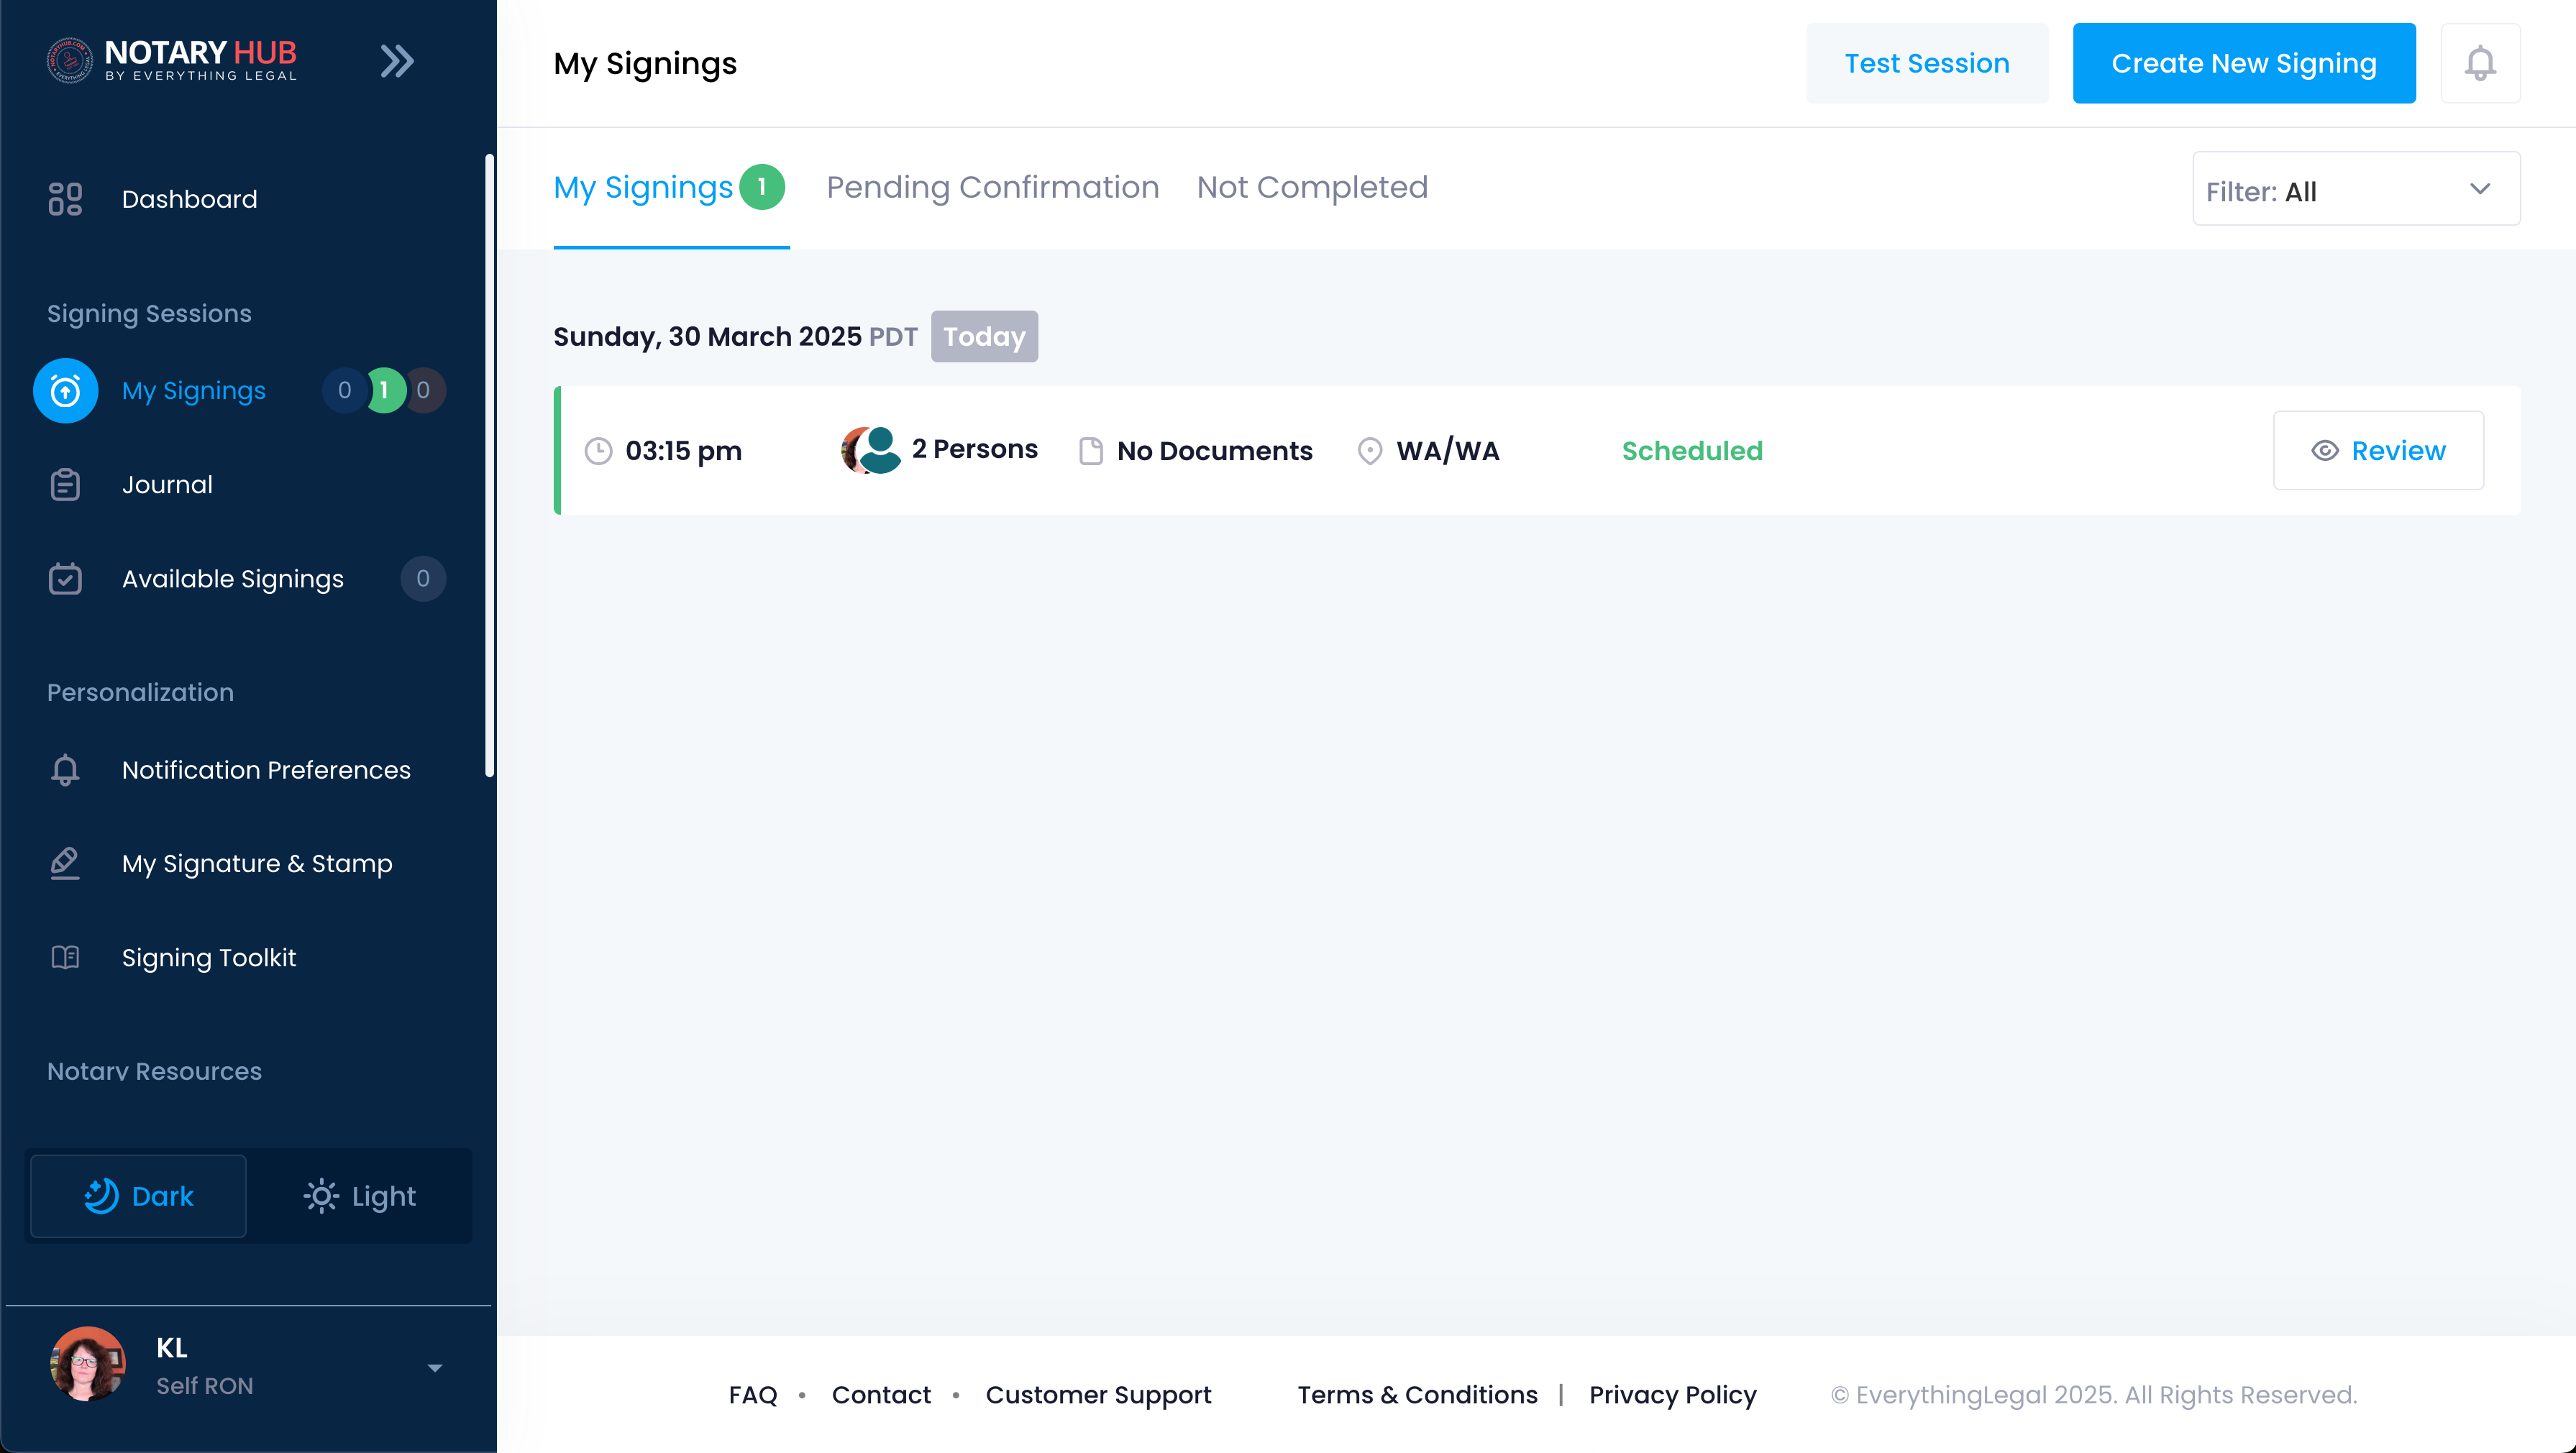 |
| Click the "Review" button next to the signing session you want to edit. | 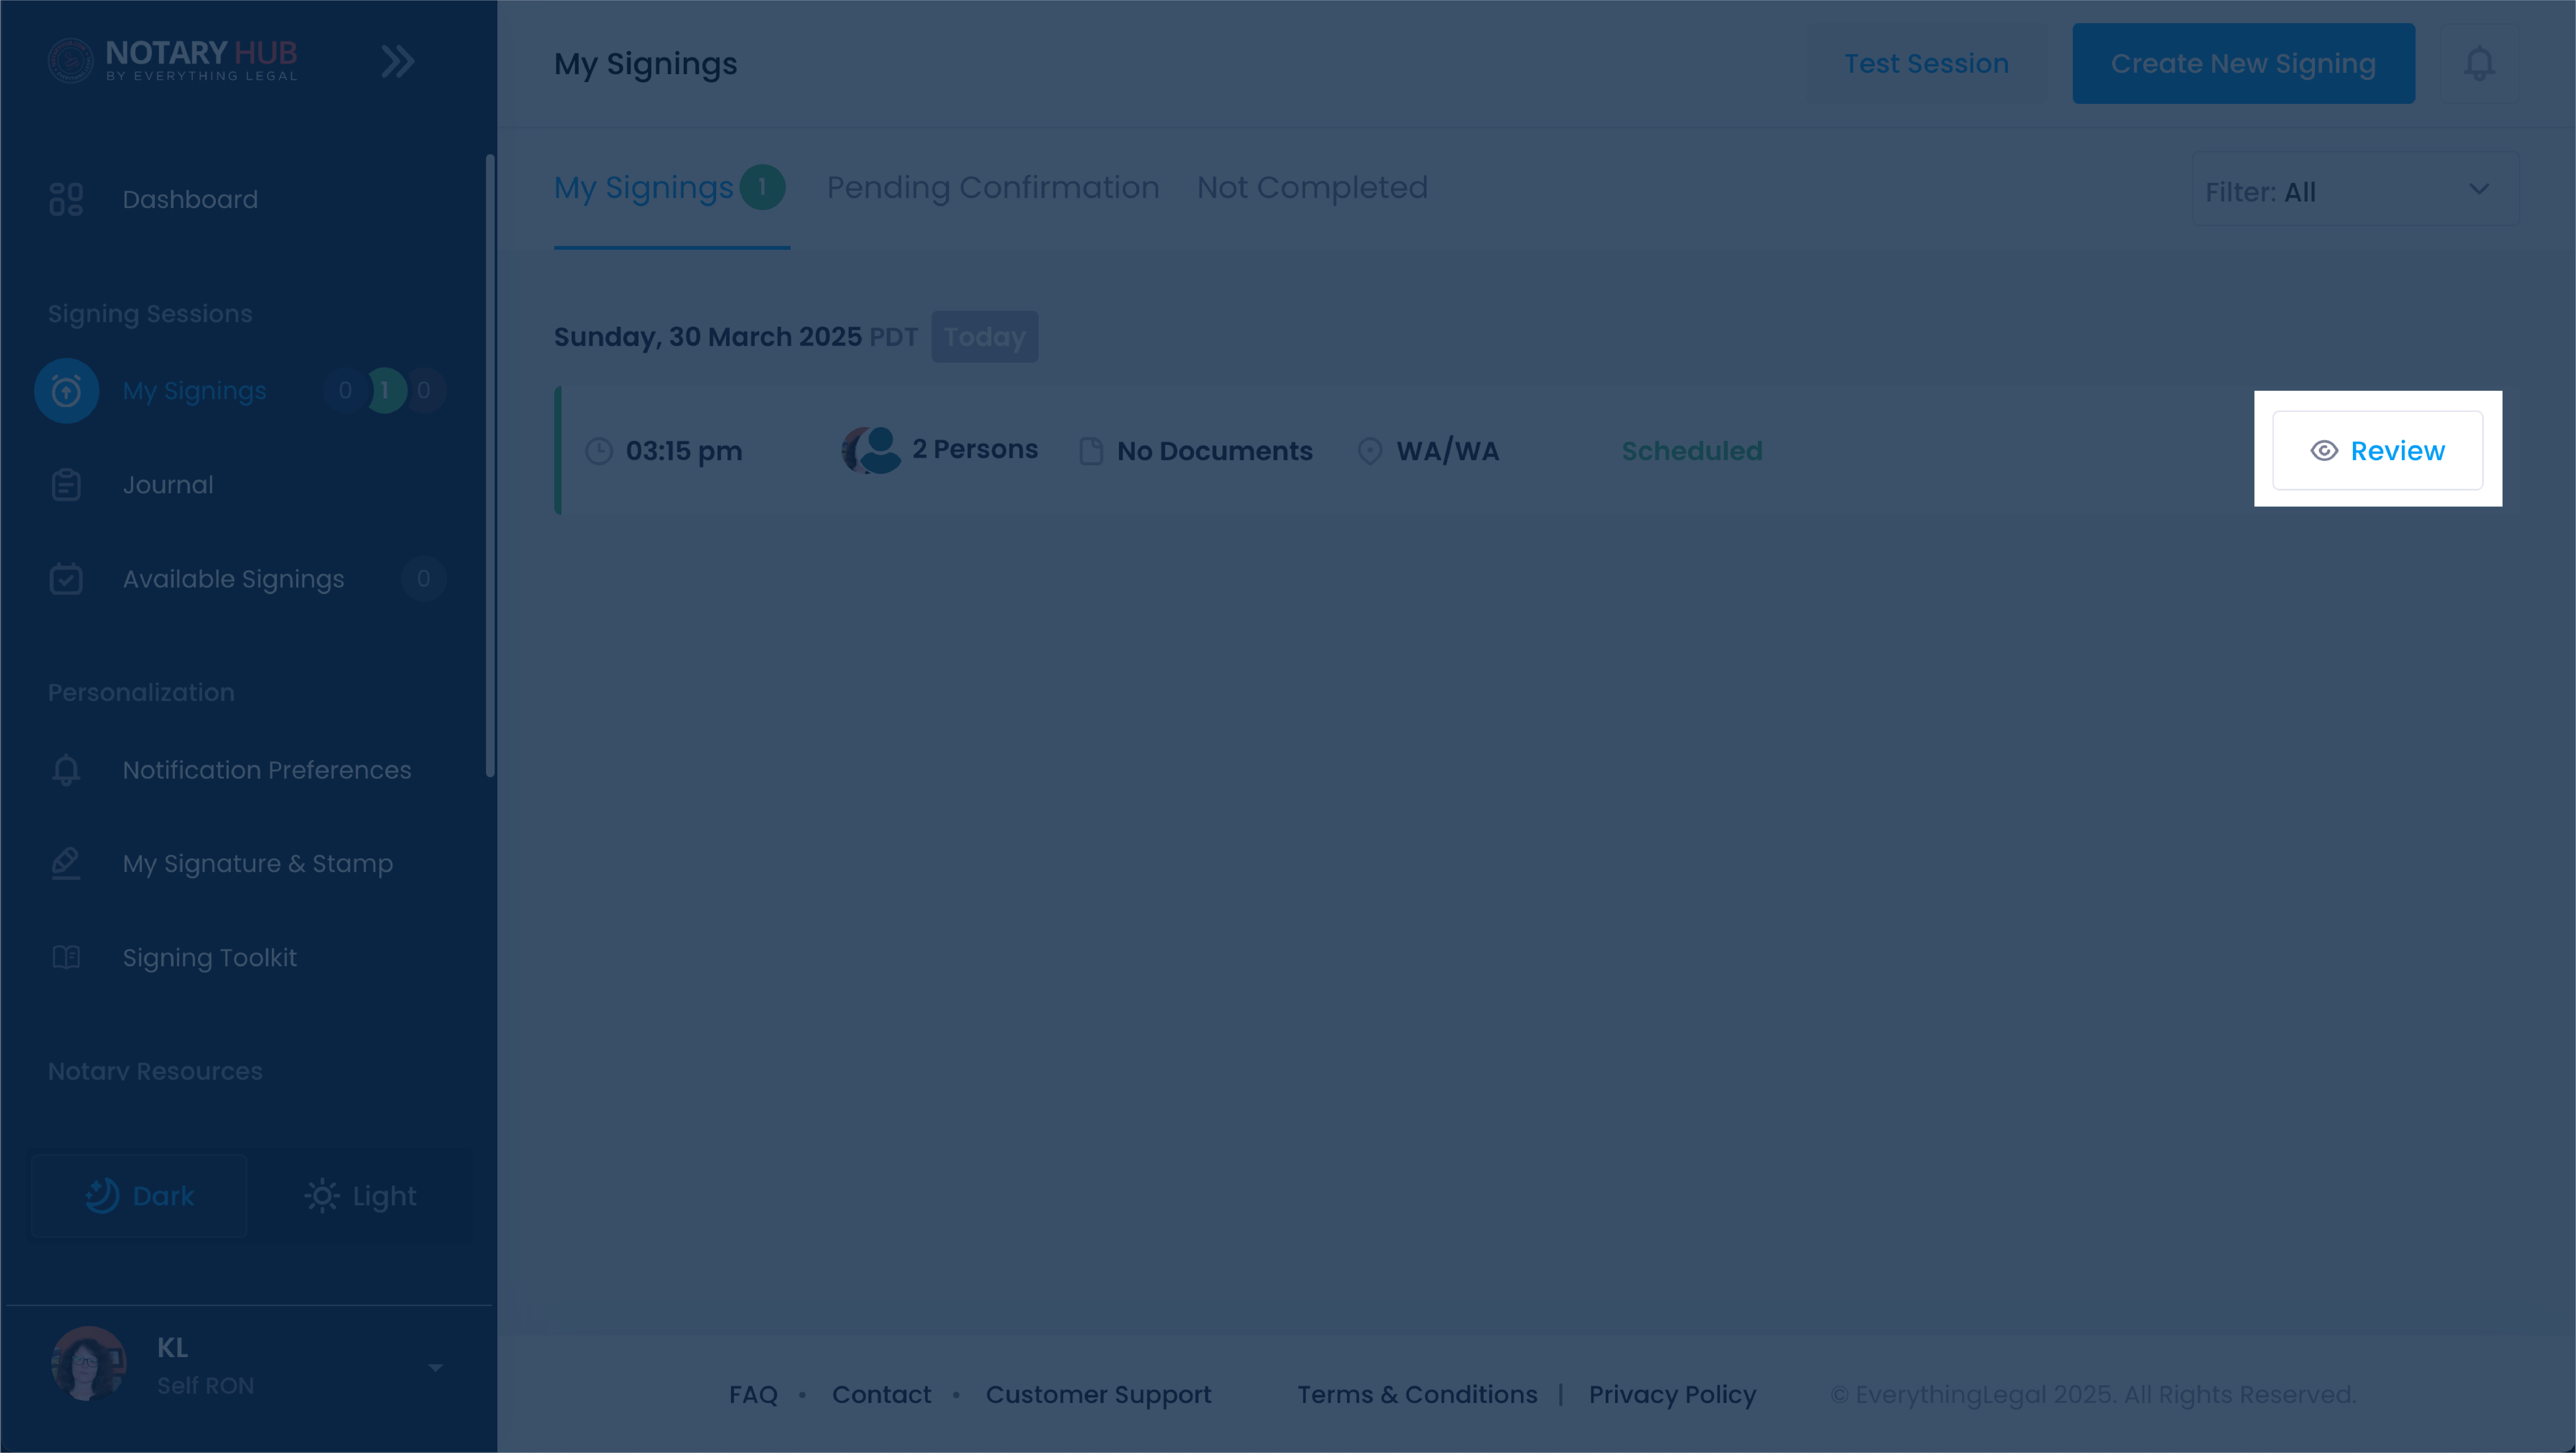 |
| Select the document you need to edit from the uploaded documents list. | 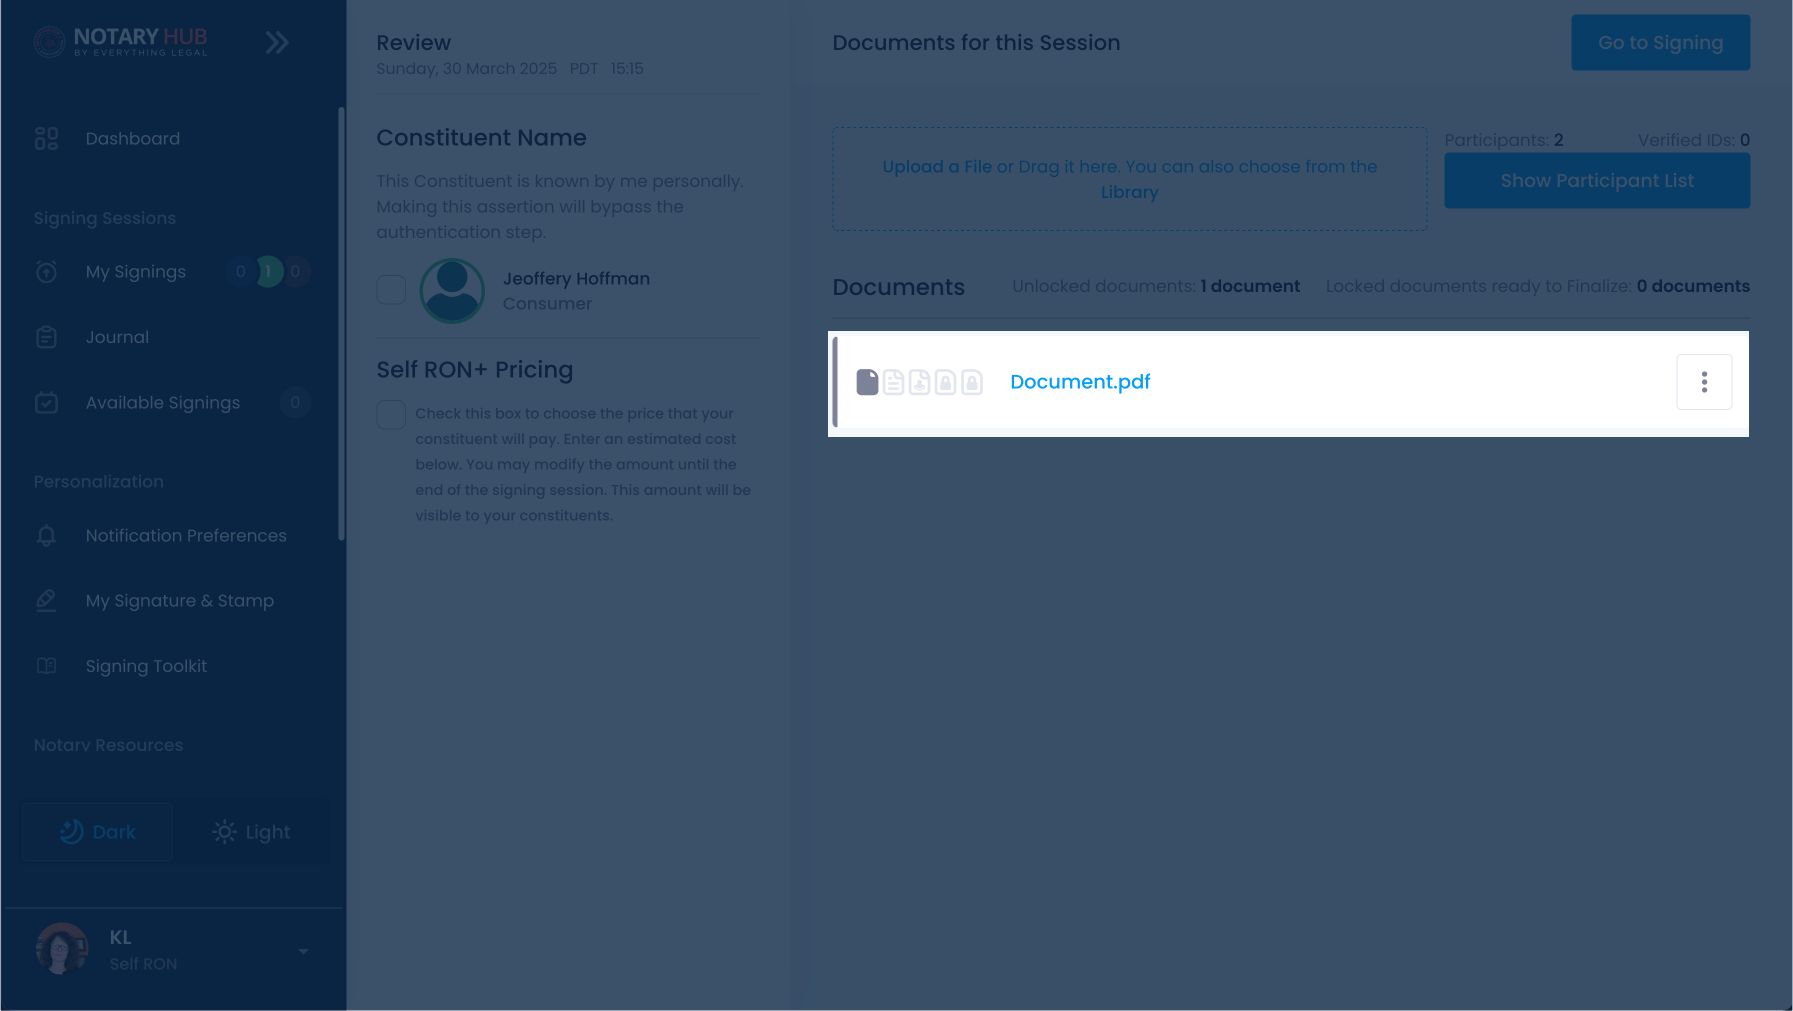 |
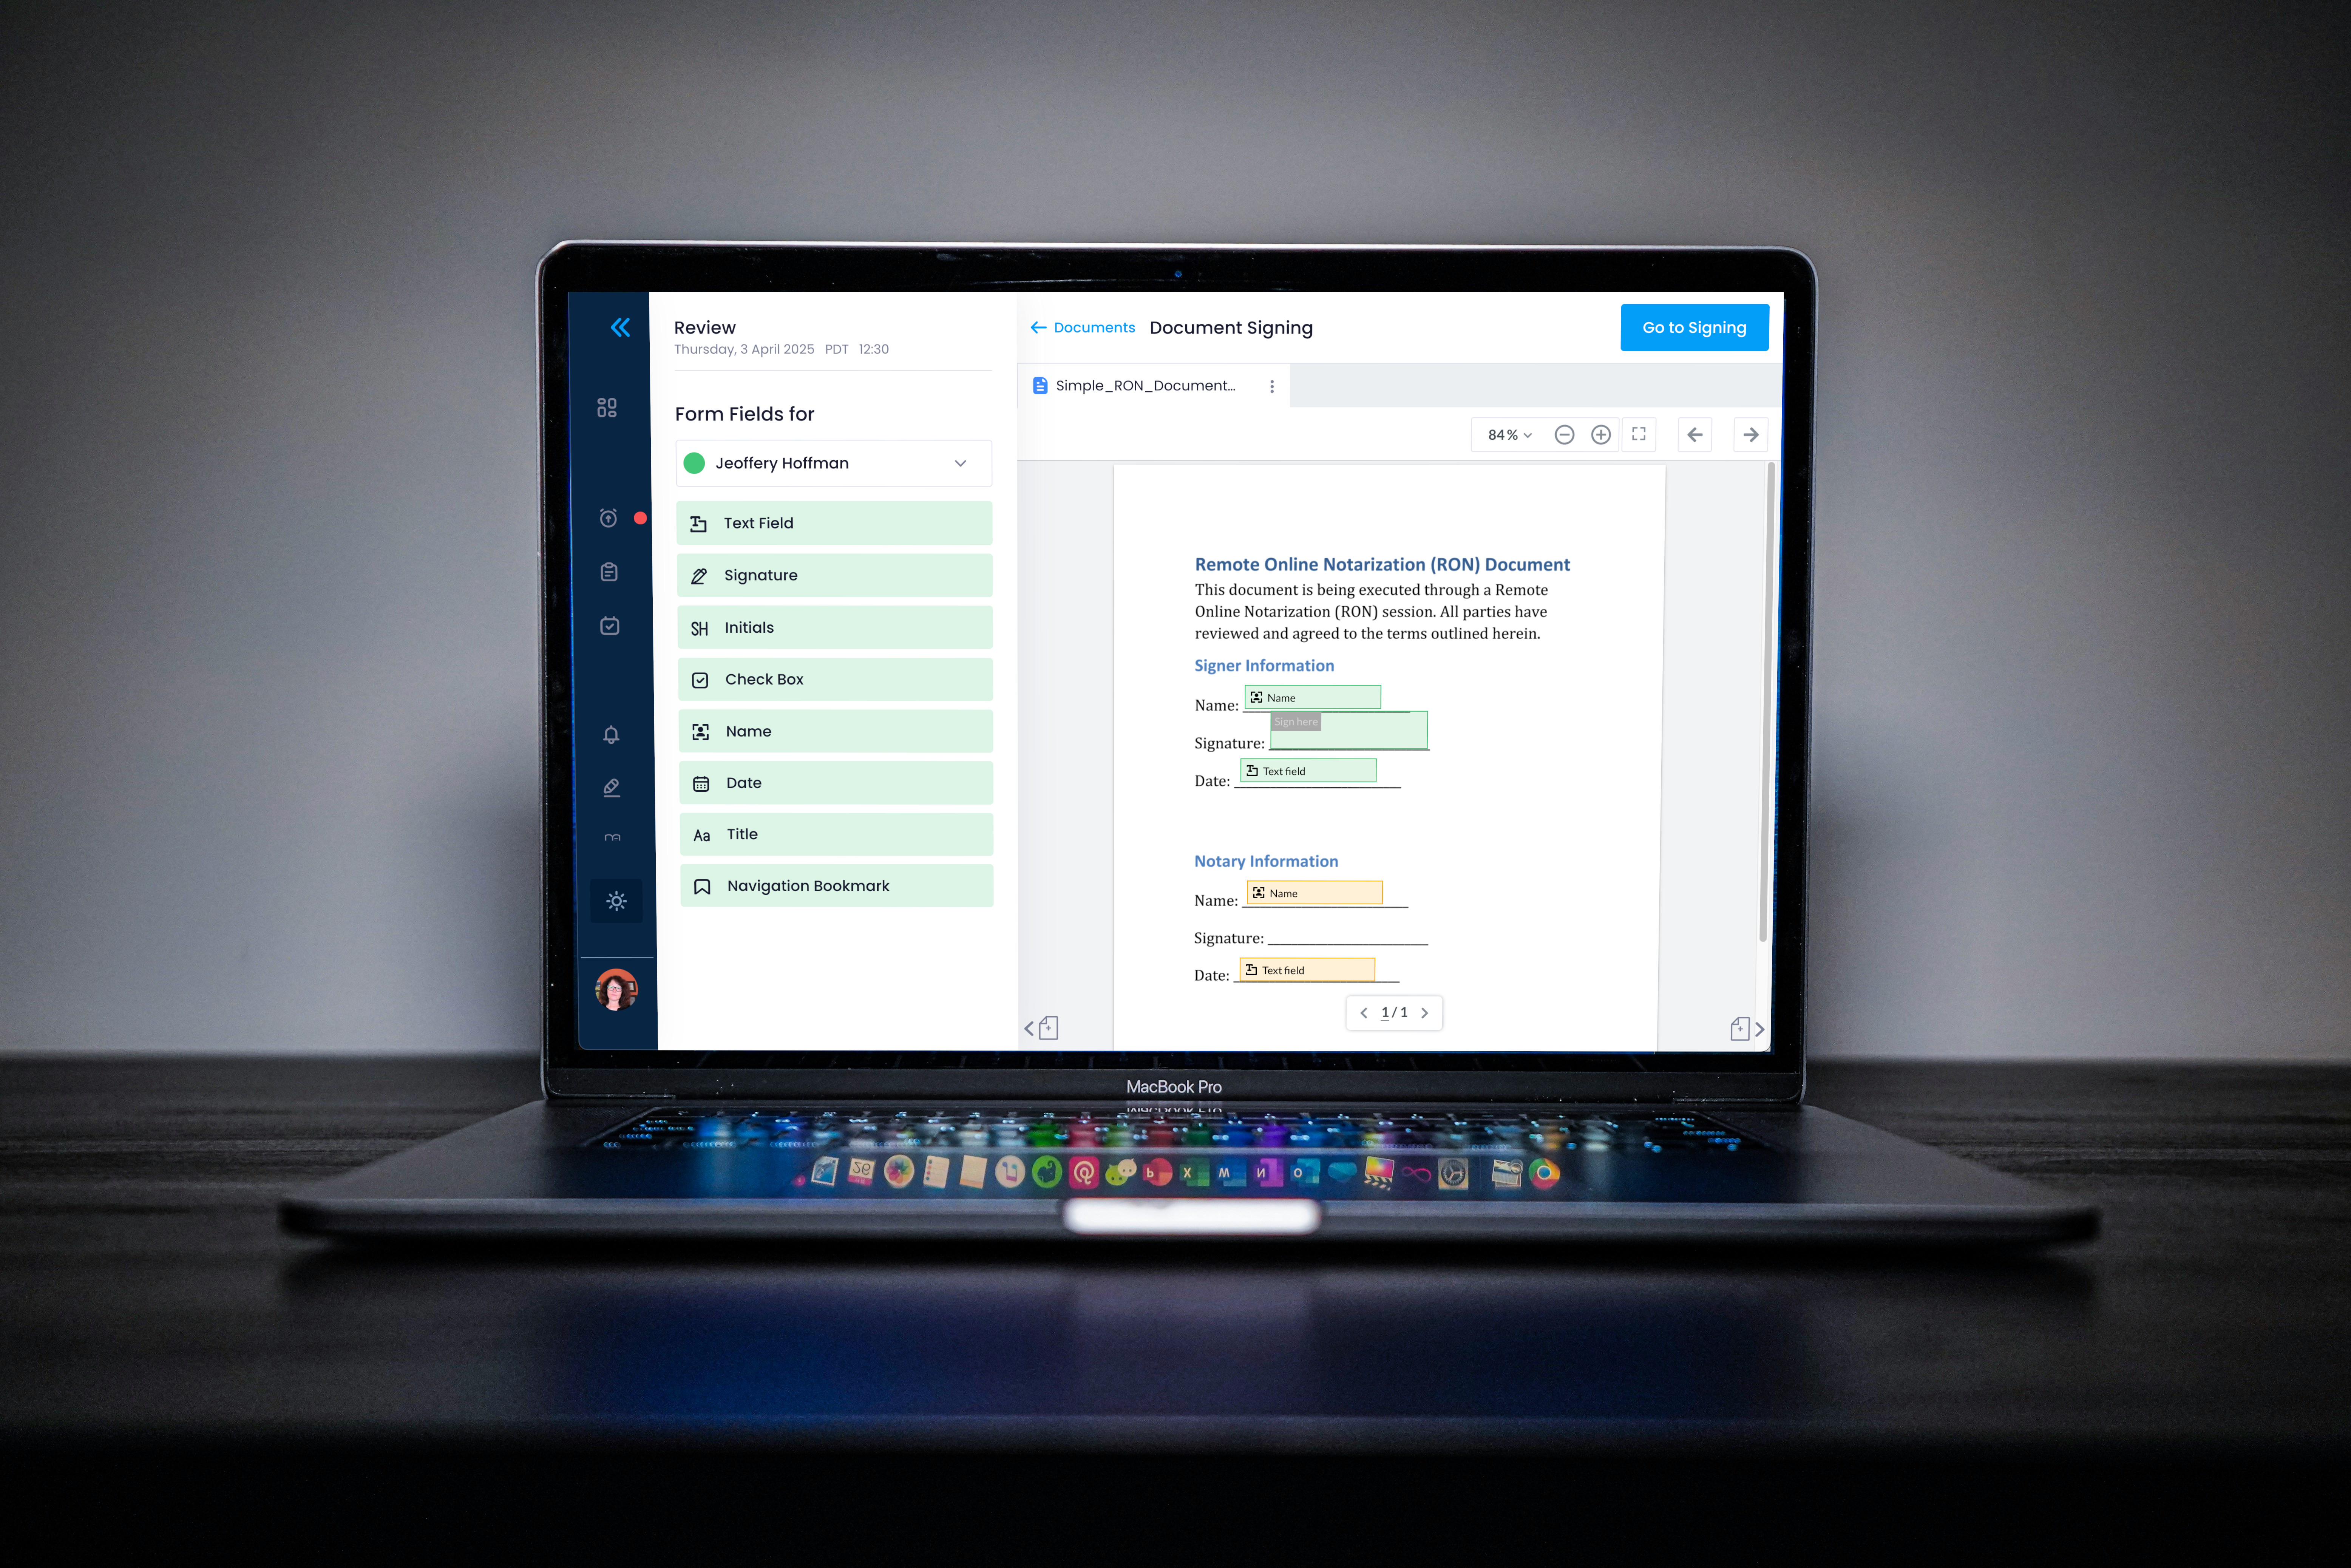
| Click the dropdown menu labeled "Form Fields for" to select the participant you want to assign fields to. | 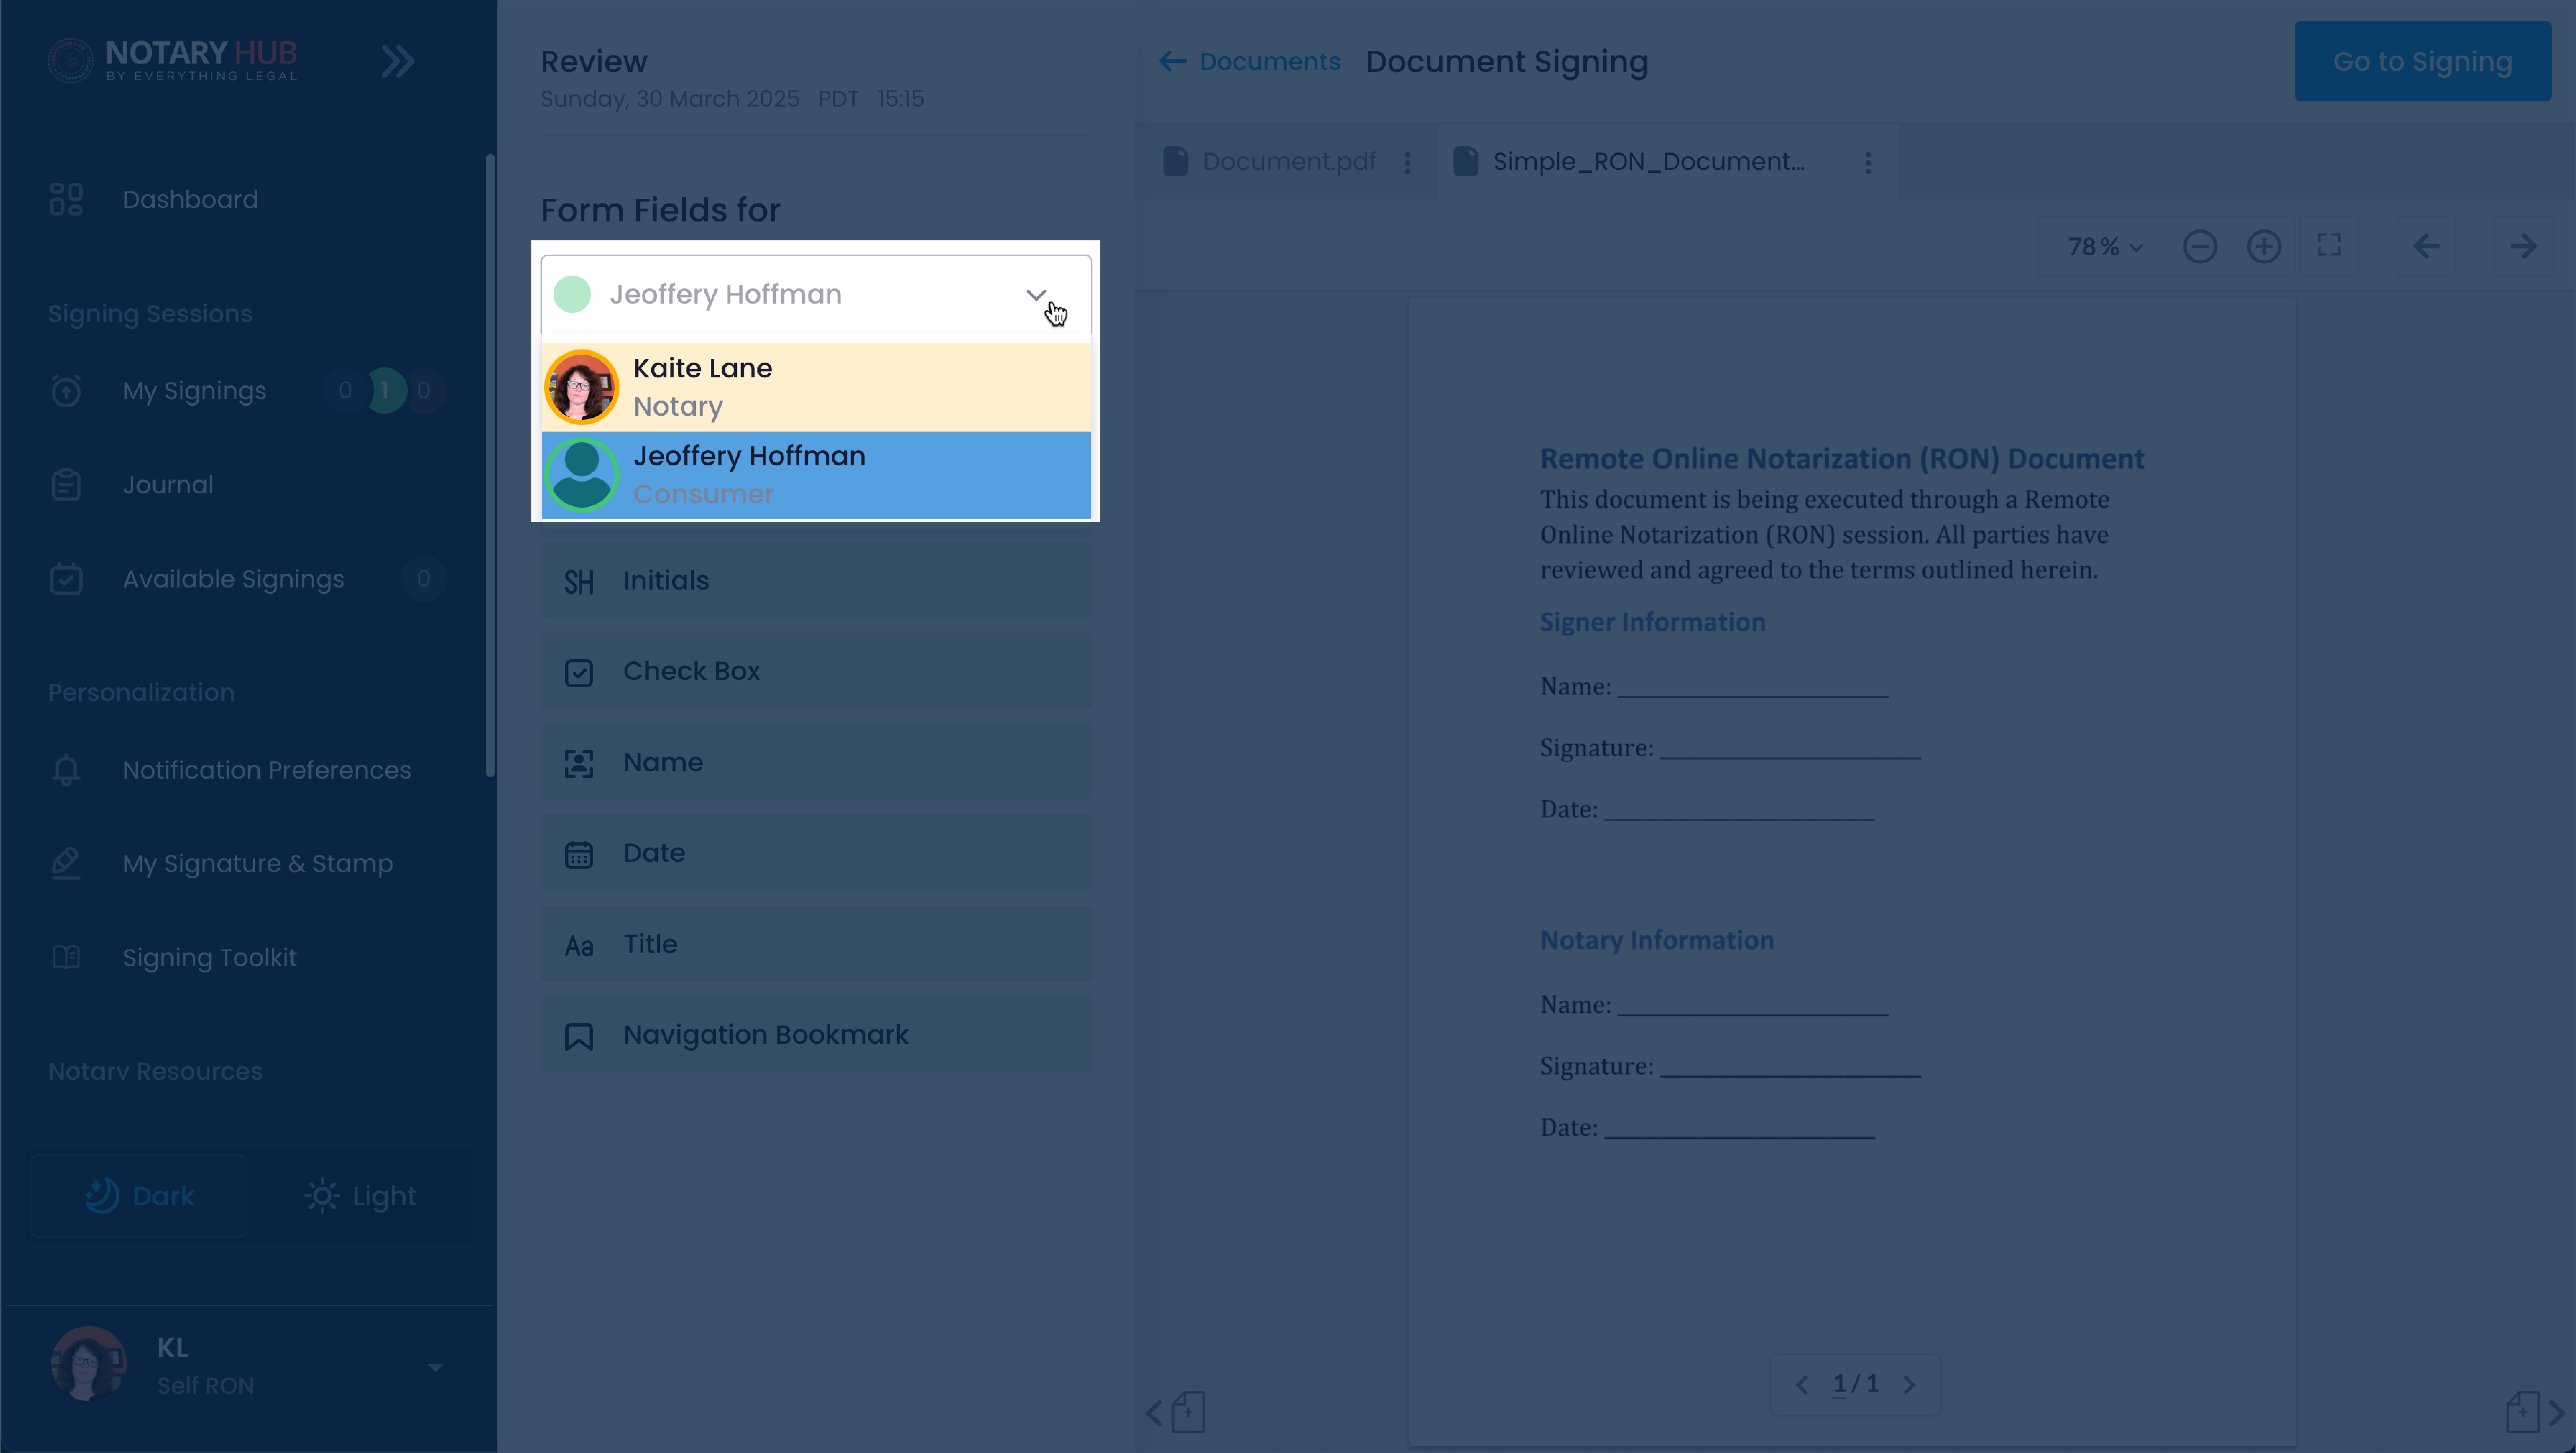 |
| Drag and drop the required field (signature, initials, date, text box, etc.) onto the document. |  |
| Adjust the position and size of the field as needed. Click and drag to move, or use the control handles to resize. To delete, click the trash can icon. | 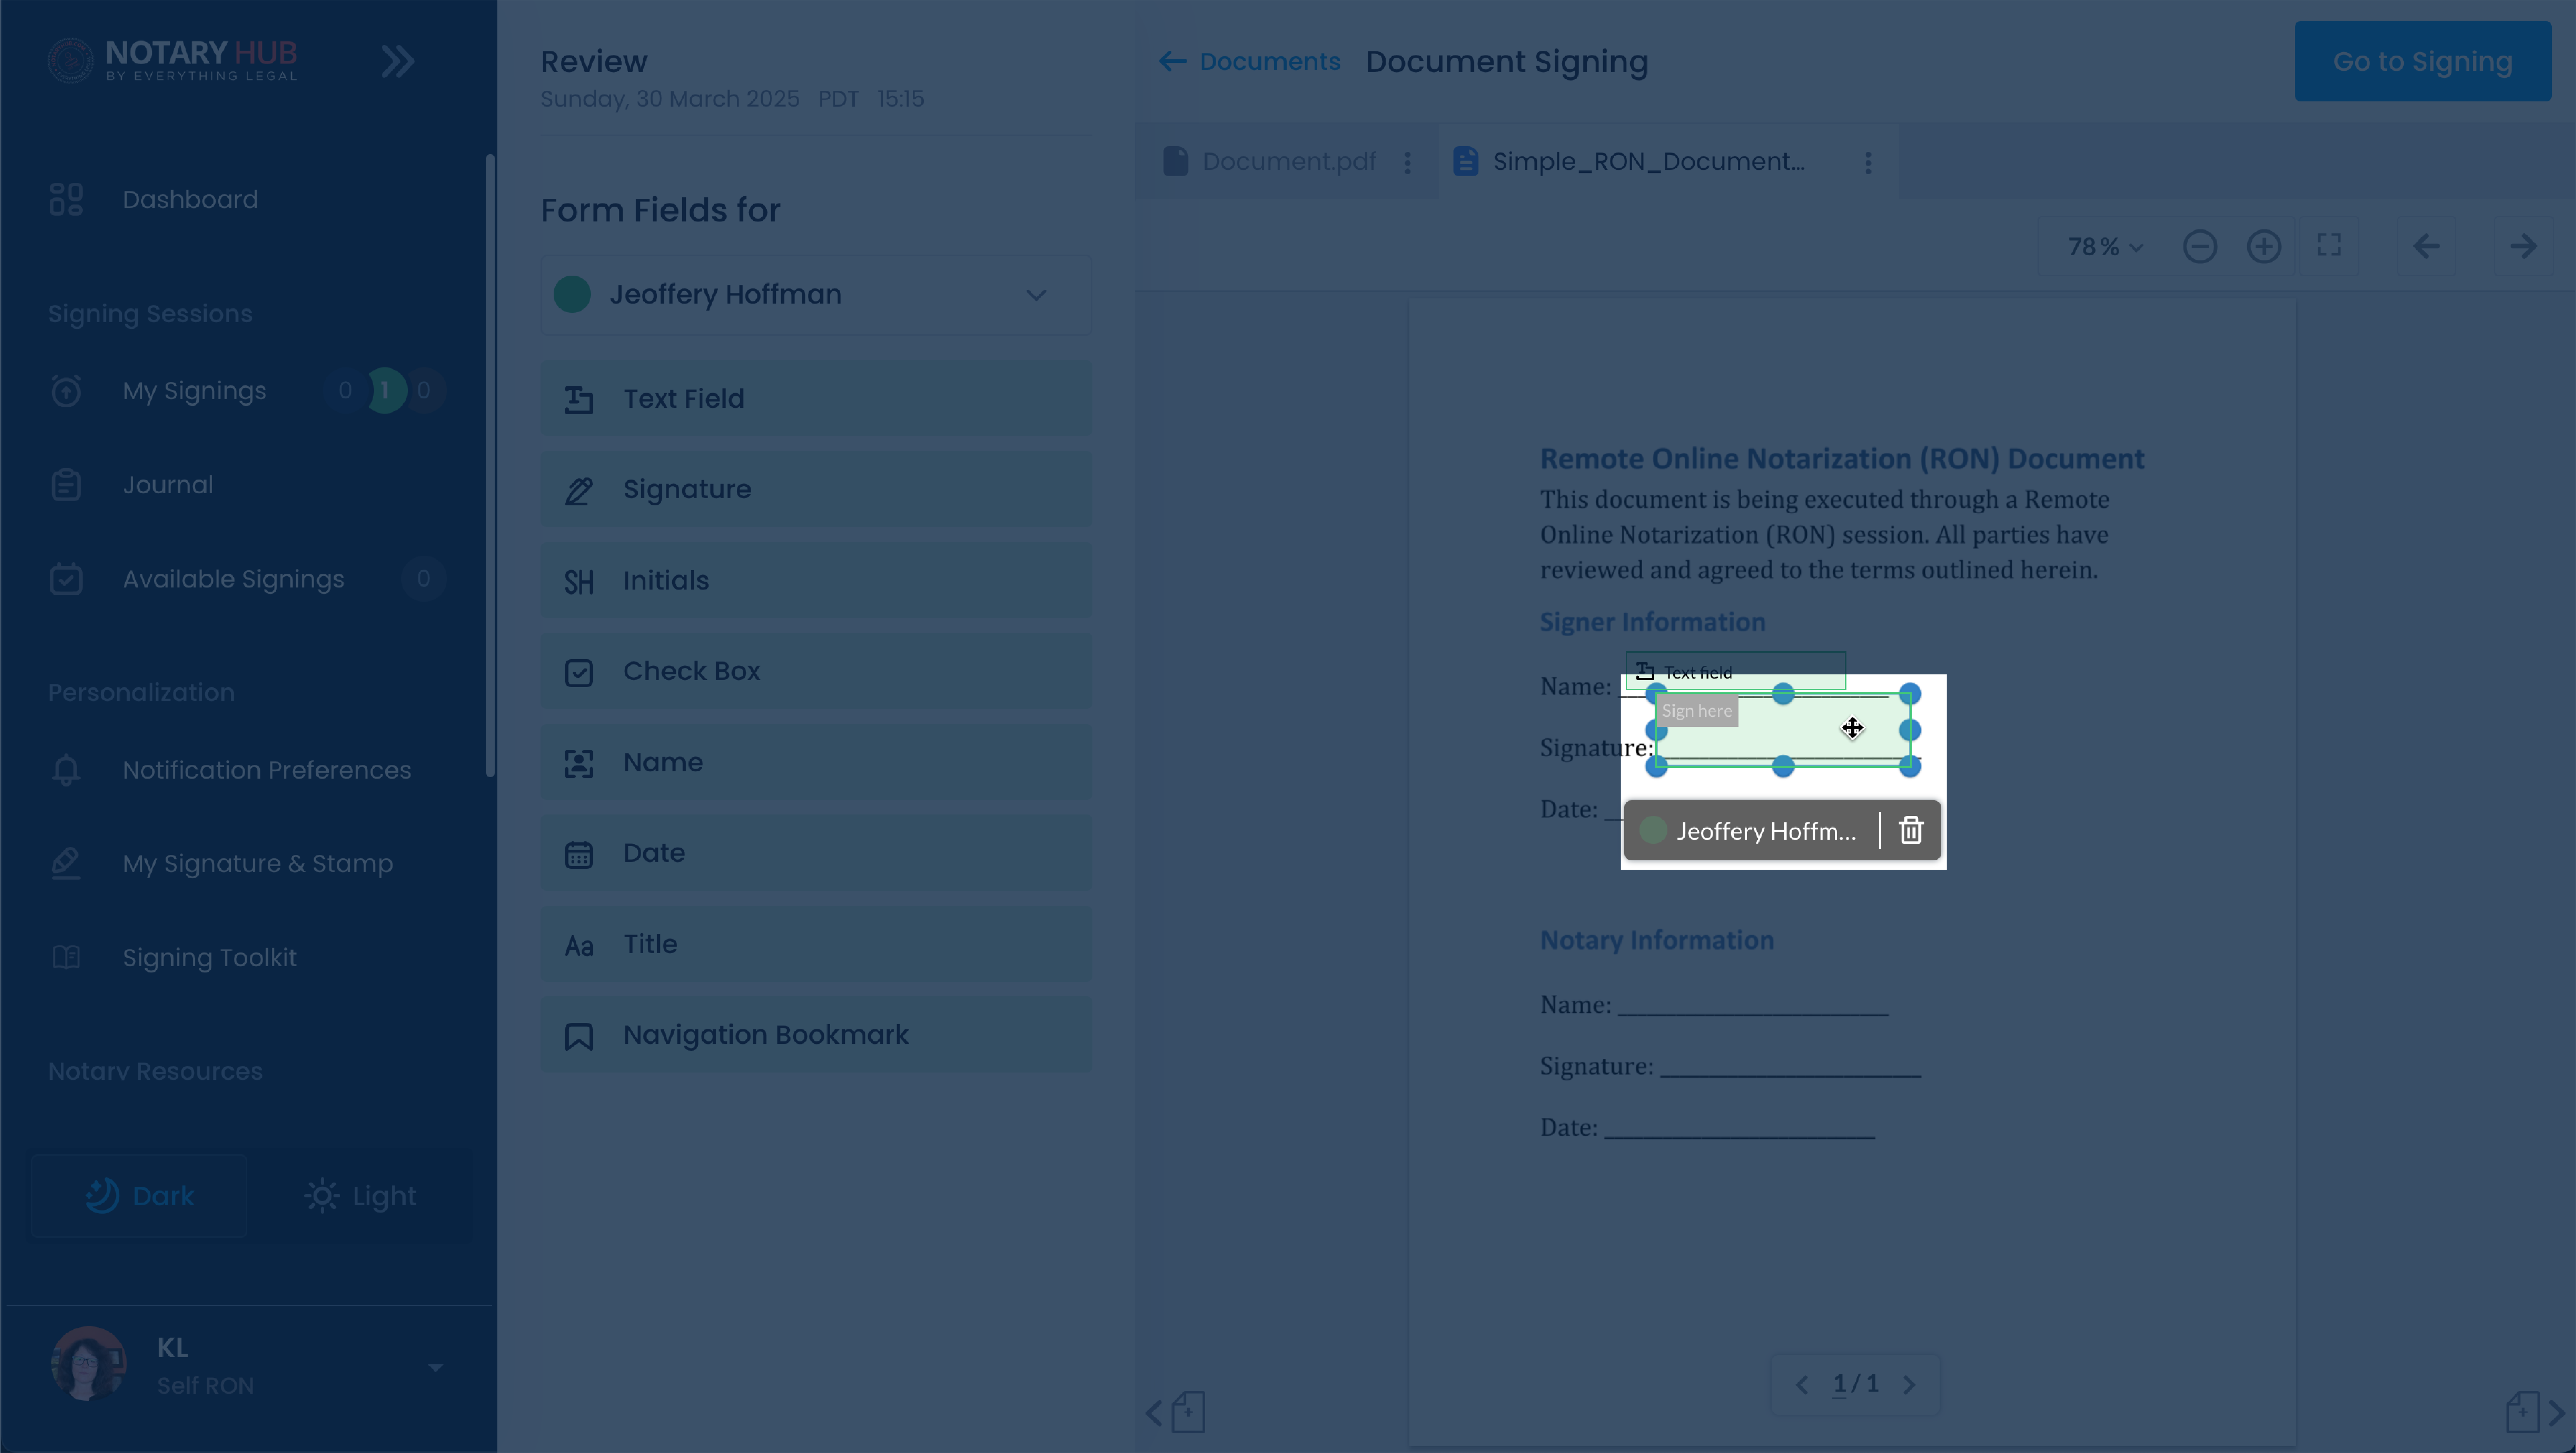 |
| To group fields together, drag your cursor to include one or more fields and then click the circle with three dots icon to group together. | 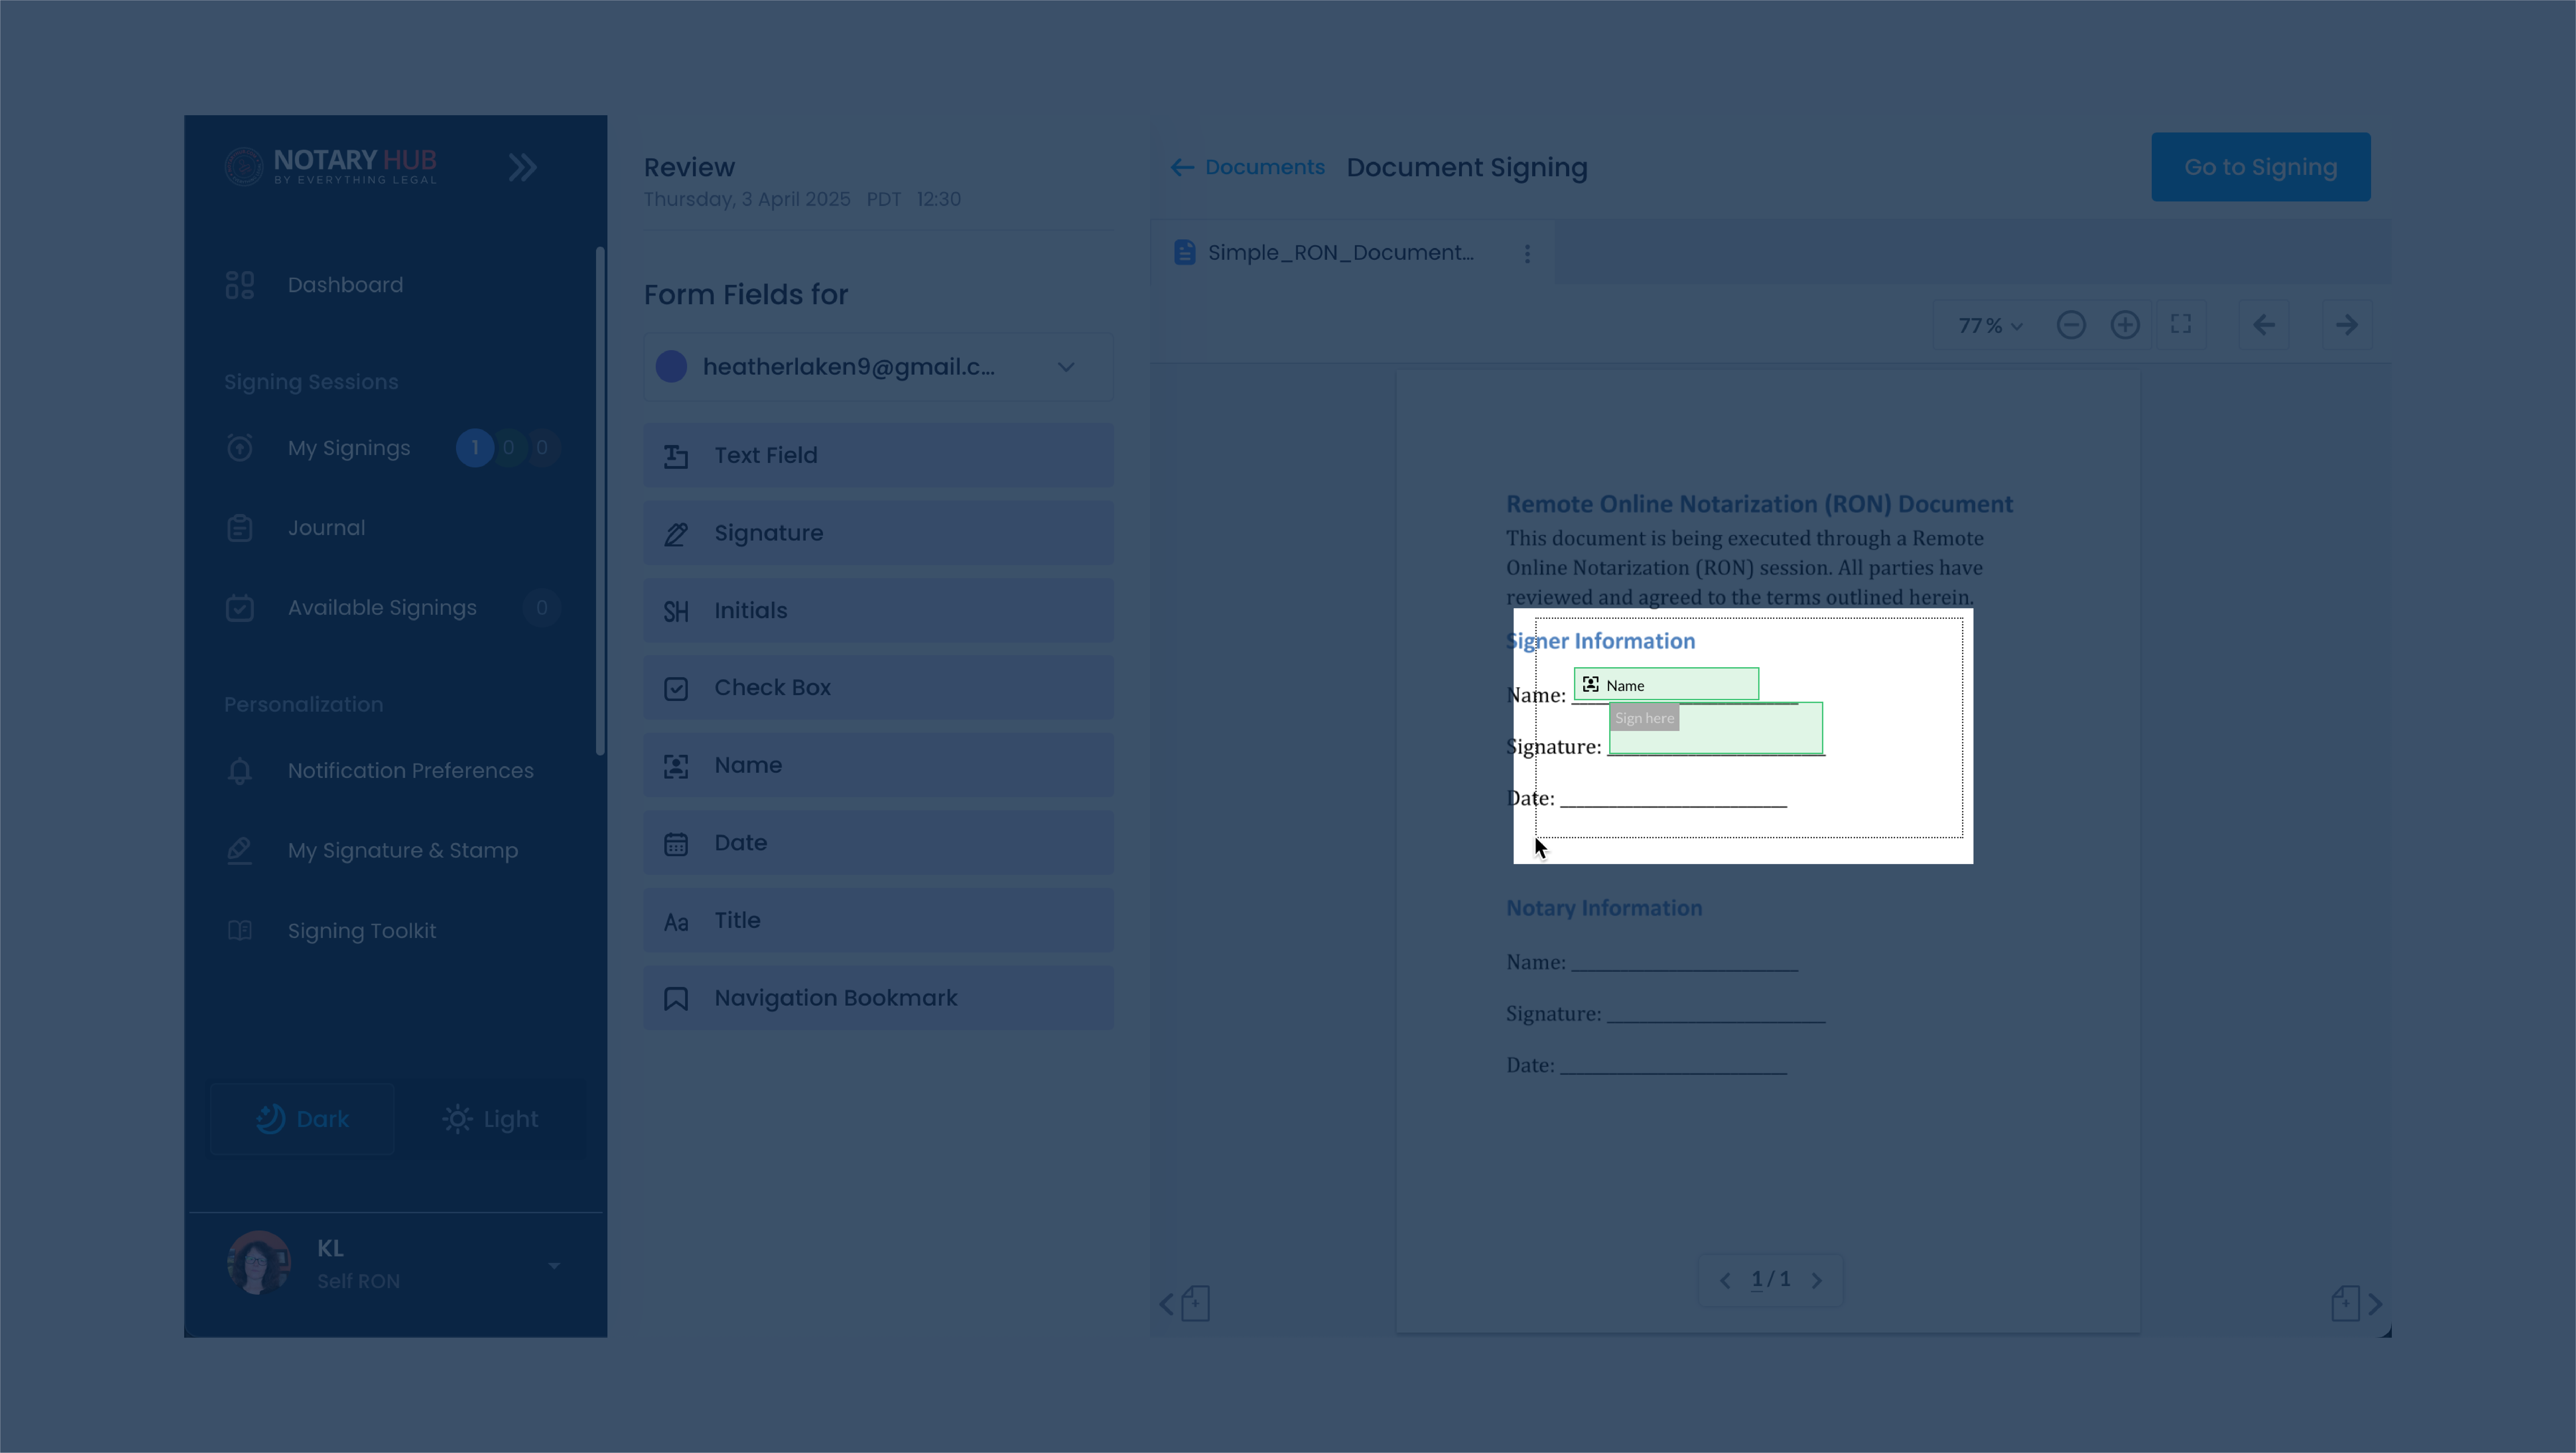 |
| Once grouped you can move the fields all at once. | 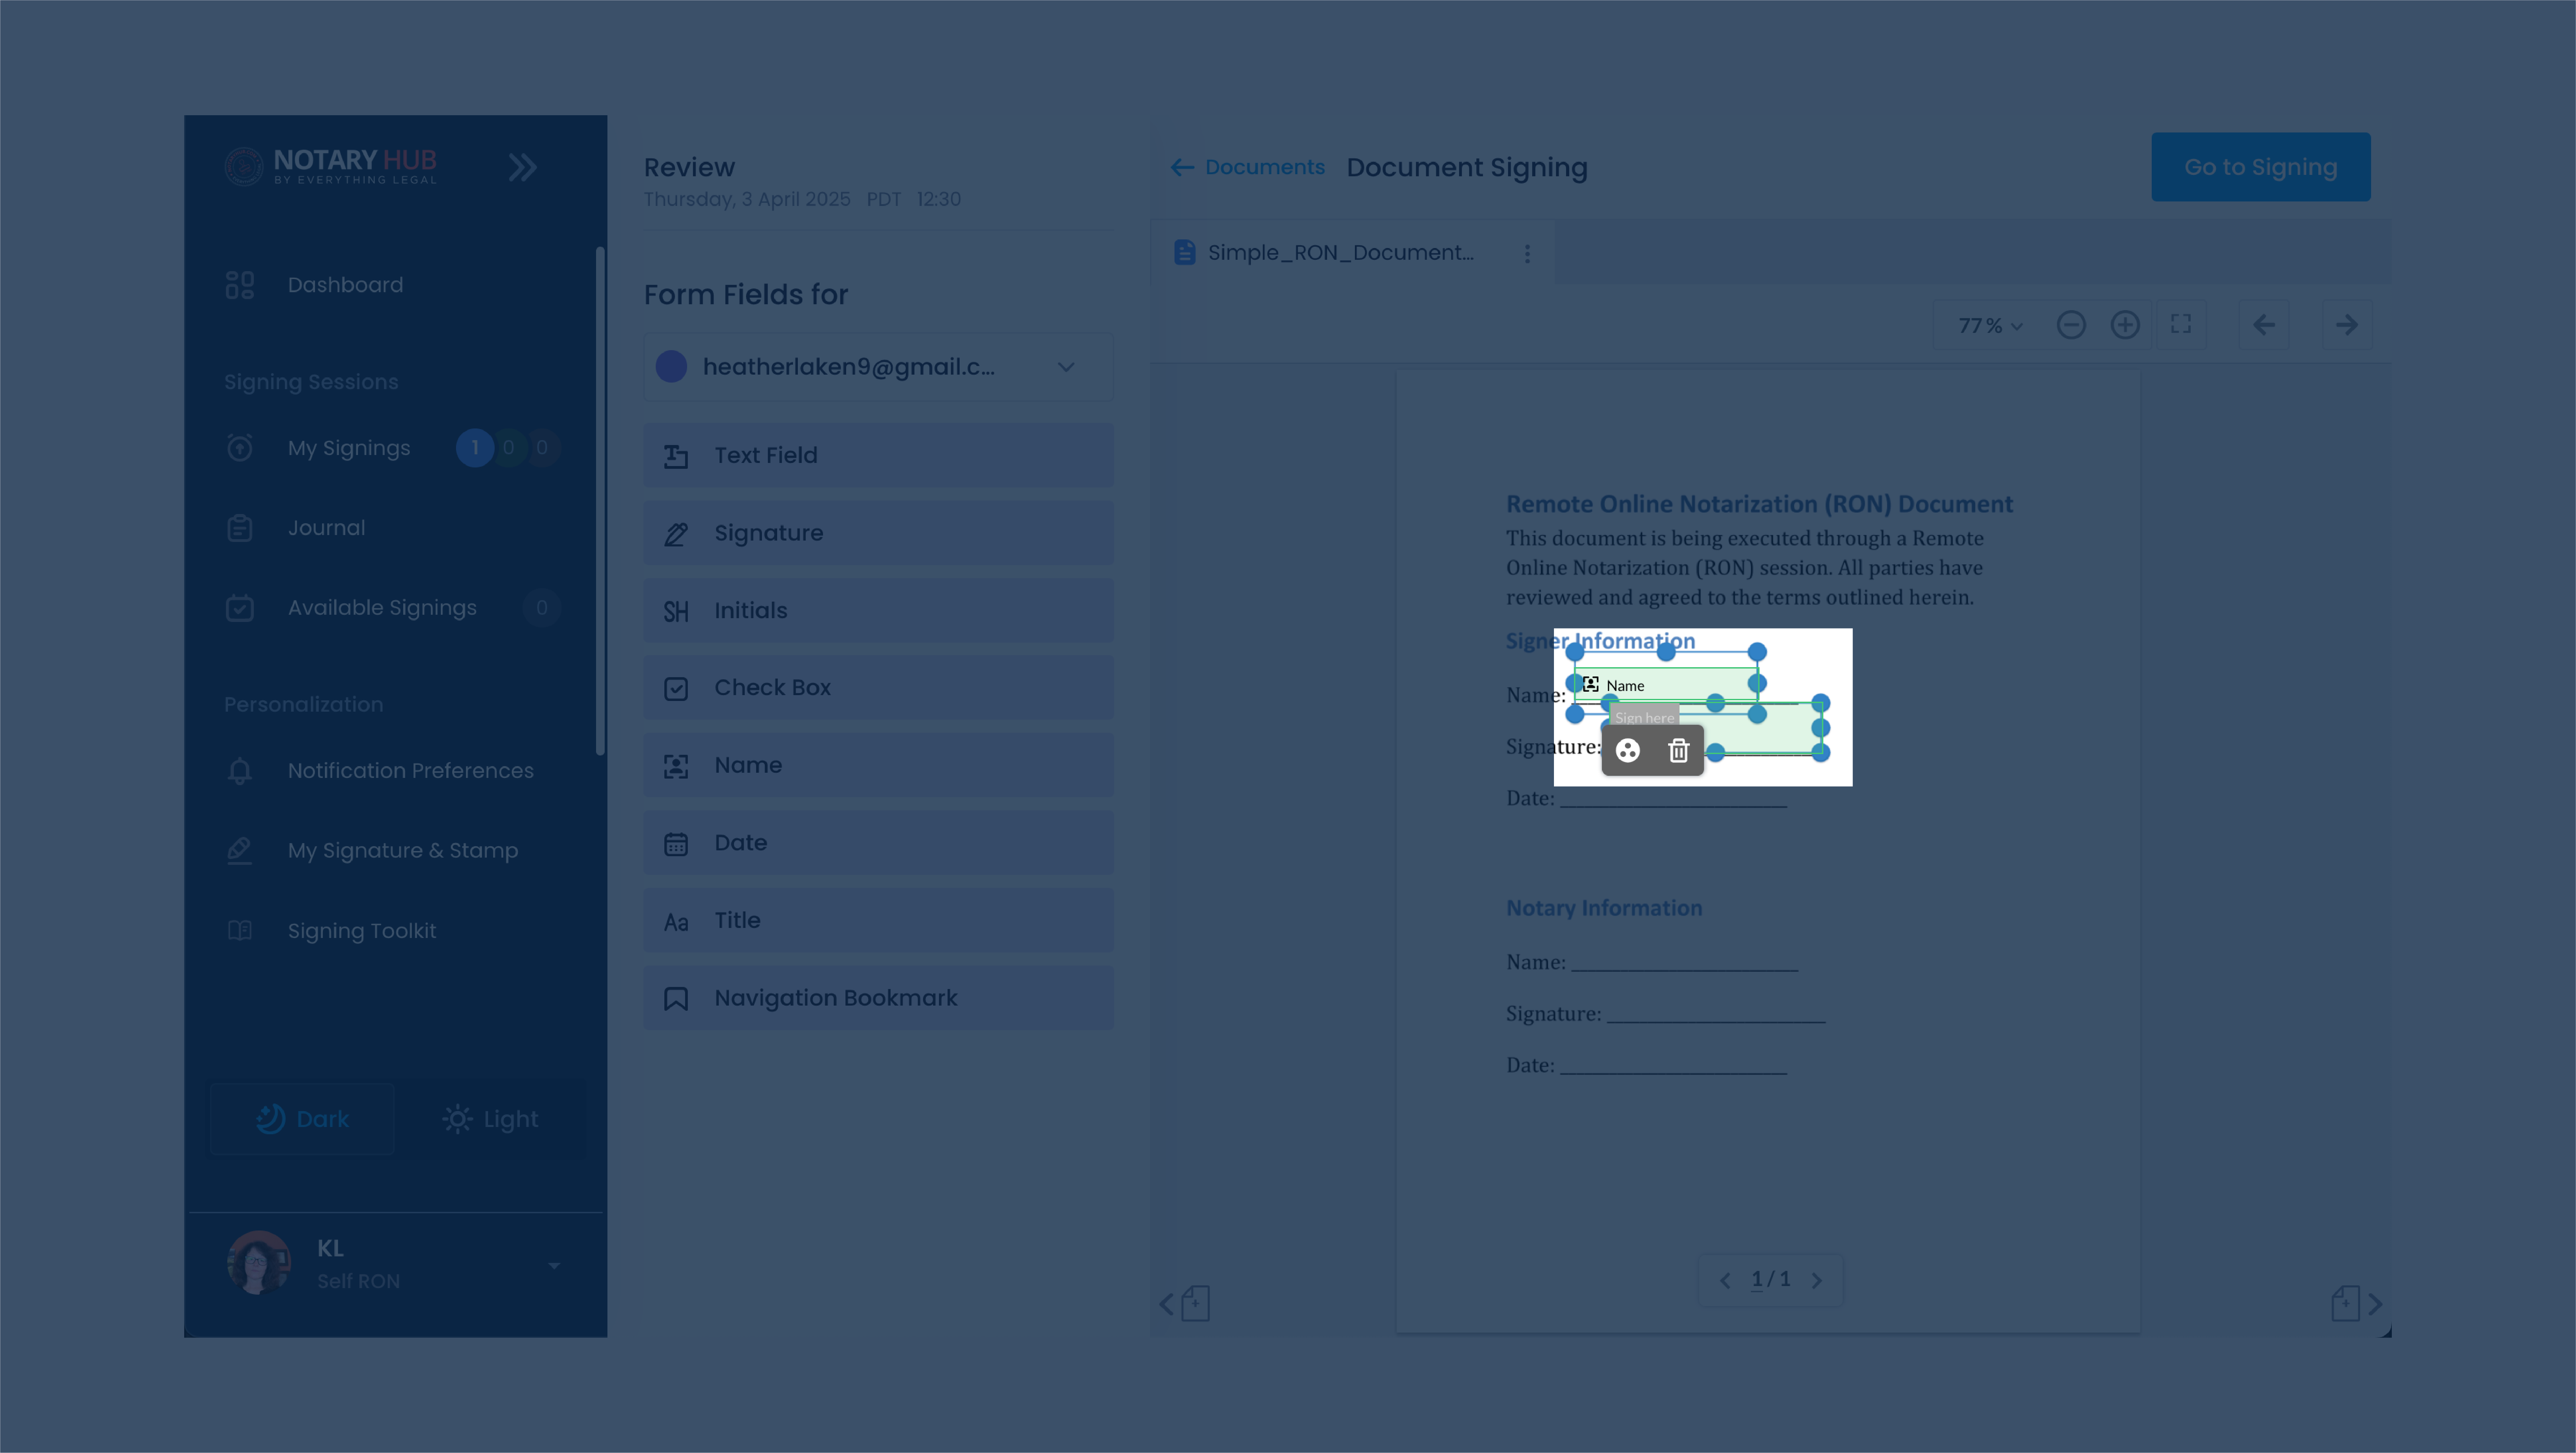 |
| To ungroup, select the grouped fields, and click the four arrows icon. |  |
Adding and Editing Fields During a Live Signing Session
While it is best to add fields before the session begins, Notary Hub provides the flexibility to make changes in real time. Notaries can adjust, add, or remove fields during the session if unforeseen changes arise or if signers need additional guidance.
Enter the signing session. For more information on entering the session, [click here](Enter a Session_01.md).
| Instructions | Visuals |
|---|---|
| During the signing session, click the document you would like to assign fields to. | 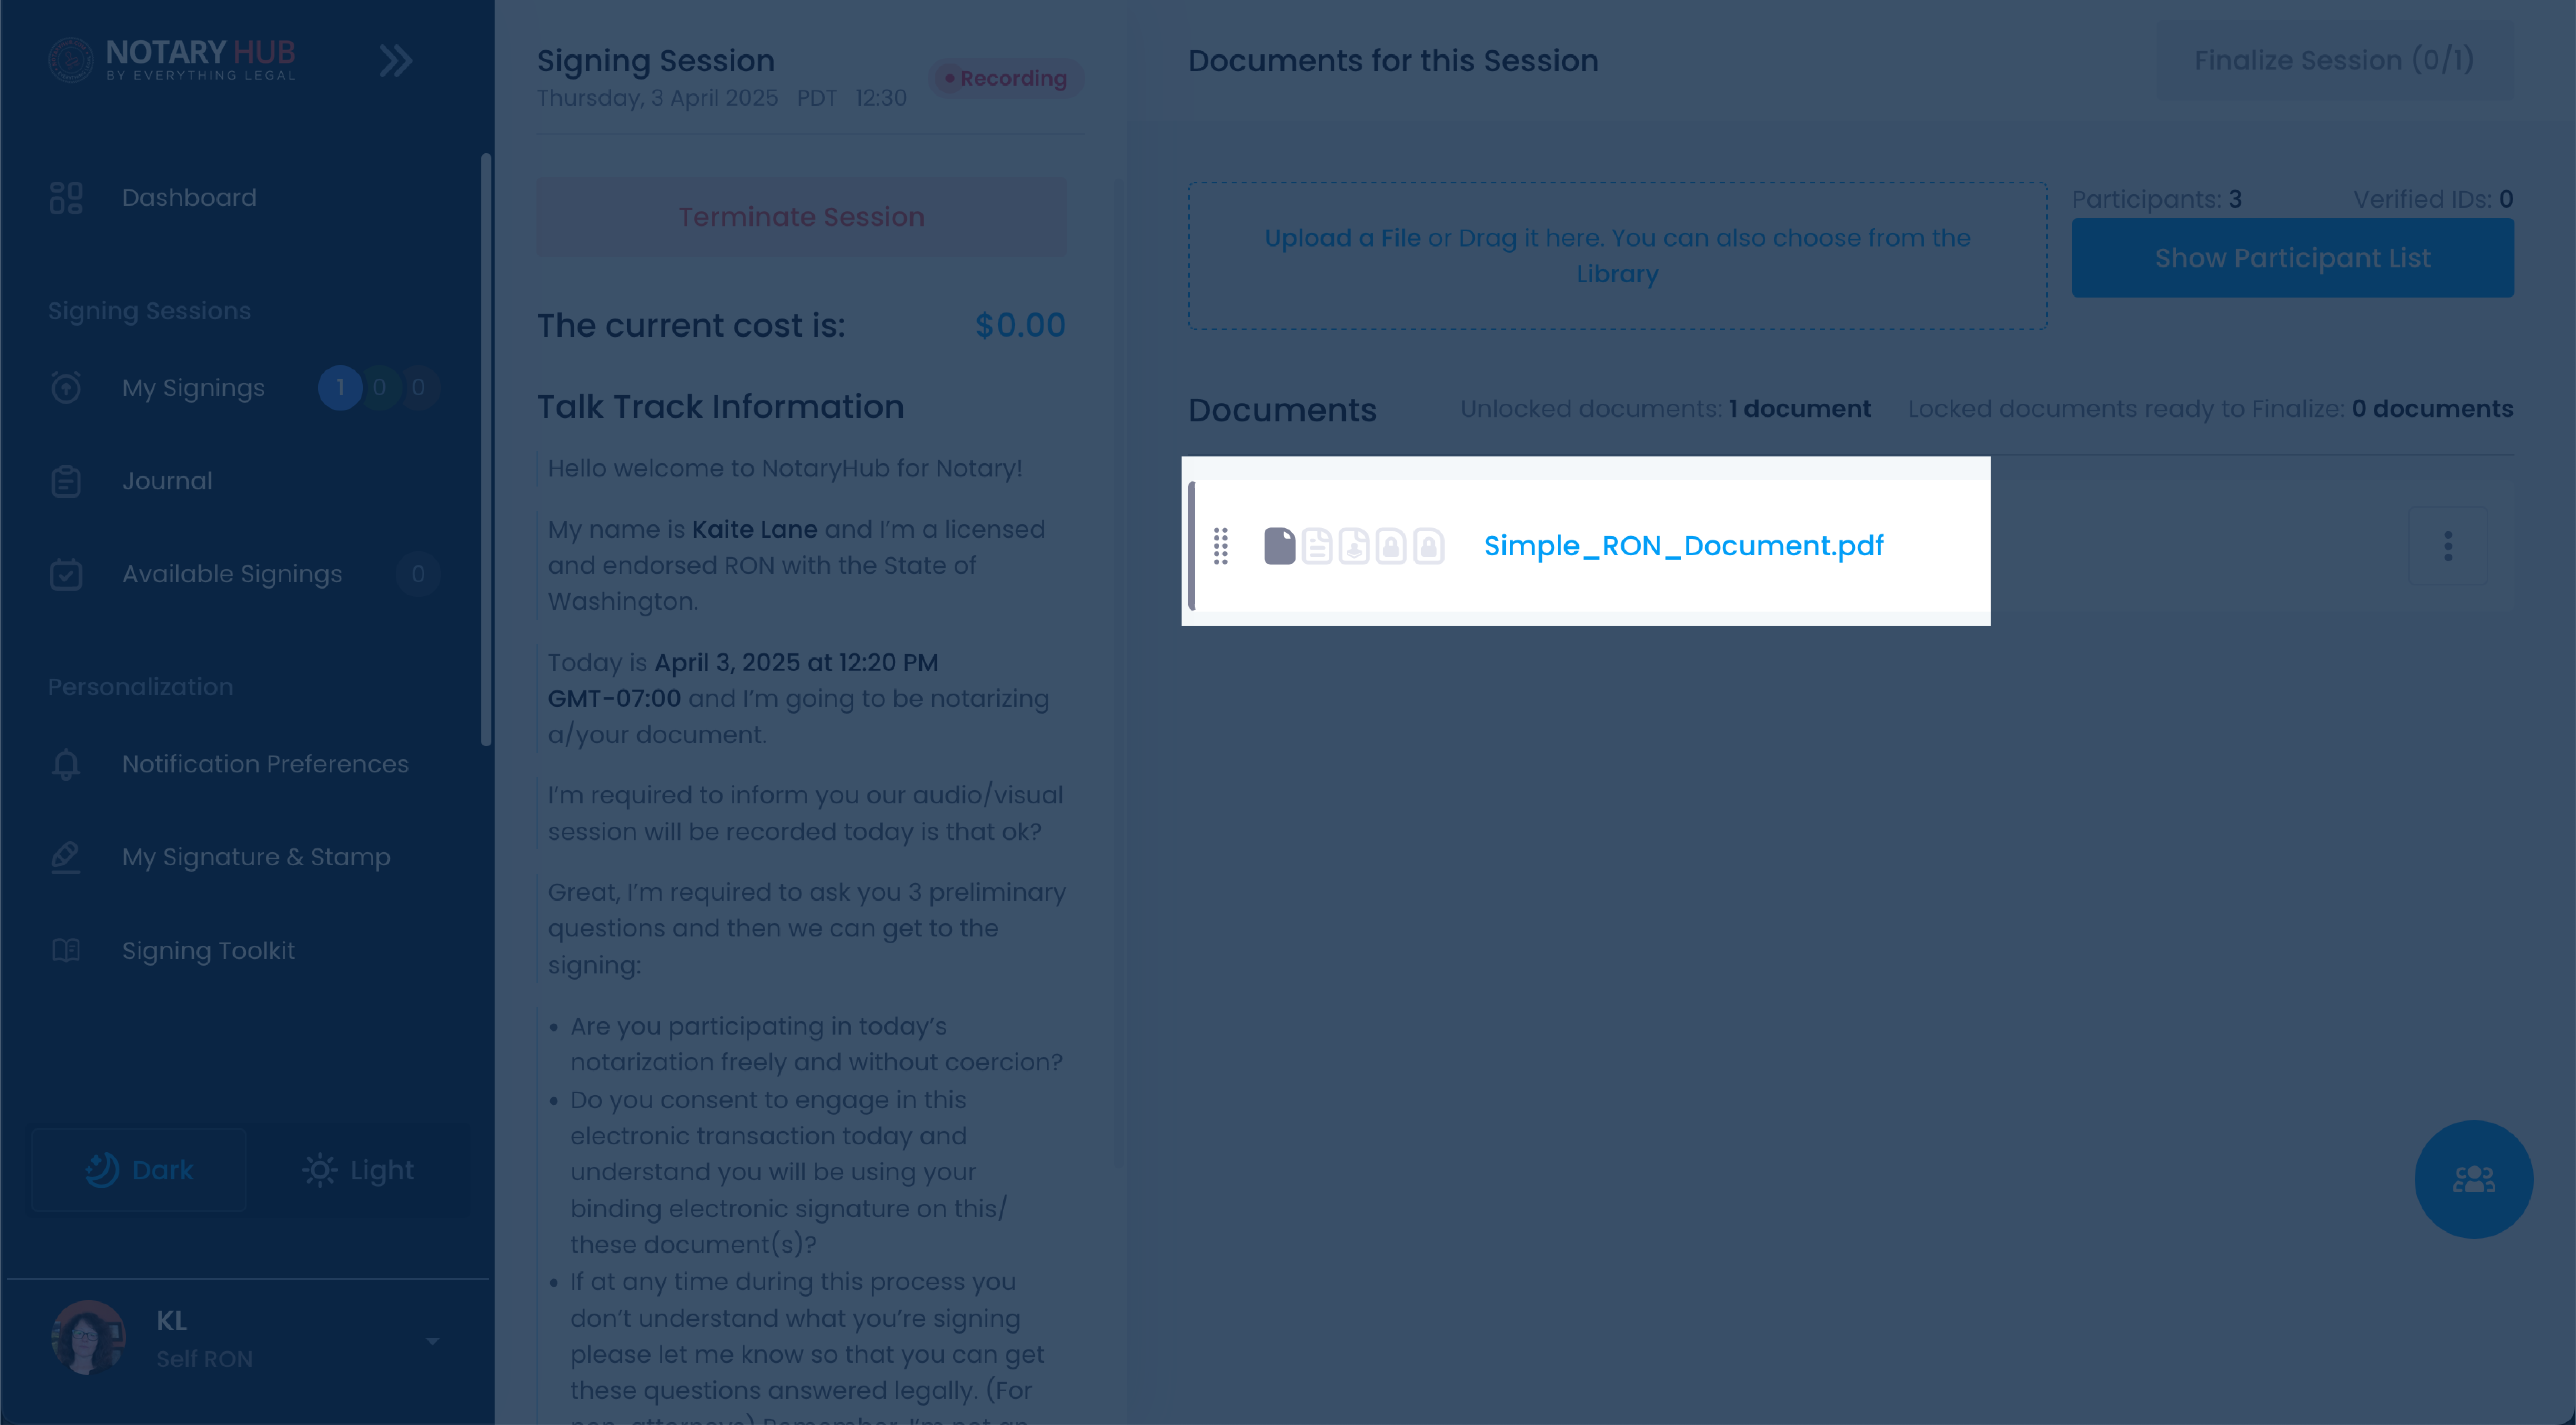 |
| Click the dropdown menu labeled "Form Fields for" to select the participant you want to assign fields to. | 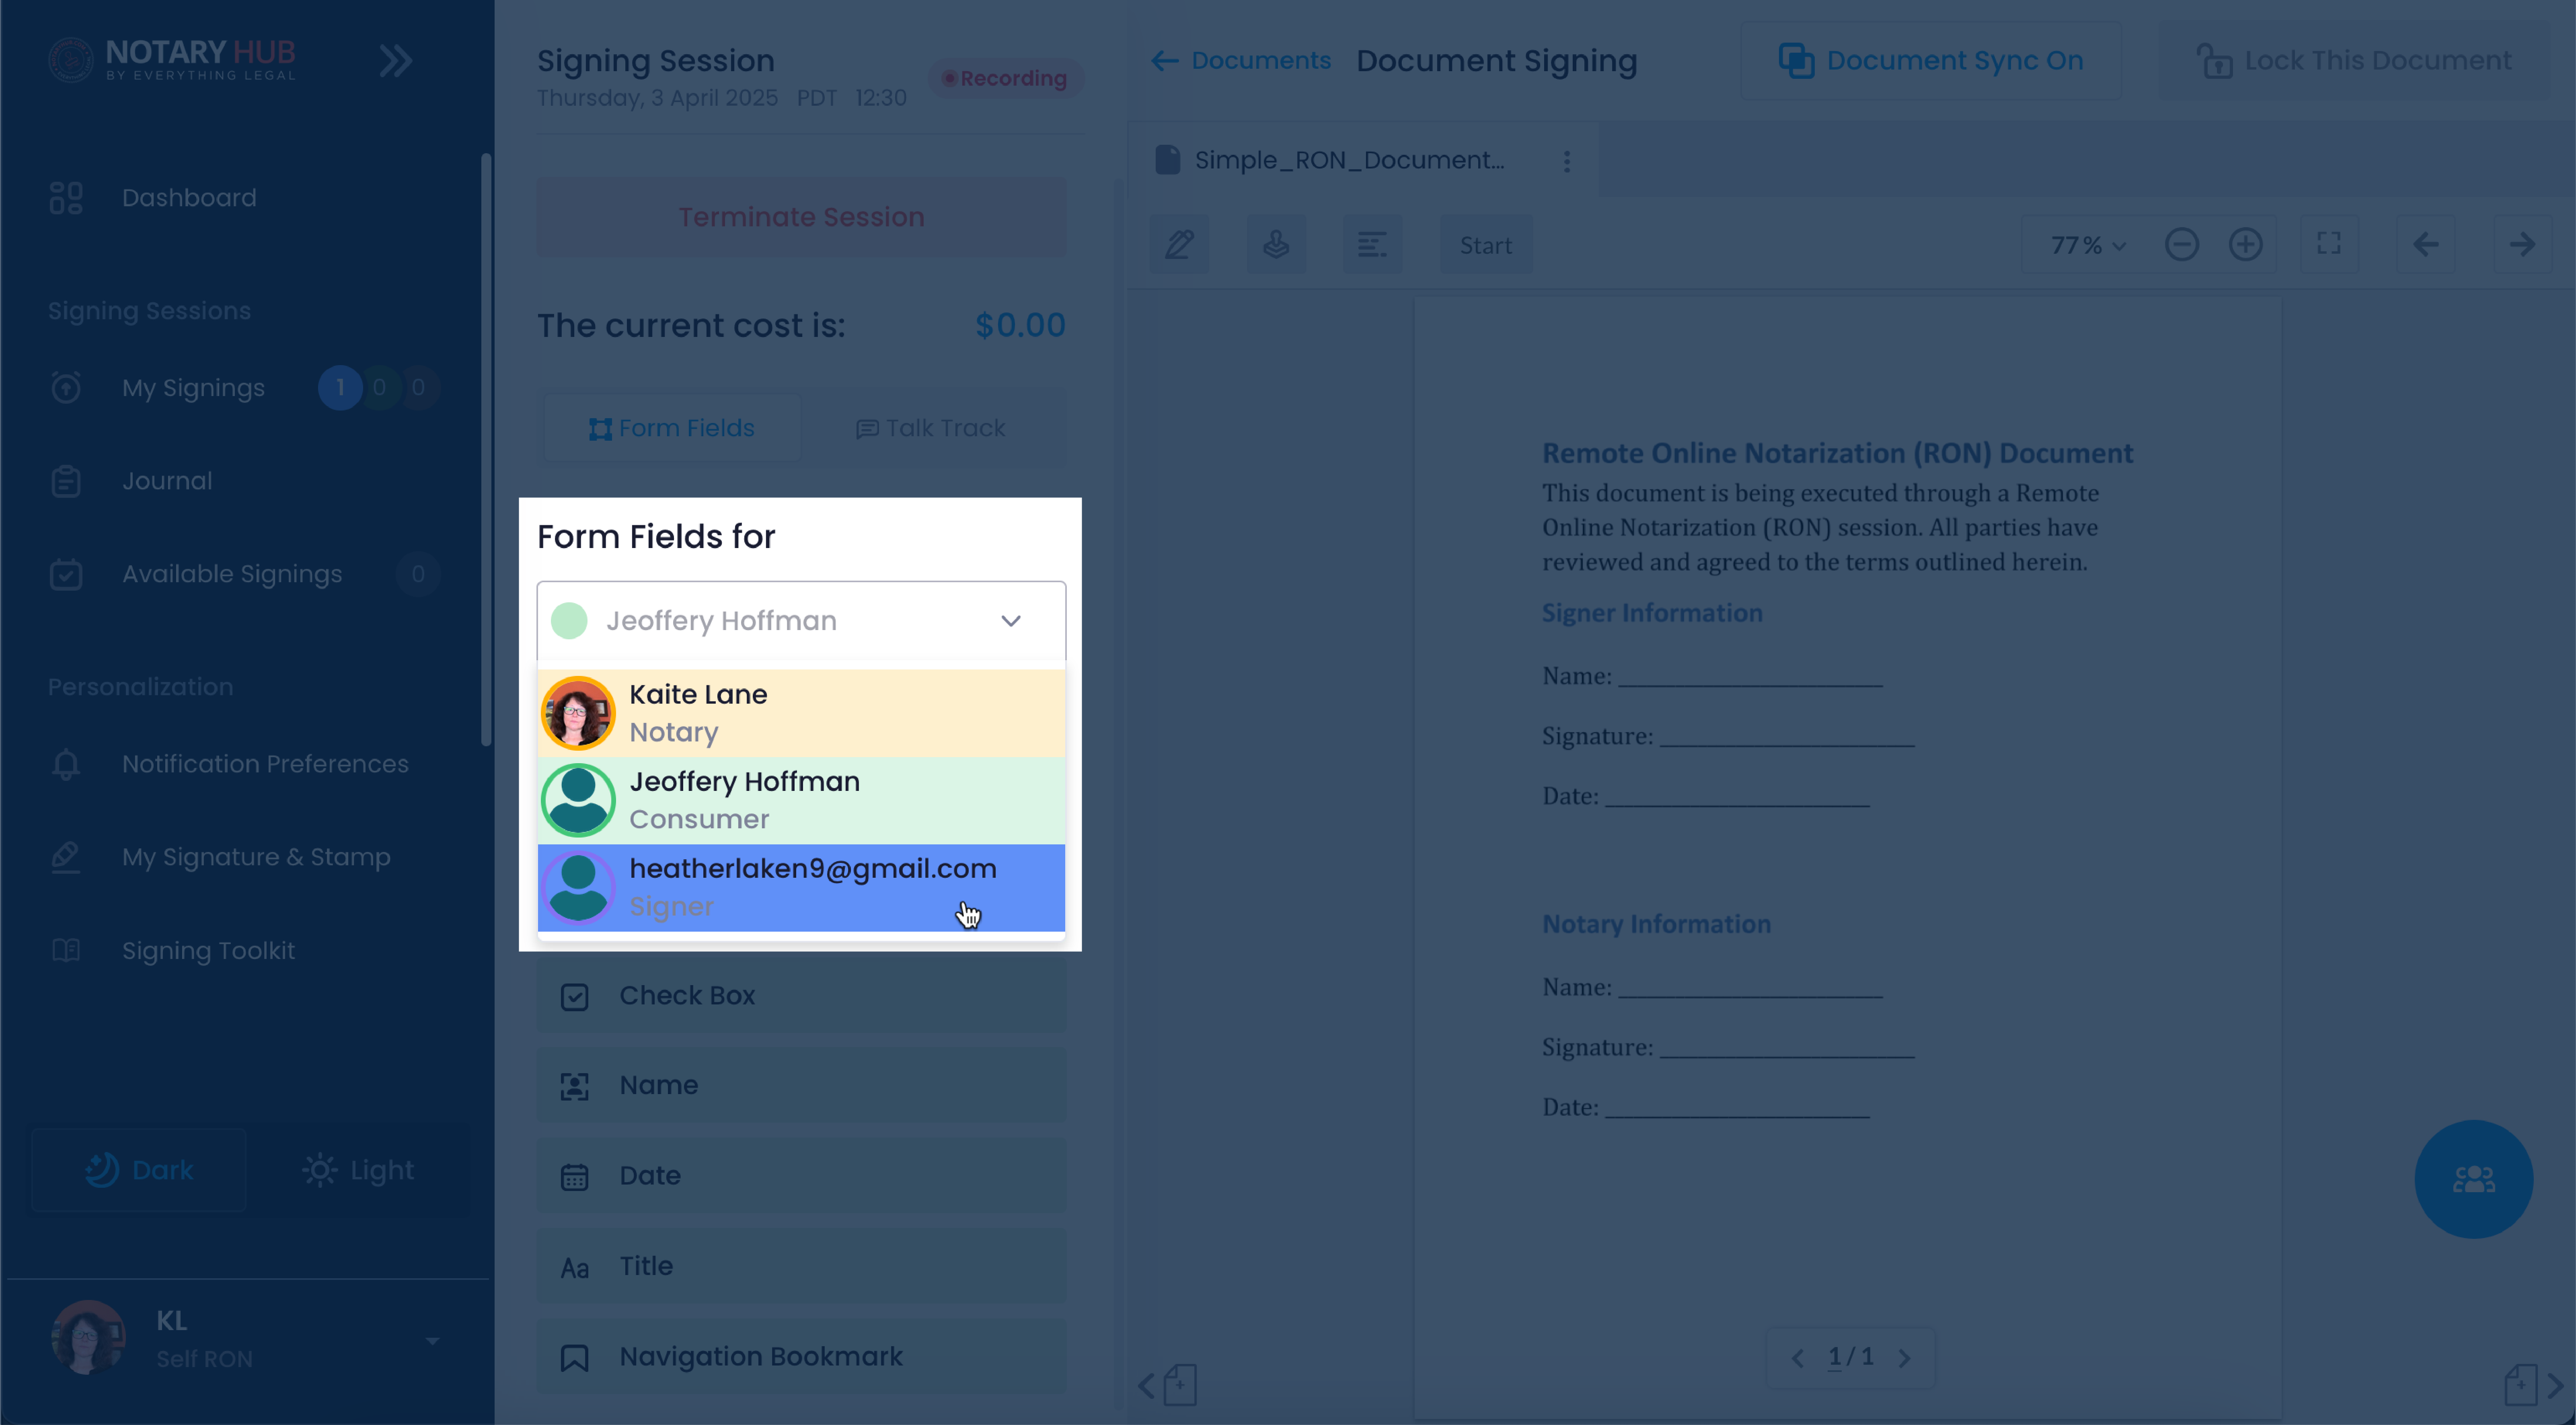 |
| Drag and drop the required field (signature, initials, date, text box, etc.) onto the document. |  |
| Adjust the position and size of the field as needed. Click to select, drag to move, and use the control handles to resize. To delete, click the trash can icon. | 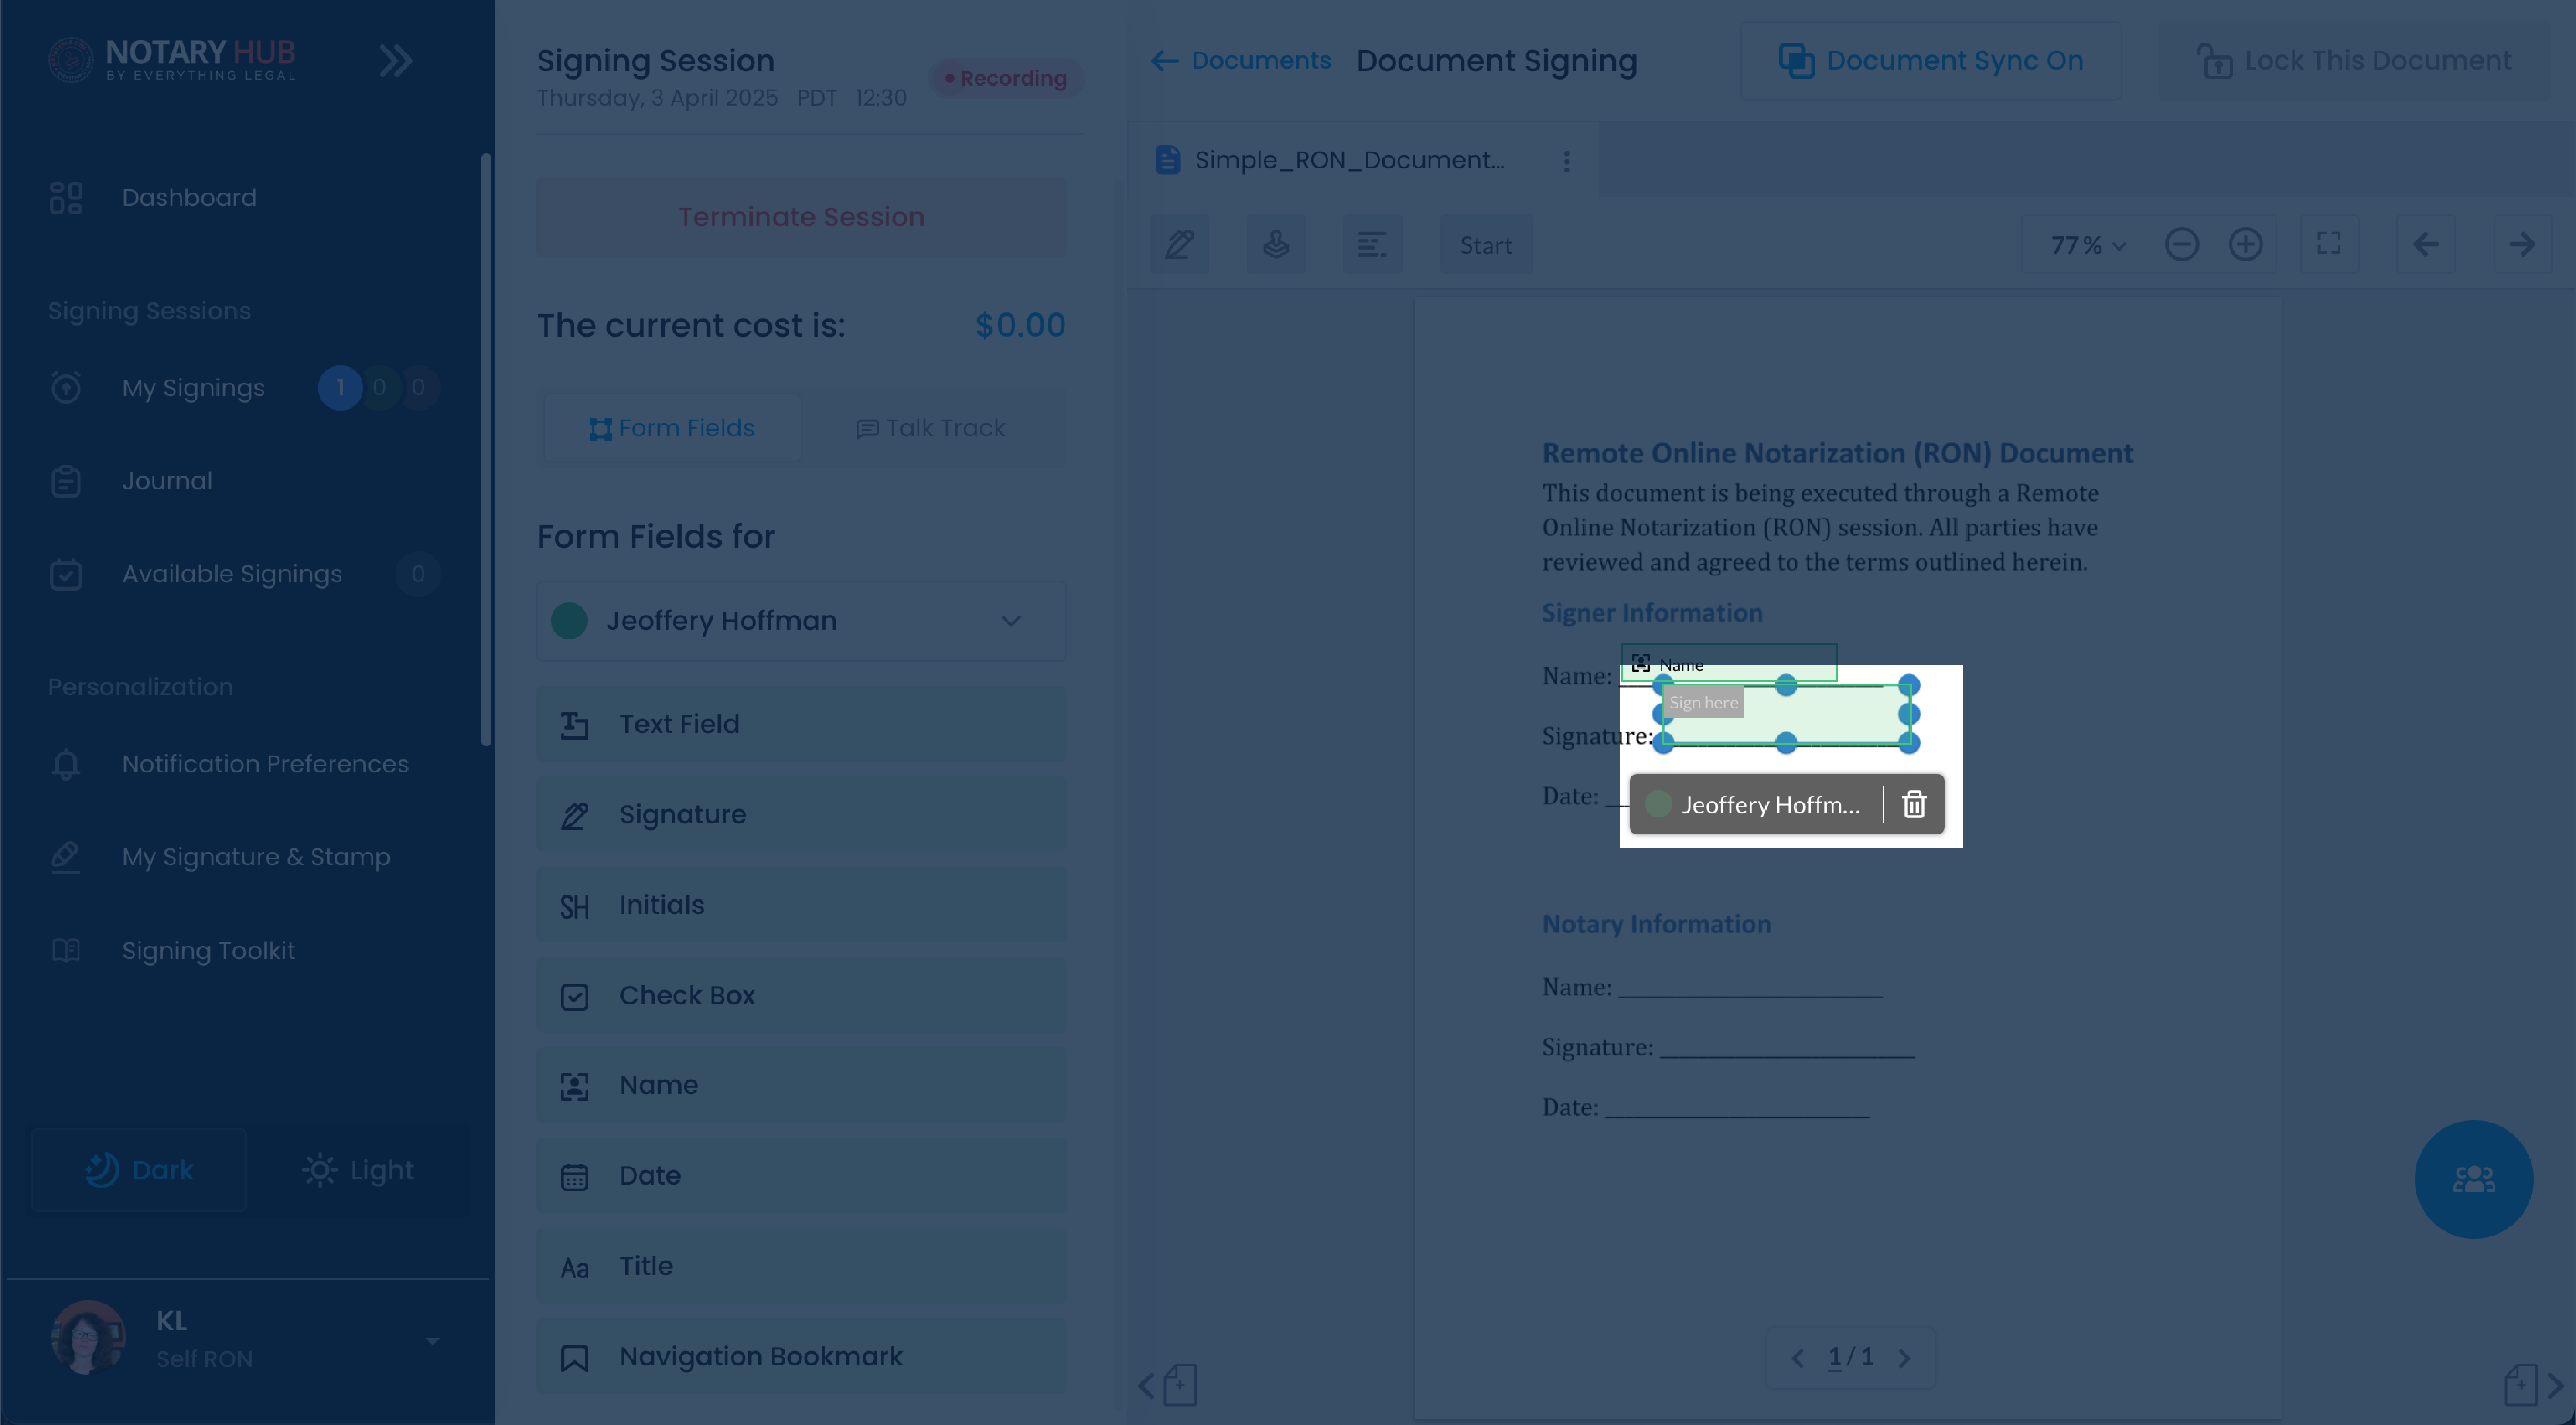 |
| To group fields together, drag your cursor to include one or more fields and then click the circle with three dots icon to group together. | 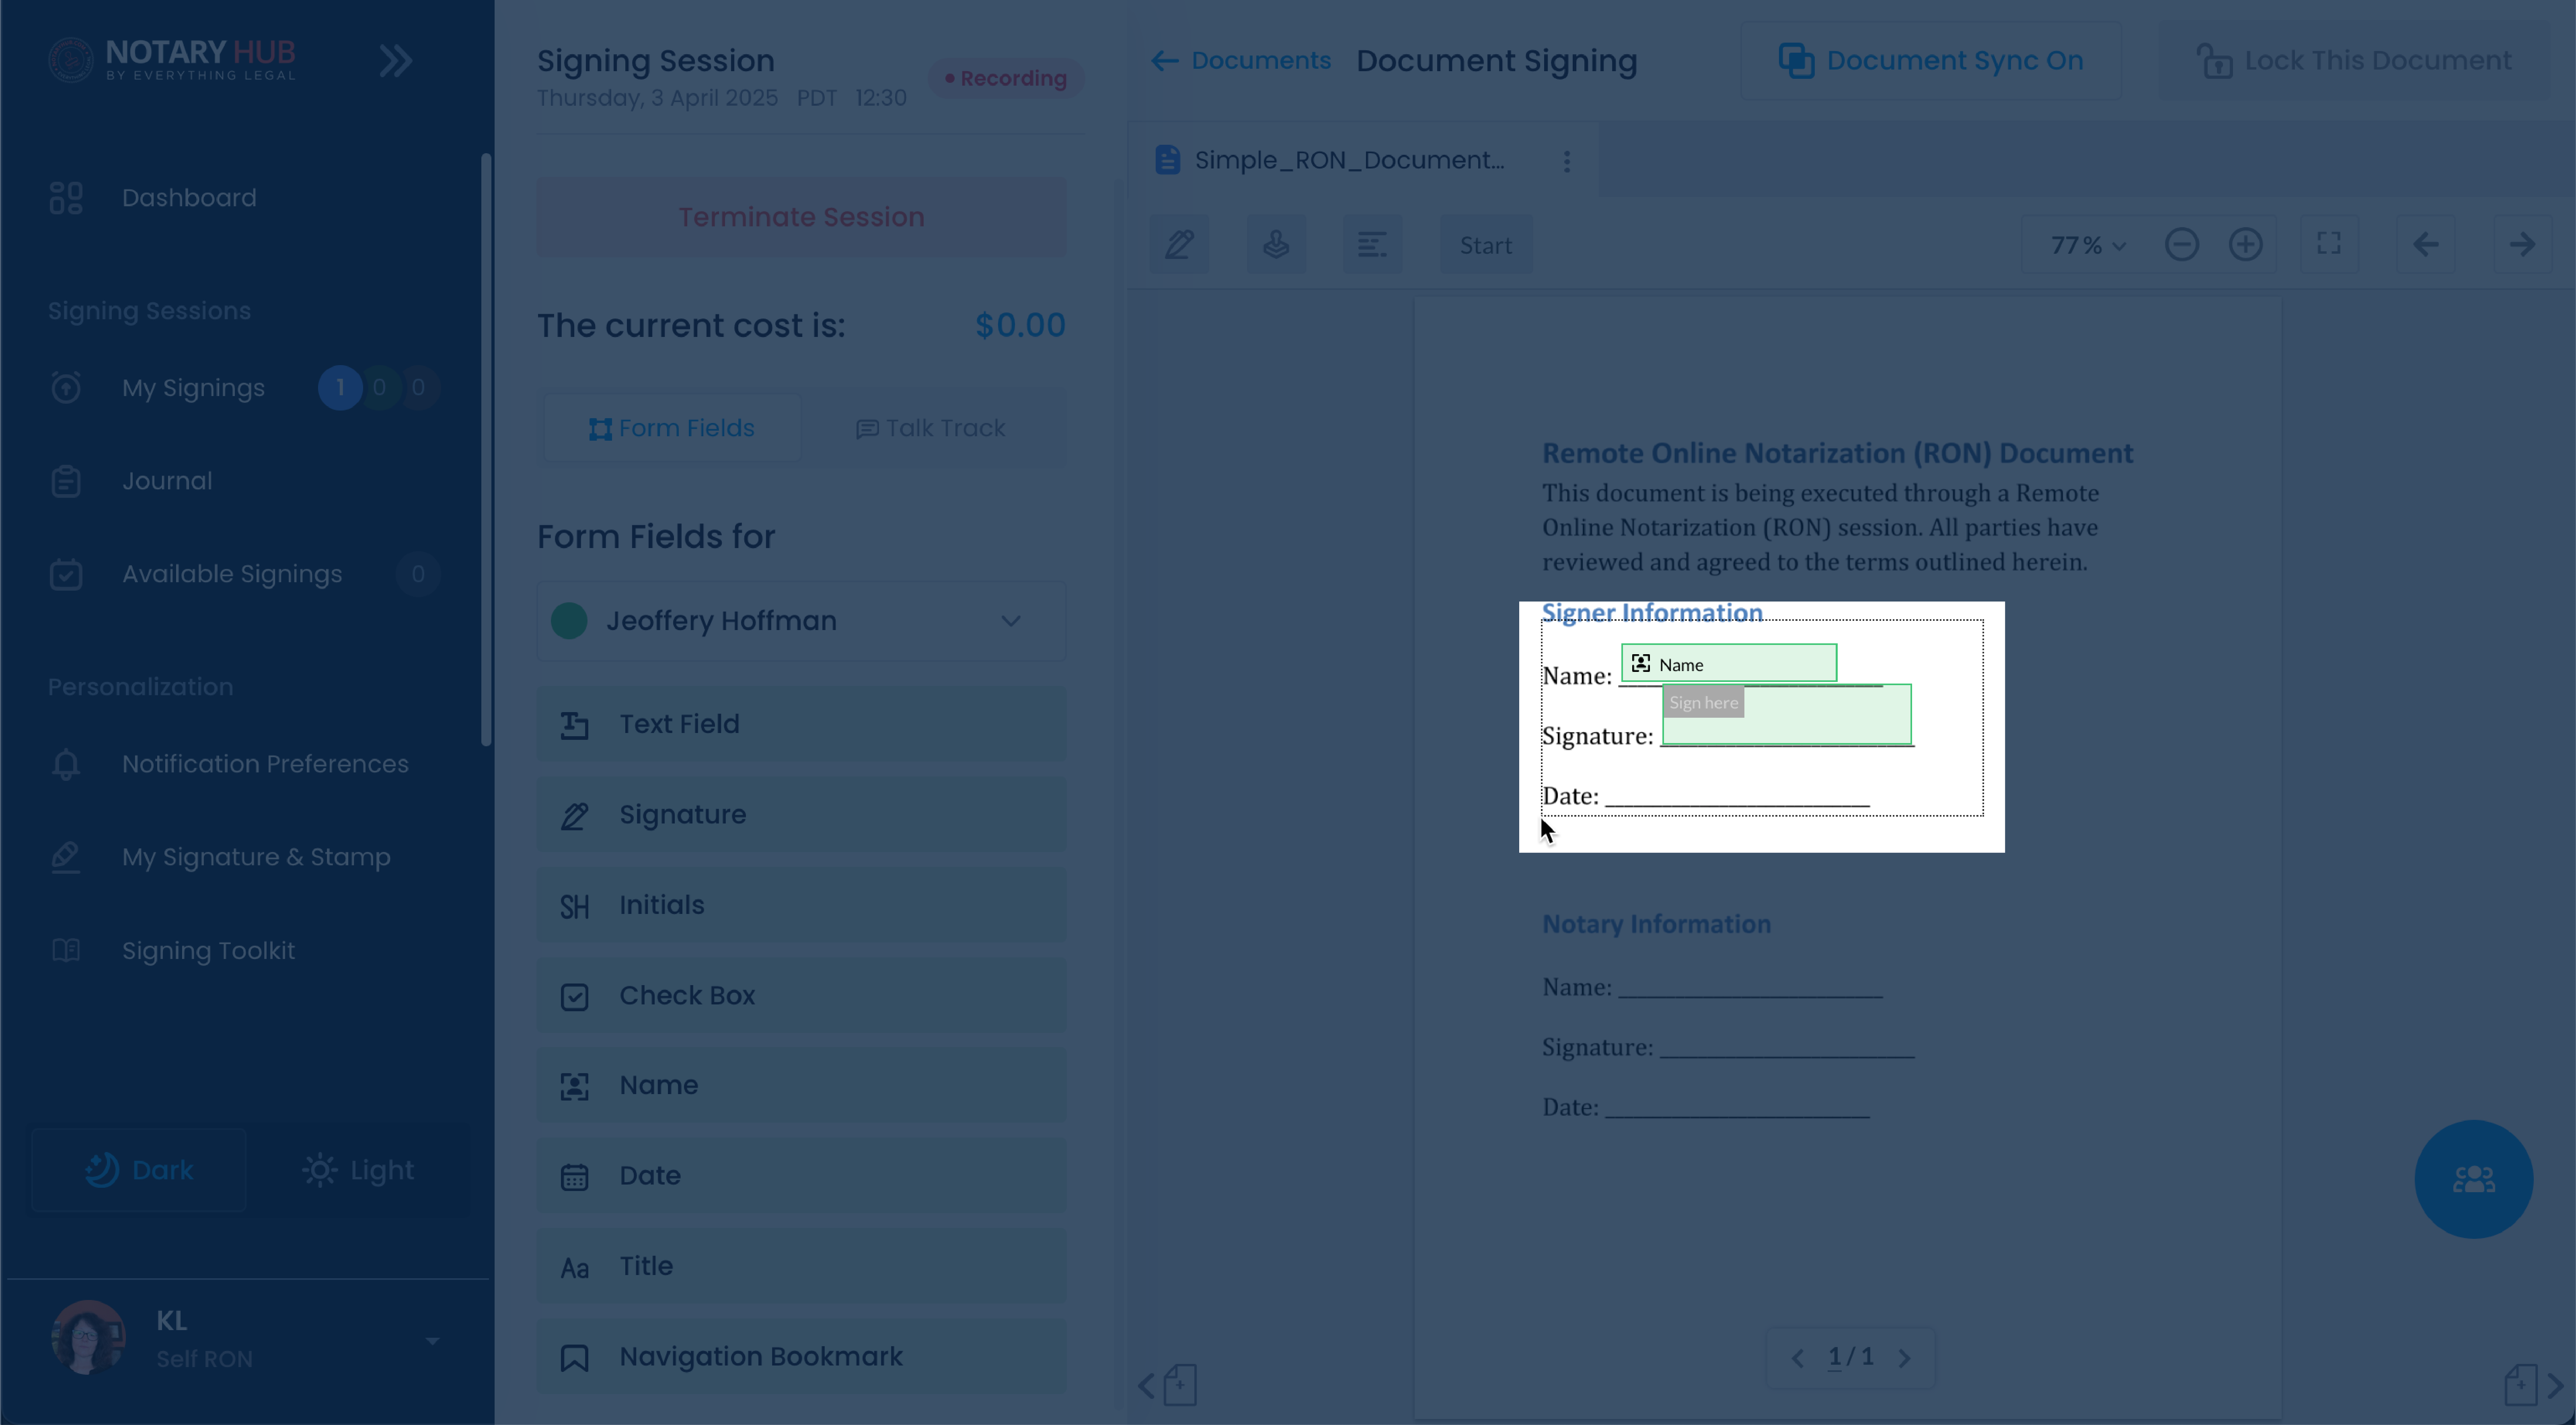 |
| Once grouped you can move the fields all at once. |  |
| To ungroup, select the grouped fields, and click the four arrows icon. | 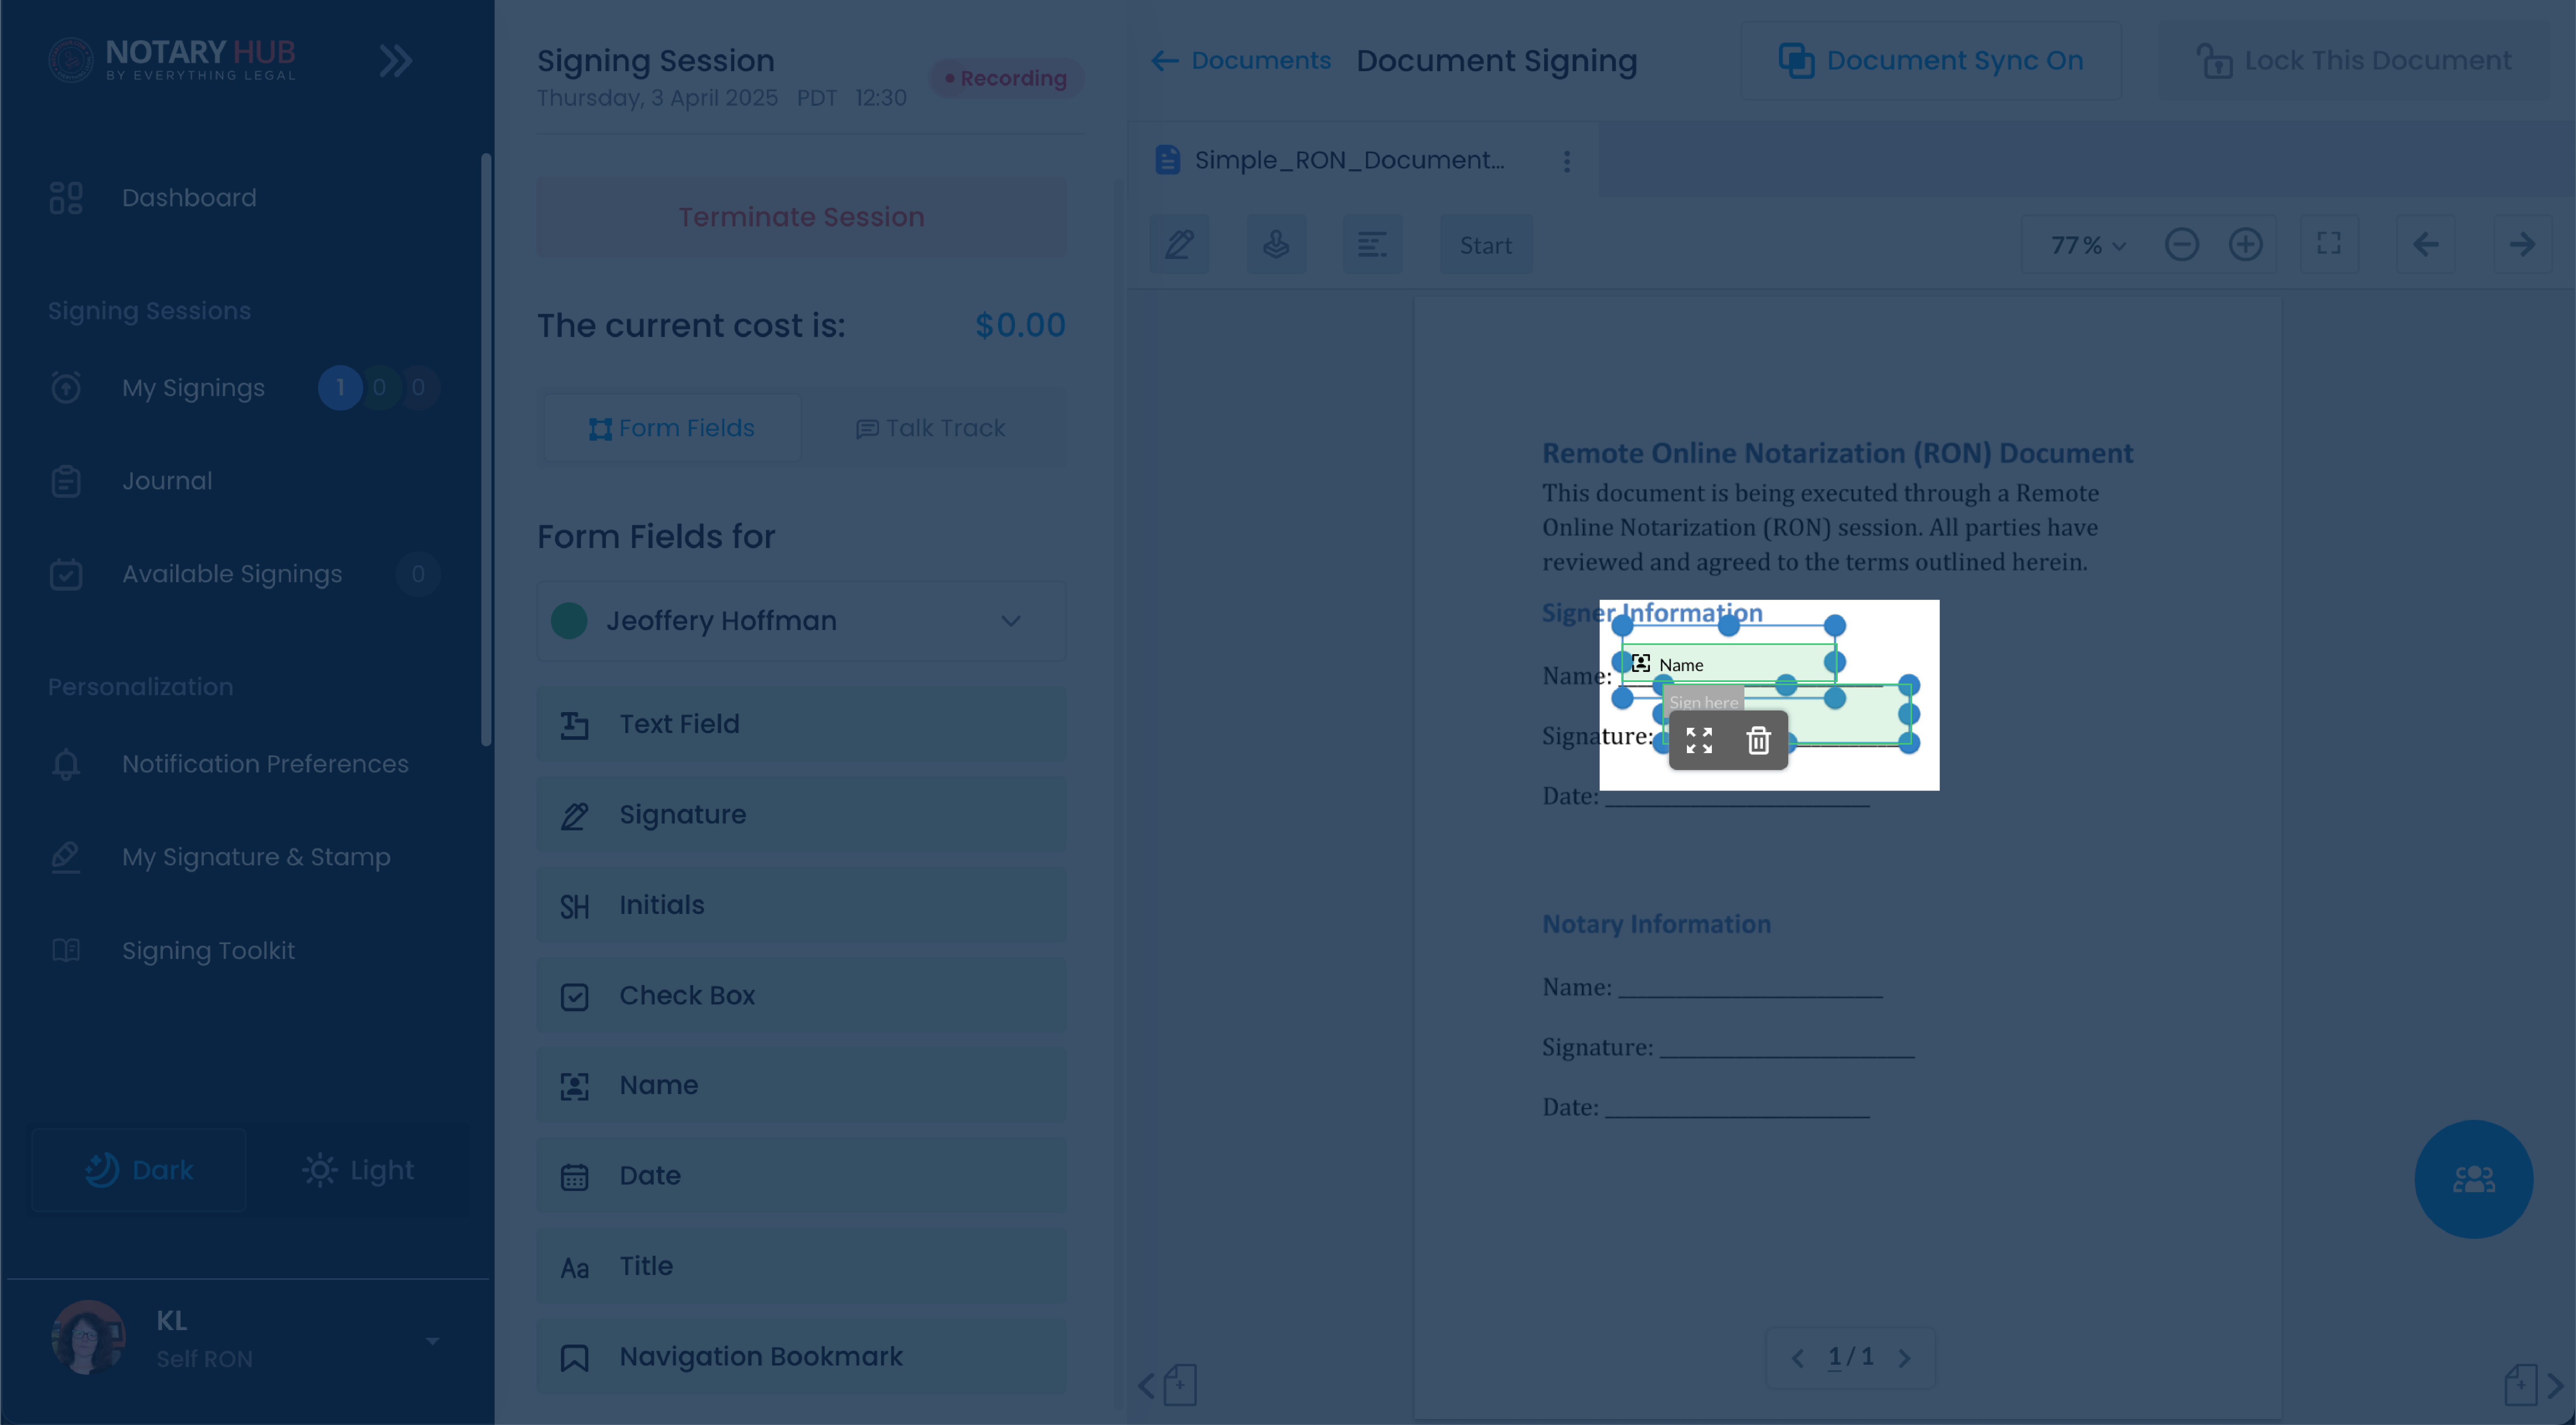 |
Frequently Asked Questions
Q: Can I add fields to a document after the session starts?
A: Yes, fields can be added during the live signing session using the "Edit Fields" option.Q: What types of fields can I add?
A: You can add signature fields, initials, dates, checkboxes, and custom text fields.Q: Can I delete a field after it has been placed?
A: Yes, click on the field and select the trash can icon to delete it.Q: How do I ensure fields are assigned to the correct signer?
A: Use the "Form Fields for" dropdown menu to select the appropriate participant before placing fields.Q: What if a signer cannot see their assigned fields?
A: Ensure the correct participant is selected and refresh the page if necessary.Q: Can fields be resized or repositioned?
A: Yes, you can click and drag to move fields or use the control handles to resize them.Q: Do I need to save my changes manually?
A: No, changes are saved automatically.Q: What if I need to make changes after the signing session is completed?
A: Once the document is finalized, no additional changes can be made. Ensure all fields are correct before completion.Q: Can I add fields before the signing session starts?
A: Yes, you can add and adjust fields during the document review stage before the session begins.Q: Can I edit fields after the session has started?
A: Yes, notaries can add, move, or delete fields during the session by clicking on them.
Q: Can I assign fields to specific participants?
A: Yes, each field must be assigned to a specific participant, which is selected from the dropdown menu before placing the field.Q: Can signers move or delete fields during the session?
A: No, only the notary has control over field placement. Signers can only complete the fields assigned to them.Q: What if I accidentally delete a field?
A: You can re-add the field by dragging and dropping it again from the field selection panel.Q: Is there a way to copy fields across multiple documents in the same session?
A: No, fields must be manually placed on each document.Q: Can I pre-fill text fields before the session?
A: Yes, notaries can enter text into fields before the session starts, if applicable.Q: Do I need to save changes manually?
A: No, changes are saved automatically.